How to Fix a Futon That Won’t Stay Up
Does your futon collapse every time you try to sit on it? This common frustration usually stems from a shattered plastic hinge housing or worn internal mechanism that fails to lock the frame in place. Instead of tossing your furniture or paying for expensive repairs, you can fix a futon that won’t stay up using simple DIY casting or metal reinforcement techniques.
This guide details how to diagnose the broken locking component and create a durable replacement part for under ten dollars. You will learn to cast a new housing with urethane resin or reinforce the joint with steel brackets to restore full functionality to your sofa bed.
Diagnose the Broken Locking Mechanism

Most futons rely on a pivot-and-lock system where plastic housings secure metal nuts to hold the frame upright. When these low-grade plastic parts crack or strip, the lever mechanism slips, causing the backrest to sag or fall completely. Identifying this specific failure point is the first step to fixing a futon that won’t stay up.
Spotting Signs of Plastic Failure
You can confirm the issue by looking for these specific visual and physical cues:
* The backrest feels loose or wobbly even when locked.
* You hear a clicking sound without the frame engaging or locking.
* One side of the futon droops while the other side holds firm.
* Visible cracks appear in the plastic near the main hinge points.
The root cause is often a shattered plastic nut housing that allows the pivot bolt to spin freely. Use a flashlight to inspect both sides of the frame carefully. Look for broken tabs, missing chunks of plastic, or misaligned joints that prevent the lever from catching securely.
Pro Tip: Take a clear photo of the assembly before disassembly. Futon frames can look confusing once taken apart, and a reference photo helps during reassembly.
Remove the Damaged Plastic Housing
Before you can install a repair, you must safely remove the broken component from the frame. This process requires patience to avoid damaging the metal bracket or stripping the pivot bolt further.
Essential Tools for Removal
Gather these items before starting your work:
* Flathead or Phillips screwdriver
* Wrench or socket set
* Pliers for gripping
* Penetrating oil for seized bolts
Step-by-Step Removal Process
- Lower the futon completely to the flat position to access the frame underside.
- Locate the pivot bolt on the affected side that runs through the plastic housing.
- Unscrew the bolt using your wrench, applying penetrating oil if it feels stuck.
- Pull out the broken plastic housing and collect all fragments for reference.
- Inspect the metal lever behind the plastic and straighten it if bent.
Keep the original bolt and any washers safe, as you will reuse them with your new part. Do not force the removal if the bolt refuses to budge, as excessive twisting could snap the metal inside the frame.
Create a Durable Replacement via Casting

Casting a new part is a cost-effective solution that often yields a stronger component than the original recycled plastic. By using high-strength urethane resin, you can recreate the housing with superior durability.
Why Casting Outperforms Original Parts
The original housing is likely made from low-grade recycled polyethylene prone to cracking under stress. Casting allows you to use high-strength urethane resin with 7200 psi tensile strength for a long-lasting fix. This method replicates the exact geometry needed for your specific futon model.
Building the Silicone Mold
You can create an accurate mold even if the original part is broken by using the intact side as a template.
- Prepare the Master Form: Embed the pivot bolt into reusable modeling clay at the correct depth. Apply mold release spray only to the bolt threads, avoiding the nut area.
- Construct Mold Walls: Use a plastic cup or mold box to contain the silicone. Shape clay around the base to hold the bolt upright and add a raised lip to prevent overflow.
- Add Registration Keys: Press unique dents into the clay guard to ensure the mold halves align perfectly later.
- Pour Silicone: Mix room-temperature vulcanizing silicone rubber and brush a thin layer into crevices to prevent air bubbles. Pour slowly and let it cure for 24 hours.
Check the cured mold for bubbles. If you find flaws, cut away the section, patch it with clay, and pour a small amount of fresh silicone to correct it.
Casting the New Housing
Once your mold is ready, you can produce the replacement part.
- Pour high-strength urethane resin slowly into the mold cavity.
- Tap the sides gently to release any trapped air pockets.
- Allow the resin to cure for 24 hours in a dust-free environment.
- Demold carefully by pulling the silicone away from the edges.
- Trim any flash or excess resin from the seams with a hobby knife.
Test the fit by inserting the pivot bolt. It should slide in snugly without binding. This new part will function exactly like the original but with added strength.
Reinforce the Joint With Metal Brackets
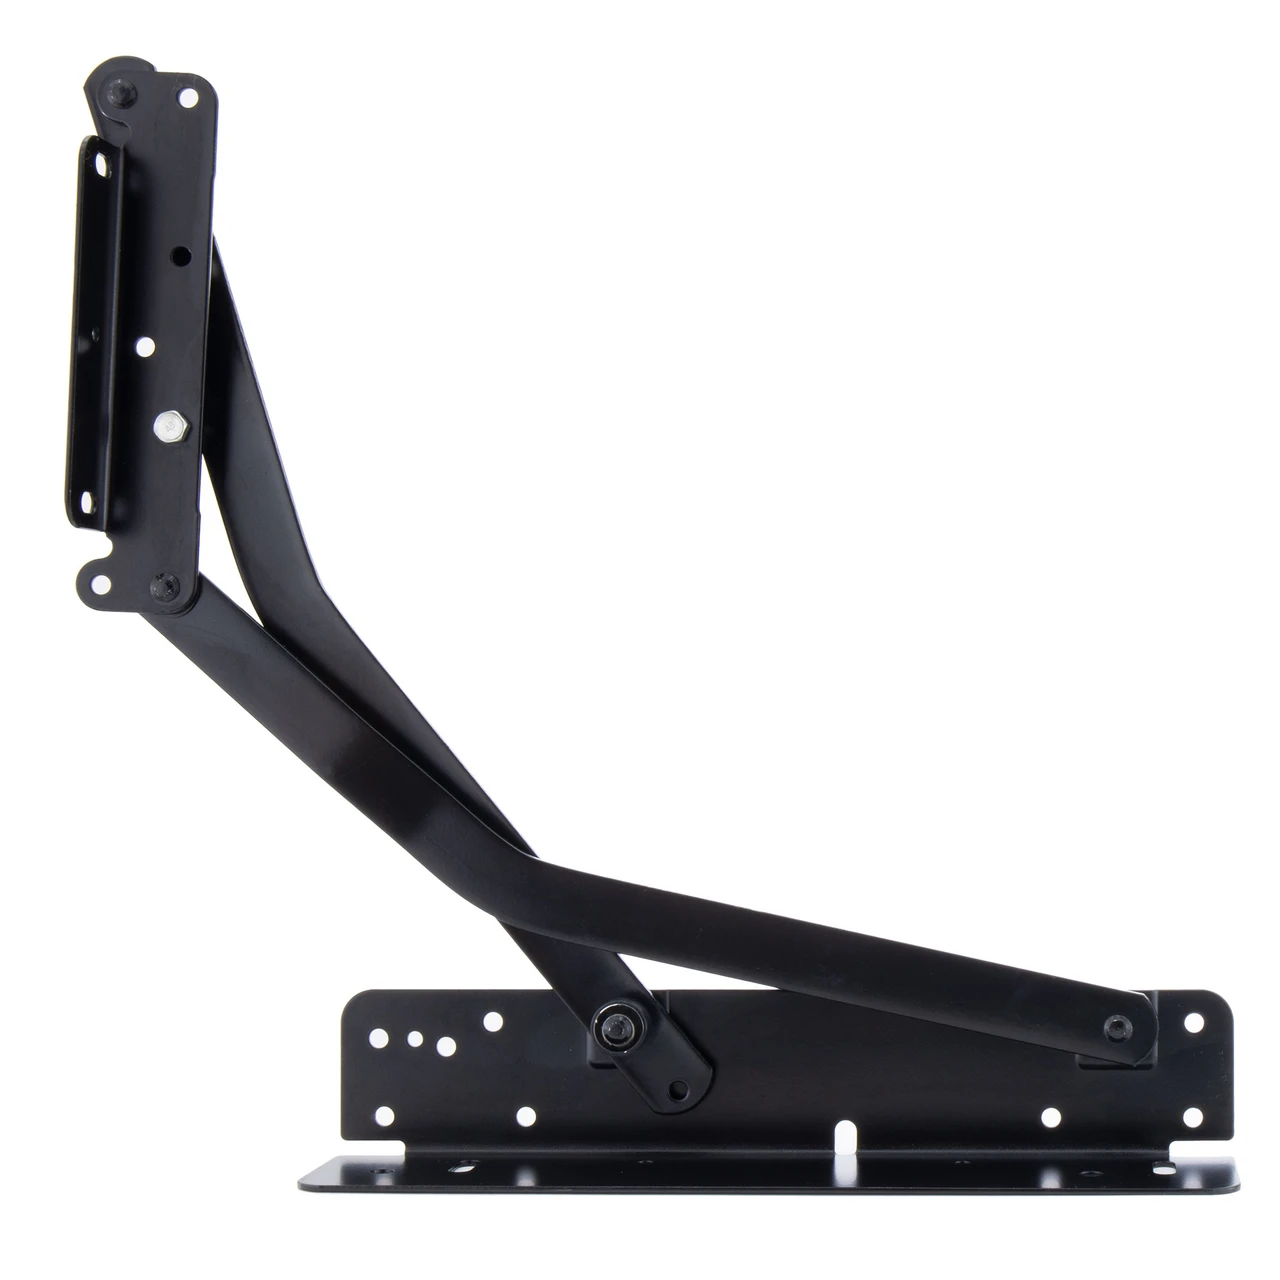
If casting seems too complex, you can bypass the plastic entirely by reinforcing the joint with metal hardware. This method provides an immediate and extremely durable solution.
Installing a Steel Corner Brace
A simple steel L-bracket measuring 1.5 to 2 inches can replace the function of the plastic housing.
- Position the futon in the fully upright bed position.
- Align a metal L-bracket across the hinge joint, attaching one side to the backrest frame and the other to the base.
- Mark the screw holes clearly with a pencil.
- Pre-drill holes to prevent the wood or metal frame from splitting.
- Secure the bracket with three to four self-tapping screws and washers per side.
| Pros | Cons |
|---|---|
| No mold or casting required | Hardware is visible |
| Immediate structural fix | Slight reduction in fold range |
| Extremely durable and strong | May need occasional tightening |
Expert Note: Paint the bracket black or apply a textured coating to help it blend in with the frame for a cleaner look.
Reassemble and Test Your Repaired Futon
With your new cast housing or metal bracket ready, it is time to reassemble the frame and verify the repair. Proper installation ensures your futon stays up safely.
Reinstallation Steps
- Slide the new cast housing or metal bracket into the correct position.
- Insert the original pivot bolt through both sides of the frame.
- Add washers on each end to provide stability and distribute load.
- Tighten the nuts securely, being careful not to over-torque and strip threads.
- Open and close the futon ten times to test smoothness and locking action.
Testing for Stability
Raise the futon to the bed position and press down firmly on the center. Listen for solid clicks and ensure there is no slipping or grinding noise. Both sides should rise evenly and lock securely under weight. If the futon holds firm, you have successfully fixed the issue.
Prevent Future Mechanism Failures
Plastic parts often fail due to repeated stress and poor material quality. You can extend the life of your repair by taking preventive measures.
Maintenance Best Practices
- Upgrade Internals: Replace plastic pivot housings with aluminum or steel inserts if available.
- Secure Fasteners: Use nylon-insert lock nuts and medium-strength thread locker on bolts.
- Lubricate Regularly: Spray dry silicone lubricant on hinges every six months to reduce friction.
- Manage Load: Avoid sitting on the very edge of the backrest when the futon is upright.
Avoid oil-based lubricants as they attract dust and can degrade plastic components over time. These simple steps help ensure your futon continues to function smoothly for years.
When to Replace the Entire Frame
Not every futon can be saved with a simple repair. You should consider replacing the entire frame if multiple welds are cracked or the metal is rusted through. If both sides have failed independently or the fabric is torn beyond repair, a new unit may be more economical. However, for most single-point failures, fixing the broken plastic housing extends the life of the unit significantly.
Frequently Asked Questions About Fixing Futons
What causes a futon to stop staying in the upright position?
The most common cause is a broken plastic hinge housing or stripped internal nut that fails to lock the pivot bolt. This prevents the lever mechanism from engaging properly.
Can I fix a broken futon hinge without buying expensive parts?
Yes, you can cast a replacement part using silicone molds and urethane resin or reinforce the joint with a simple metal L-bracket for under ten dollars.
How long does it take to cast a replacement plastic part?
The process typically takes 24 to 48 hours, including time for the silicone mold to cure and the urethane resin to harden completely.
Is it better to cast a new part or use a metal bracket?
Casting preserves the original look and folding range, while metal brackets offer superior strength and require less skill to install but may be visible.
What type of resin is best for futon repairs?
High-strength urethane resin with low shrinkage is ideal because it offers high impact resistance and mimics the properties of the original plastic part.
Key Takeaways for Fixing Your Futon That Won’t Stay Up
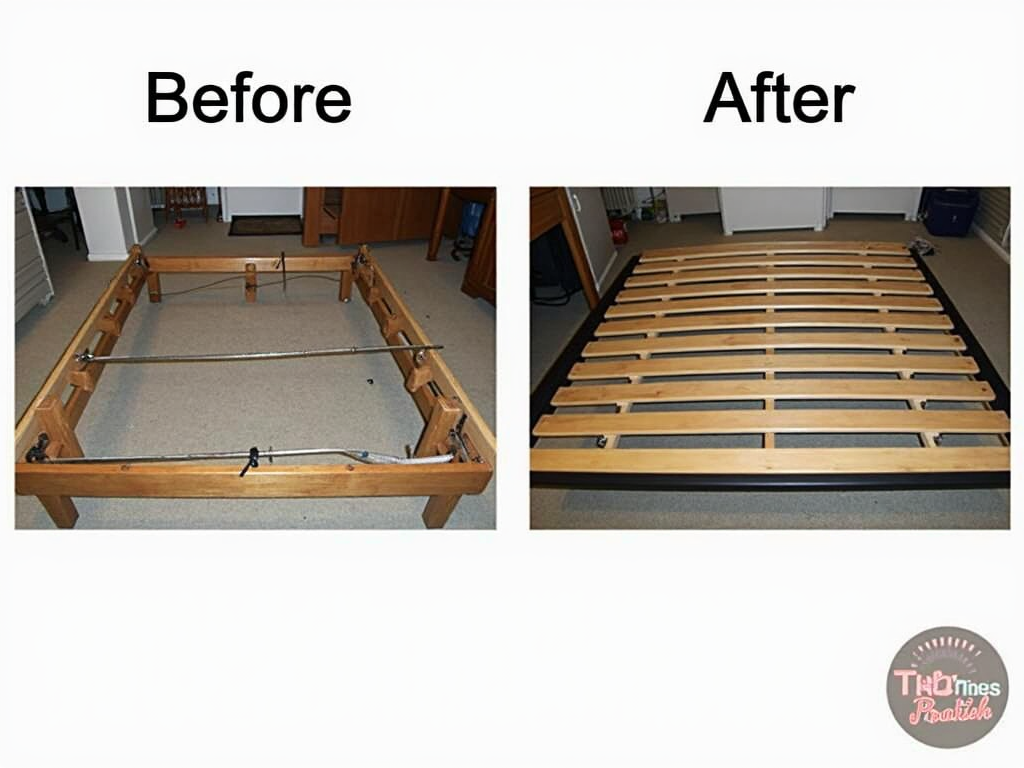
You do not need to discard your furniture just because a small plastic component has failed. By diagnosing the broken housing and choosing between casting a durable urethane replacement or reinforcing the joint with metal, you can restore full function to your sofa bed. This approach saves money, reduces waste, and gives your furniture a second life.
Take action today by inspecting your frame and gathering the necessary tools. Whether you choose to mold a new part or install a steel bracket, you now have the knowledge to fix a futon that won’t stay up permanently.