How to Close a Wooden Futon: Quick Steps
You have finished hosting guests or watching a movie, and now you need to convert your wooden futon back into a sofa. Many people struggle with this task because they miss one critical step: unlocking the frame before lifting it.
The truth is that closing a wooden futon requires technique rather than brute strength. This guide explains the exact steps to disengage locks, lift correctly, and secure the frame without causing strain or damage.
Prepare Your Space and Verify Lock Status
Proper setup prevents floor scratches and mechanical stress on your furniture. You must create enough room for the frame to pivot freely before attempting any movement.
Create Essential Wall Clearance
Pull the frame forward 6 to 8 inches from the wall. This gap allows the footboard section to drop downward without hitting the baseboard.
- Minimum clearance: 6 inches works for most back-load models.
- Recommended clearance: 8 inches is ideal for queen or double-sized frames.
Lift the front legs slightly when moving the unit to avoid gouging your carpet or scratching hardwood floors. Never drag the futon across the room as this destabilizes joints.
Confirm the Lock Is Disengaged
A locked futon will not fold properly. If someone secured the frame in bed mode by pushing it inward, the internal latch remains engaged.
Gently wiggle the seat section to test it. If it feels rigid with no vertical play, the lock is active. You must unlock it before lifting to avoid bending metal connectors.
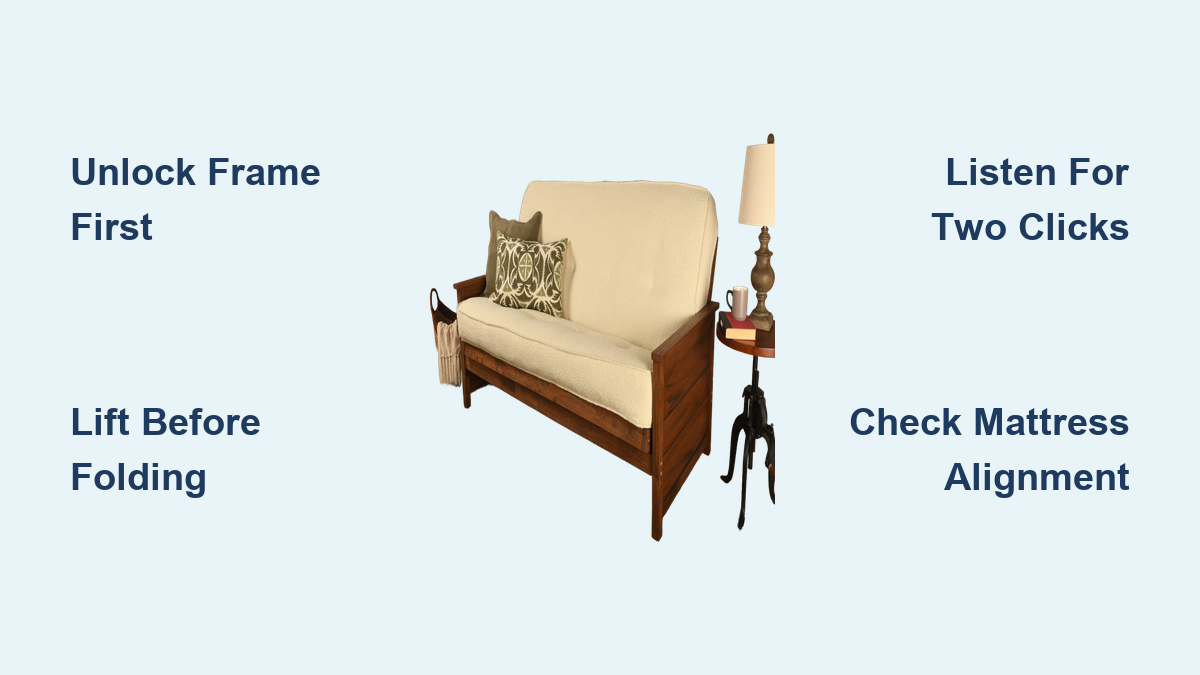
Unlock the Frame Before Lifting

Forcing a locked futon leads to costly repairs. Always start by releasing the internal mechanism completely.
Pull Seat Upward to Release
Stand behind the futon or at the foot depending on your specific model design.
- Back-load mechanism: Grasp the front edge of the seat and pull upward slightly. You should feel the latch release with a soft click.
- Standard lift-and-fold: Lift the front edge while pressing the backrest forward to disengage the hinge lock.
Once released, the frame will have slight upward movement. That is your signal that it is safe to proceed with folding.
Pro Tip: If resistance persists, re-lock the frame fully into bed mode and try unlocking again. Sometimes partial engagement jams the mechanism.
Lift and Guide the Frame Smoothly
With the lock disengaged, lifting relieves pressure on the hinges. This allows the structure to fold without binding or cracking.
Use Two-Handed Control
Place one hand on the backrest and the other near the center of the seat. Alternatively, use one hand to lift the back edge while the other guides the side rail.
Avoid grabbing only the front bar. This unbalances the frame and places unnecessary strain on the wooden joints.
Lift Before Folding Forward
Raise the seat section first before attempting to push anything forward. As you lift, the back of the frame begins to slope downward naturally.
Do not push forward yet. Lifting comes first. Think “up, then in” to maintain proper mechanics.
Visual Cue: Watch the gap between the seat and floor widen. Once the footboard clears the ground, you are ready to fold.
Fold to the First Click Position
The futon does not snap directly from bed to sofa. It transitions through an intermediate reclining stage.
Push Forward to First Stop
While maintaining your lift, push the seat forward using your leg or hands. For heavier models, brace your thigh against the seat to leverage your body weight.
Continue pushing until you hear a solid first click. This sound means the frame has locked into the recline position.
Check Mattress Alignment
Pause here to inspect the setup. Ensure the mattress is not bunched up at the fold and that wooden slats are parallel on both sides.
If fabric is trapped or the cushion is skewed, unfold slightly and smooth it out. Trapped material stresses stitching and distorts the seat shape over time.
Lock Into Final Sofa Position
Now comes the final closure that ensures safety and stability for daily seating.
Push to Second Click
From the first-click position, apply firm inward pressure to the middle of the seat. Slightly lift the back edge to reduce friction and push until you hear a definitive second click.
That second click confirms the latch has engaged fully. The futon is now securely locked in sofa mode.
Test the Lock Stability
Gently pull the front edge forward to verify security. A properly locked frame will not budge under this tension.
If it moves, reopen fully and ensure you unlocked correctly. Repeat the sequence with more deliberate lifting and pushing.
Handle Back-Load Models Correctly
Back-load futons operate differently than standard models. Missteps with these units cause frequent damage to the locking pins.
Operate from Behind the Frame
Stand at the rear of the unit, which becomes the sofa back. Unlock by pulling the seat upward rather than backward.
Guide the fold with one hand while using your leg to push the seat forward. The final lock engages when you push the seat tightly against the backrest.
Never Force Without Unlocking
These models rely on precise alignment. Forcing them closed while locked can bend metal pivot pins or crack wooden side rails.
If it resists, stop immediately. Reopen, re-verify the unlock step, and try again with a gentler approach.
Manage Larger Sizes Safely
Bigger futons demand smarter technique rather than brute force. Adjust your method based on the dimensions of your unit.
Queen and Double Models
These units are heavy. One person can manage them, but you should use leverage effectively.
- Lift with both hands at the center of the frame.
- Push closed using your leg for maximum power.
- Consider having a helper hold the backrest steady during conversion.
Small Double and Two-Seater Units
Smaller units are easier to handle solo. After folding, flip the mattress if needed to expose the seating fabric.
Tuck in loose covers and push the frame flush to the wall. Even compact models require unlocking first, so do not skip steps just because it feels lighter.
Finish With Tidy Adjustments
A clean closure preserves both the appearance and function of your furniture. Take a moment to finalize the setup.
Tuck Excess Fabric
During folding, sheets or mattress covers often bunch at the crease. Smooth them out and tuck neatly along the sides.
This prevents fabric from getting pinched in hinges and stops uneven wear on seams. It also removes potential tripping hazards when seated.
Align the Seat Cushion
Ensure the mattress sits flush with the front edge of the frame. If it is recessed, lift the front corner slightly and pull forward until even.
This creates a level, comfortable seat that looks professional and inviting.
Maintain Long-Term Reliability
Proper closing technique is the best maintenance you can perform. Simple habits prevent most mechanical failures.
Inspect Hinges Monthly
Check for wood splinters near pivot points and dust in the lock mechanism. Tighten any loose screws on metal brackets.
Wipe hinges with a dry cloth to remove debris that could inhibit smooth operation.
Follow the “Lift Before Fold” Rule
This single habit prevents 90% of breakdowns. Always unlock, lift, and then fold in that specific order.
Never reverse the order. Over time, skipping steps leads to joint fatigue and premature failure of the wooden frame.
Troubleshoot Common Issues
Even with care, problems arise. Here is how to fix them fast using proven methods.
Frame Won’t Fold
Cause: Lock still engaged.
Fix: Stand behind the futon and pull the seat upward to release the latch. Do not force the movement.
Scraping Against Wall
Cause: Insufficient clearance.
Fix: Pull frame 8 inches from the wall. Lift legs slightly when repositioning to protect floors.
Unstable in Sofa Mode
Cause: Only one click heard.
Fix: Push middle section firmly until the second click confirms full lock engagement.
Mattress Bunching
Cause: Fabric trapped in hinge.
Fix: Unfold slightly, smooth mattress, tuck edges, and refold slowly.
Strain During Closing
Cause: Forcing locked mechanism.
Fix: Stop immediately. Reopen, re-engage lock, then properly unlock and retry.
Frequently Asked Questions About Closing Wooden Futons
Why won’t my wooden futon fold closed?
The locking mechanism is likely still engaged. You must pull the seat upward or backward slightly to disengage the internal latch before attempting to lift the frame.
How far should I pull my futon from the wall?
You need a minimum of 6 inches, but 8 inches is optimal. This clearance prevents the footboard from scraping the wall or baseboard during the folding process.
What does it mean if I only hear one click?
Hearing only one click means the frame is in the recline position, not the final sofa position. You must push the middle section firmly until you hear a second distinct click.
Can I close a queen-sized wooden futon alone?
Yes, but it requires proper leverage. Use your leg to push the seat while lifting with your hands. Having a helper hold the backrest steady makes the process easier.
Is it normal for the mattress to bunch up when closing?
No, this indicates the fabric was not tucked properly. Stop folding, smooth out the mattress, tuck excess fabric along the sides, and resume the process slowly.
Key Takeaways for Closing Your Wooden Futon
Closing a wooden futon successfully depends on following the correct sequence: unlock, lift, and then fold. Skipping the initial unlock step or forcing the frame causes most damage to hinges and wooden slats.
Always listen for two distinct clicks to ensure the frame is secure in sofa mode. Regular maintenance and proper technique will keep your furniture functioning smoothly for years.
Practice this routine today to turn a frustrating chore into a seamless part of your daily life. Your futon will thank you with reliable performance every time you need to switch modes.