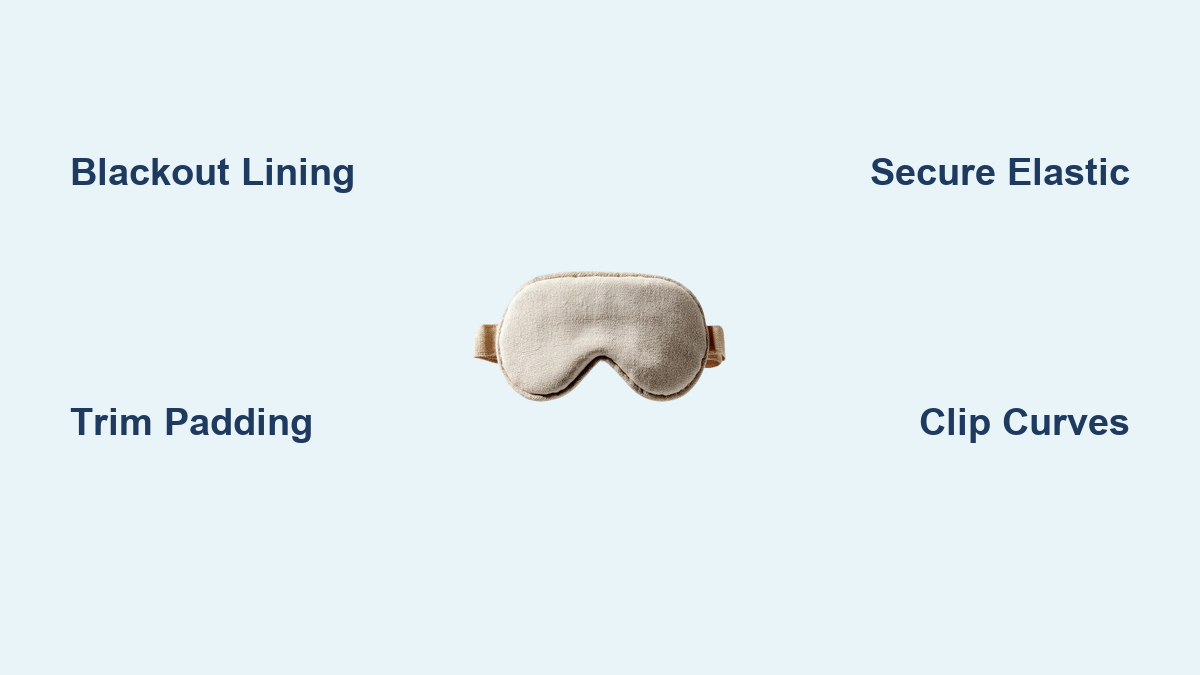
How to Sew a Sleeping Mask: Quick Steps
Struggling to sleep with the lights on? A custom sleep mask blocks light effectively, but store-bought options often press painfully against your eyes. Learning how to sew a sleeping mask solves this by letting you choose soft fabrics and a perfect fit.
You can finish this project in just 15 minutes using simple scraps and basic tools. This guide walks you through cutting patterns, inserting blackout lining, and attaching elastic for a professional result that stays comfortable all night.
Select Light-Blocking Fabrics and Comfortable Padding
Your fabric choice determines whether your mask blocks light or lets it leak through. Standard cotton works for the outer layer because it breathes well against your skin. However, you need a specialized lining to stop light completely.
Choose Blackout Lining or Double Flannel
Select blackout fabric for the inner layer to ensure total darkness. If you cannot find specialty fabric, use double-layer flannel as an effective alternative. These materials are denser than regular cotton and prevent light from penetrating the mask. Always pre-wash your fabrics to avoid shrinkage after you finish sewing.
Cut Batting Smaller to Prevent Bulk
Padding adds cushion so the fabric does not rest directly on your eyelids. Use cotton batting or fusible interfacing for this layer. Cut the batting piece 15 mm smaller than your main fabric pieces on all sides. This ensures the padding stays hidden inside the seam without creating lumpy edges.
Pick the Right Elastic Width
Use elastic that is 9–12 mm wide for the best balance of comfort and durability. Narrow elastic can dig into your head, while wider bands might slip. You will need either a fixed length of 34 cm or an adjustable 38 cm strip depending on your preferred closure method.
Cut Precise Shapes Using Patterns or Quick Rectangles
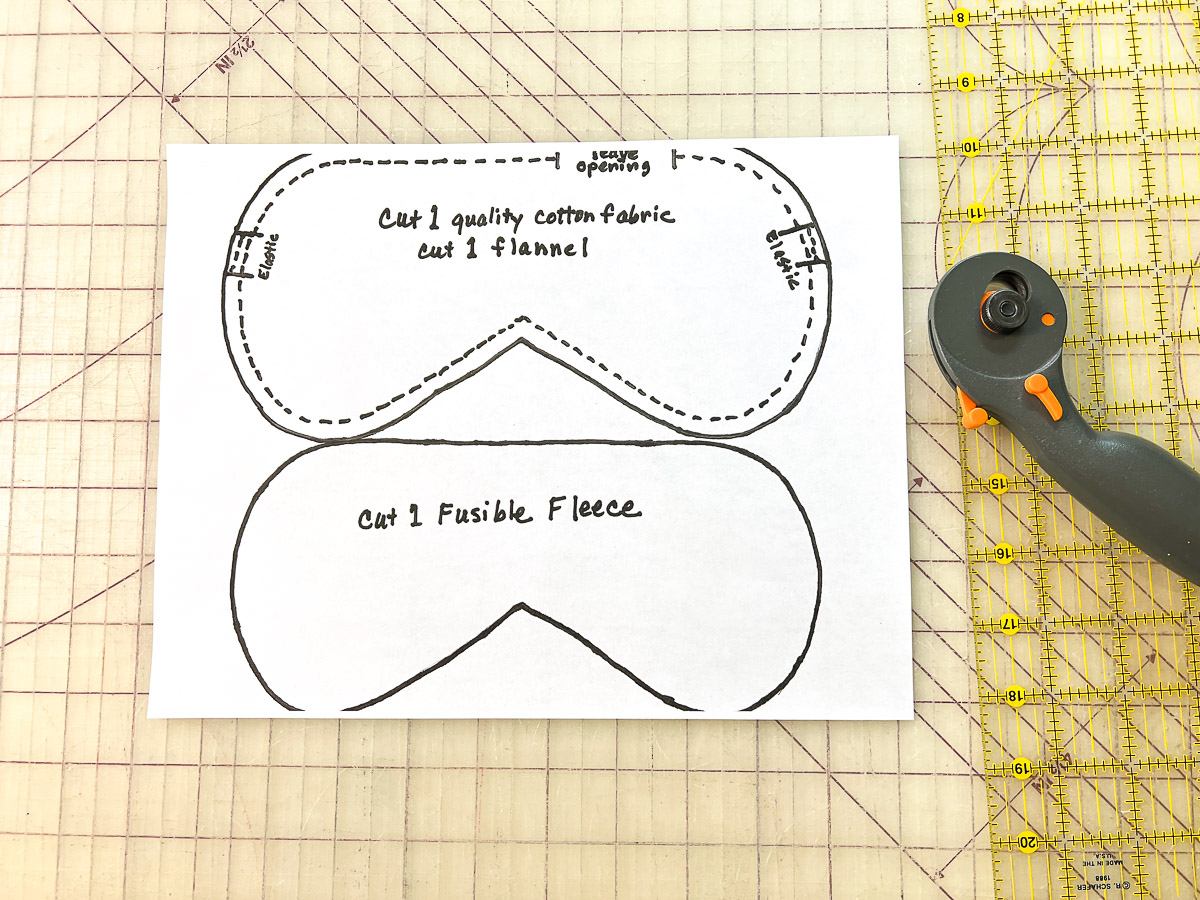
Accurate cutting saves time during assembly and ensures your mask fits your face curves. You can use a printed template for a professional contoured look or cut simple rectangles for speed. Both methods yield functional results if you follow the dimensions closely.
Create a Contoured Shape with a Template
Print a sleep mask pattern and tape the pages together to form the full template. Place your main fabric right sides together and cut two identical pieces. If using a separate facing fabric, cut it 2–3 mm smaller than the main piece so the seam rolls inward naturally.
Use the 15-Minute Rectangle Method
Cut two rectangles measuring 8 inches by 6 inches for a no-fuss approach. Use one piece of lightweight cotton and one piece of blackout lining. This method skips complex curves but still provides excellent light blocking for quick naps or travel.
Construct a Durable Elastic Strap Assembly
The strap holds your mask in place, so it must be strong and comfortable. You can create a polished fabric-encased tube or use a quick channel method. The encased tube offers a smoother finish and distributes tension evenly across your head.
Sew an Encased Fabric Tube
Cut a fabric strip measuring 90 cm long and 4 cm wide. Fold it lengthwise with right sides together and sew a 10 mm seam along the long edge. Turn the tube right side out and press it flat with the seam centered before threading your elastic through.
Secure Elastic Ends Firmly
Thread 38 cm of elastic through your fabric tube using a safety pin. Once positioned, stitch across both ends of the tube to lock the elastic in place. Backstitch three or four times at each end to ensure the elastic never slips out during use.
Layer Components Correctly Before Stitching
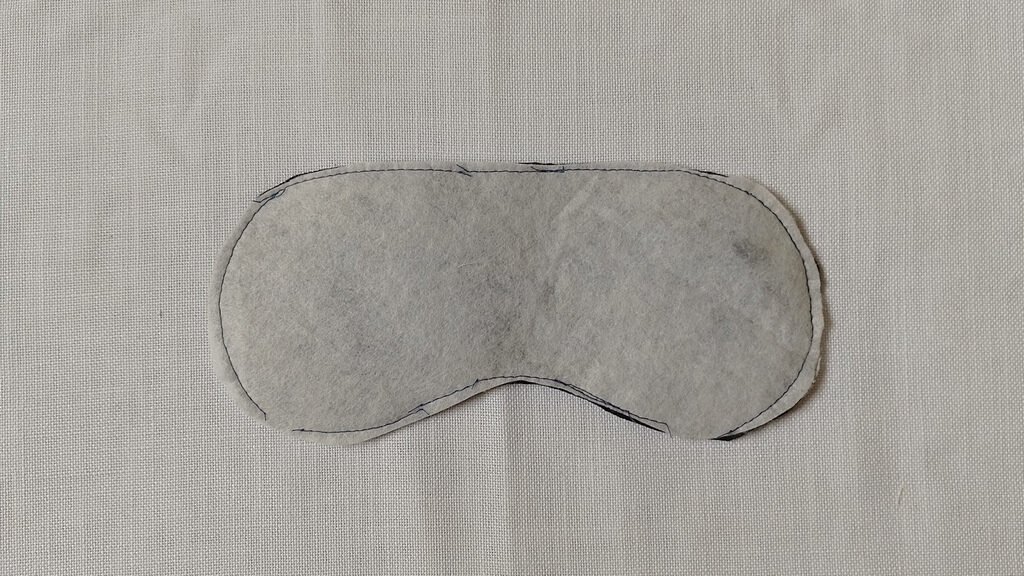
Proper layering prevents shifting and ensures your padding stays centered. The order of your layers matters more here than in many other sewing projects because of the added bulk from the batting.
Stack Layers from Bottom to Top
Place your main fabric face down as the base layer. Add the trimmed batting on top, followed by your strap assembly aligned with the top edge. Finish with the facing fabric right side down to create a sandwich with all raw edges matching.
Use Clips Instead of Pins
Secure your layers with fabric clips rather than traditional pins. Pins can distort thick batting and cause uneven seams. Clips hold the stack flat and allow you to sew smoothly around curves without the fabric bunching up.
Sew Seams with Accurate Allowances and Gaps
Sewing slowly and accurately around the curves creates a professional appearance. You must maintain a consistent seam allowance and remember to leave an opening for turning the mask right side out.
Maintain a Consistent Seam Allowance
Use a ¼ inch seam allowance for contoured masks or 15 mm for rectangular versions. Mark your sewing machine guide with tape if needed to keep your line straight. Sew slowly around curves to prevent the layers from slipping apart.
Leave a Turning Gap at the Top
Stop sewing about 2–3 cm from the corner on the top edge. Place pins at your start and stop points to mark this gap clearly. This opening allows you to turn the entire mask right side out after sewing the perimeter.
Trim Bulk and Turn the Mask Right Side Out
Trimming and clipping your seams are critical steps for achieving smooth curves. Skipping this step often results in a bumpy or misshapen mask that does not sit flat against the face.
Clip Curves and Trim Excess Fabric
Trim the seam allowance to reduce bulk before turning. Cut small triangular notches into the curved edges every 2.5 cm, getting close to but not through your stitching line. These clips allow the fabric to spread open and lay flat when inverted.
Push Out Corners Gently
Pull the mask right side out through the opening you left earlier. Use a chopstick or point turner to gently push out the corners and curves. Roll the seam toward the lining side with your fingers so the stitching disappears from the front view.
Insert Padding and Close the Opening Neatly
If you did not sandwich the batting earlier, now is the time to insert it through the gap. Once the padding is smooth, you must close the opening securely to finish the project.
Smooth Padding Through the Gap
Slide the trimmed wadding piece into the mask through the opening. Use a blunt tool or your finger to smooth it evenly across the entire shape. Ensure there are no wrinkles or bunches that could create pressure points on your eyes.
Stitch the Gap Closed
Close the opening with a slip stitch by hand for an invisible finish. Alternatively, topstitch around the entire perimeter 1–2 mm from the edge to secure everything quickly. This final stitch also helps set the shape and keeps the seam rolled inward.
Optimize Fit to Block All Light Leaks
A well-made mask should feel light yet block every ray of light. Small adjustments during construction can significantly improve performance and comfort levels.
Prevent Light Leaks at Seams
Cut your facing fabric slightly smaller than the main piece to force the seam inward. This technique seals gaps where light often sneaks through. Combine this with blackout lining for total darkness even in bright rooms.
Add Structure Without Pressure
Apply fusible interfacing to the wrong side of your main fabric if you need more body. This prevents the mask from collapsing onto your eyelids while you sleep. It is especially helpful for people who move frequently during the night.
Troubleshoot Common Sewing Problems
Even experienced sewers encounter issues like bumpy seams or shifting padding. Knowing how to fix these problems ensures your final product looks professional and functions well.
Fix Bumpy or Uneven Seams
Bumpy seams usually mean you did not trim enough bulk or clip the curves. Go back and trim the seam allowance closer to the stitch line. Cut deeper notches into the curves to allow the fabric to expand fully.
Stop Padding from Shifting Inside
If your batting bunches up, it was likely cut too large or not smoothed properly. Always cut wadding 15 mm smaller than the fabric layers. Re-open a small section if necessary to reposition and smooth the padding flat.
Ensure Elastic Stays Secure
Elastic that slips out means the ends were not stitched firmly enough. When closing your strap tube, backstitch multiple times to lock the fibers. For knotted versions, add a drop of fabric glue to the knot for extra security.
Frequently Asked Questions About Sewing Sleeping Masks
What fabric is best for blocking light completely?
Blackout fabric is the top choice for total light elimination. You can also use double-layer flannel or add fusible interfacing to standard cotton to increase density and block more light effectively.
How much elastic do I need for an adult sleep mask?
Cut 34 cm (13.5 inches) of elastic for a standard fixed fit. If you want an adjustable mask, use 38 cm (15 inches) so you can slide the knot or closure to tighten or loosen the band as needed.
Can I make this project without a sewing machine?
Yes, you can hand sew the entire mask using a needle and thread. Use a slip stitch to close the turning gap and secure the elastic ends. It takes longer but works perfectly for those without machine access.
Why does my mask look lumpy after turning it right side out?
Lumps usually happen because the seam allowance was too thick or the curves were not clipped. Trim the excess fabric close to the stitching and cut small triangular notches along all curved edges before turning.
How do I wash my handmade sleep mask?
Hand wash your mask in cool water with mild soap to protect the elastic and fabric. Air dry it flat to maintain its shape and prevent the batting from shifting or shrinking inside the layers.
Key Takeaways for Sewing Your Perfect Sleeping Mask
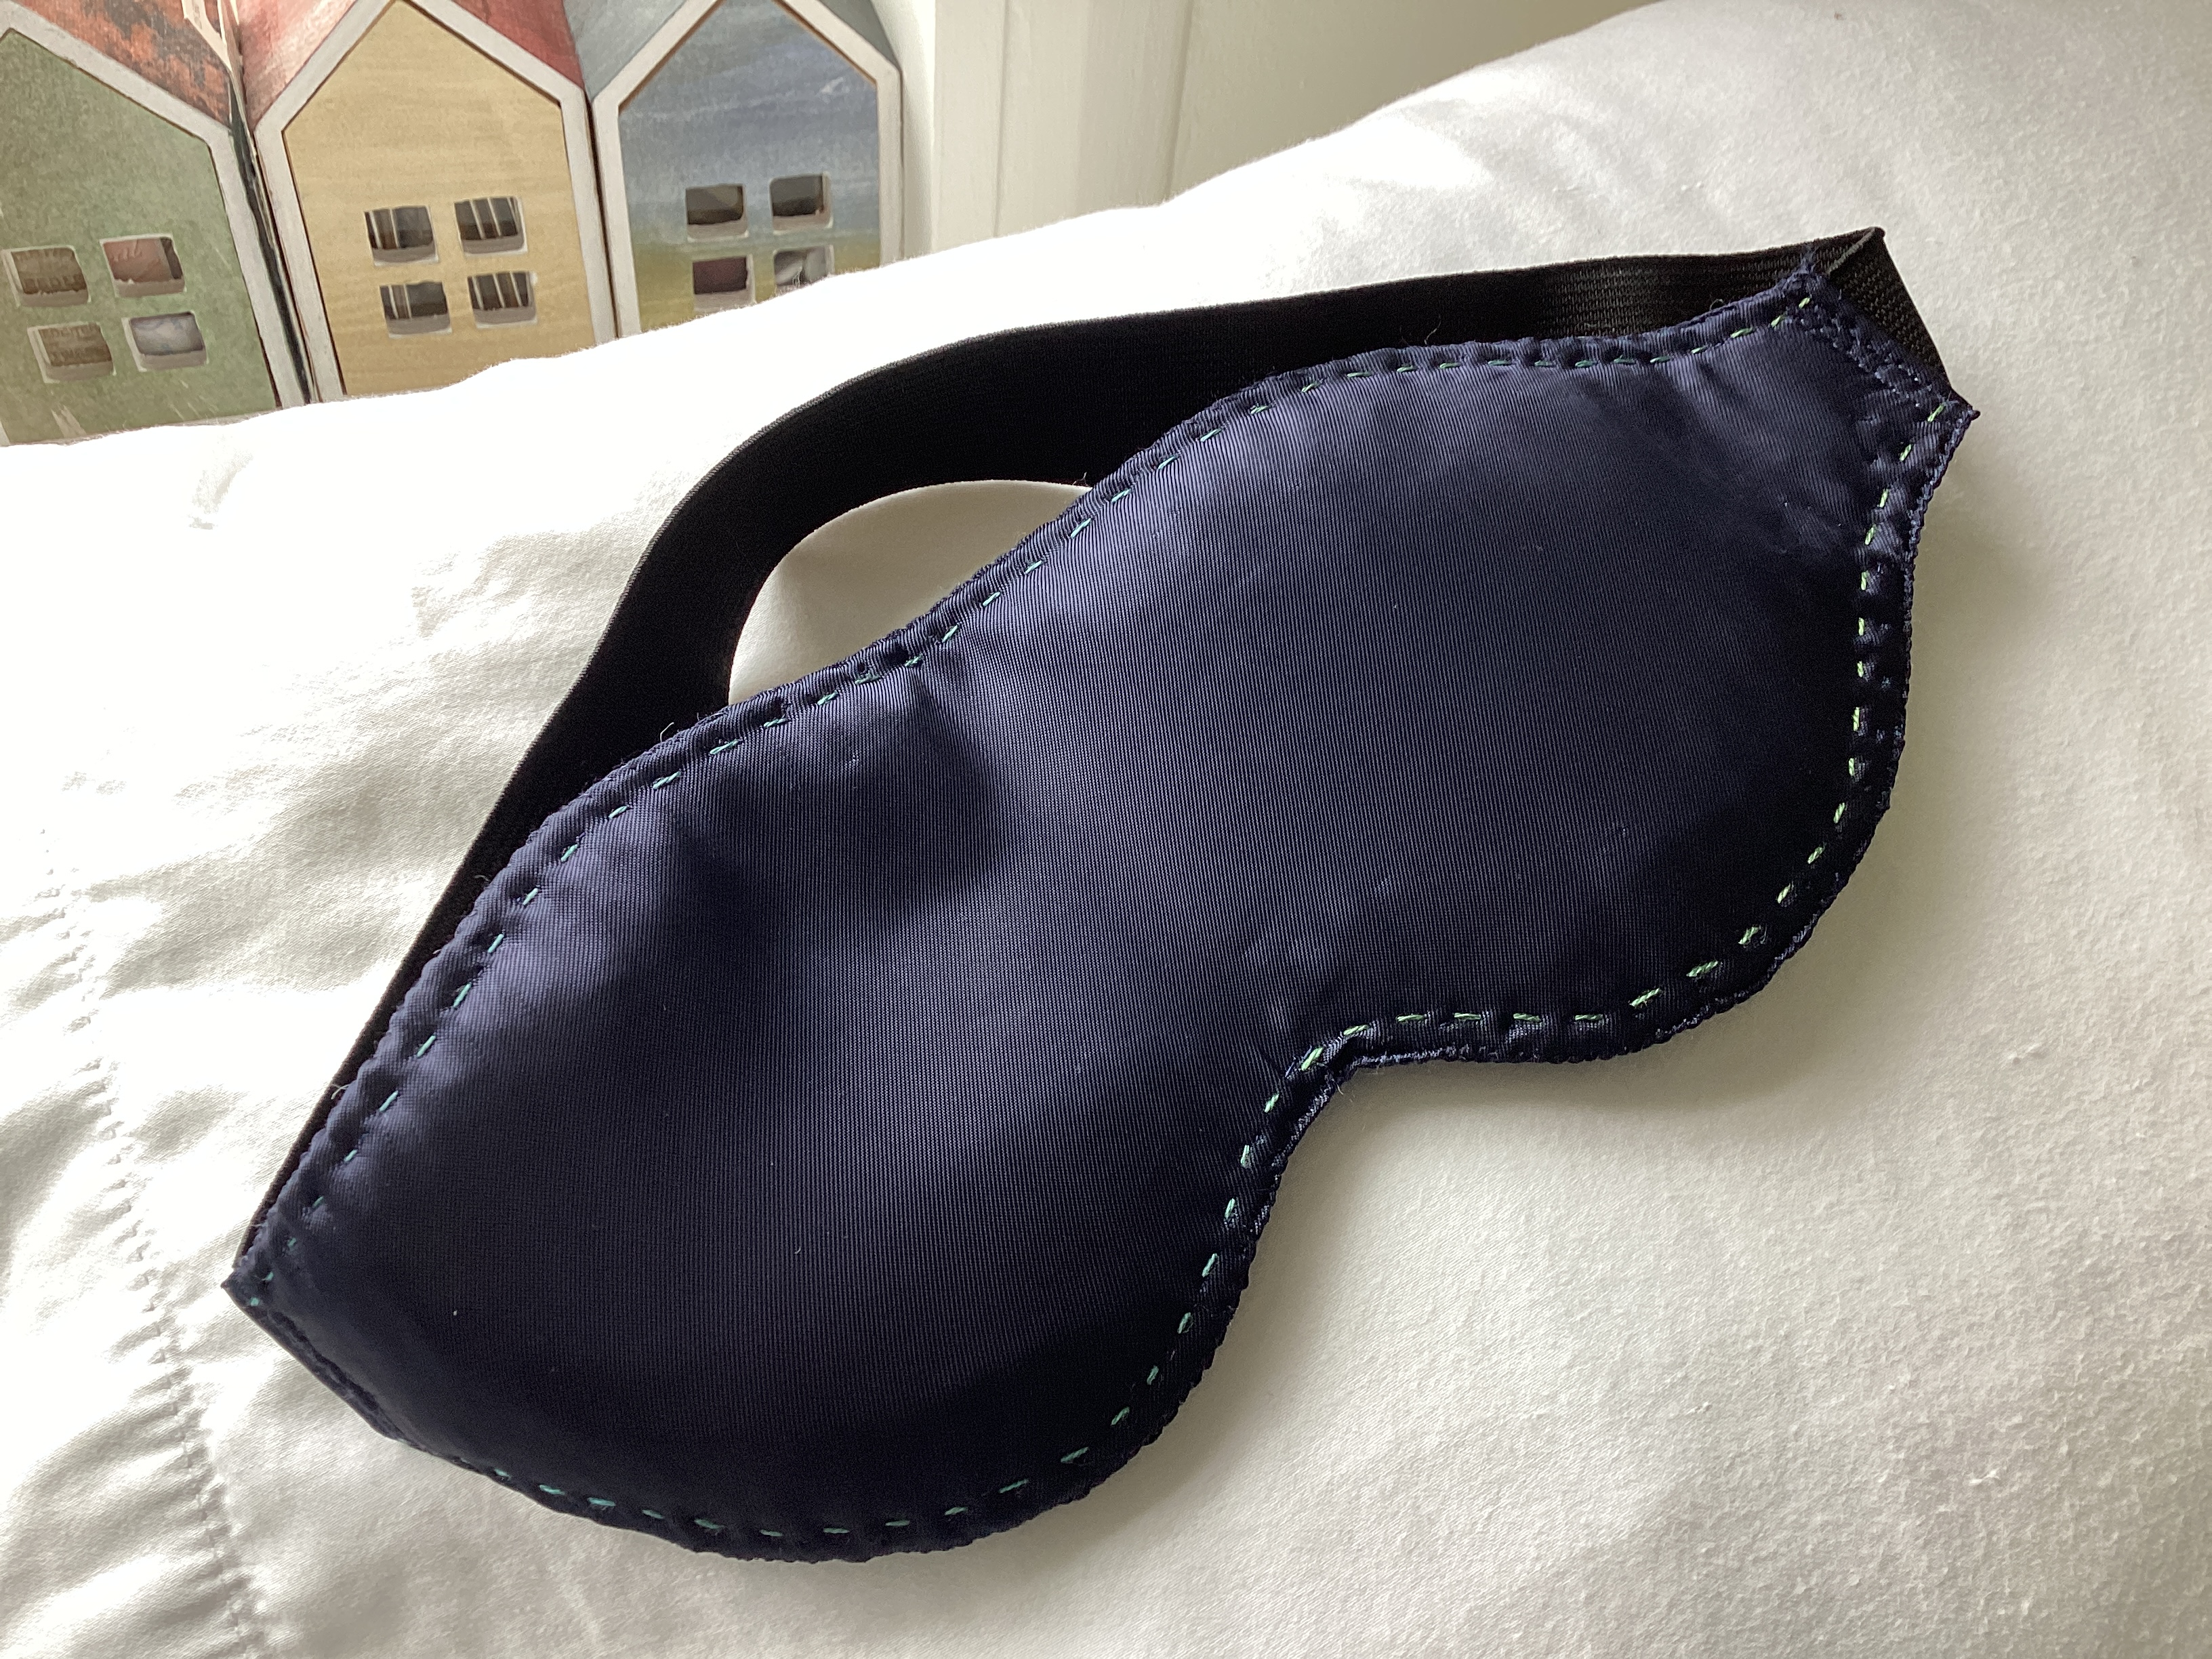
Making a custom sleep mask is a quick project that delivers better rest and personalized comfort. By choosing blackout lining, trimming your padding correctly, and securing your elastic firmly, you create a high-quality tool for sleep.
Start with scrap fabric today to craft a mask that fits your face perfectly. Follow these steps to block light effectively and enjoy deeper sleep wherever you go.