How to Make a Bolster Pillow with Tied Ends
You’ve spotted them on stylish beds, cozy couches, and peaceful meditation corners. Those plump, elegant bolster pillows with beautifully gathered ends and a decorative button at the center look expensive but are surprisingly simple to sew at home. Learning how to make a bolster pillow with tied ends is a rewarding weekend project that costs a fraction of store-bought versions.
This guide walks you through every step, from cutting your fabric to securing the final stitch. You’ll create a polished bolster with soft, tied ends and a stylish covered button. No complicated patterns or specialty tools are required. With basic sewing supplies and about 2 yards of fabric, you’ll have a custom pillow that adds comfort and charm to any room.
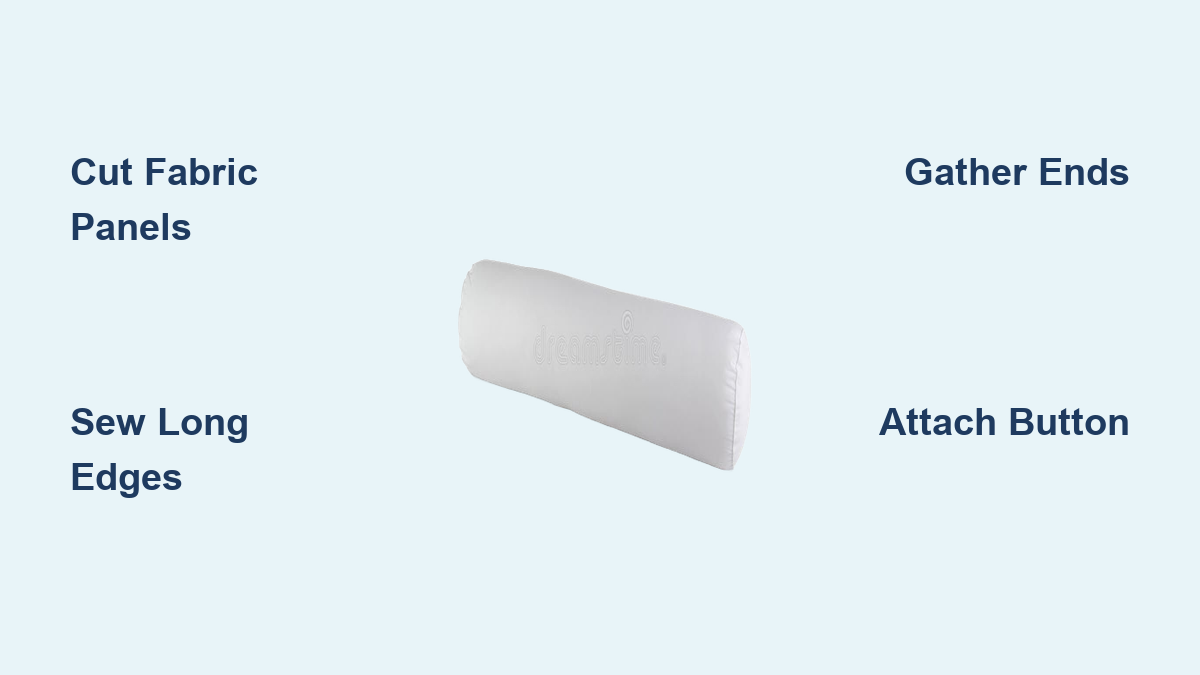
Cut Fabric Panels for Your Bolster Pillow
Measure and Cut Two Matching Rectangles
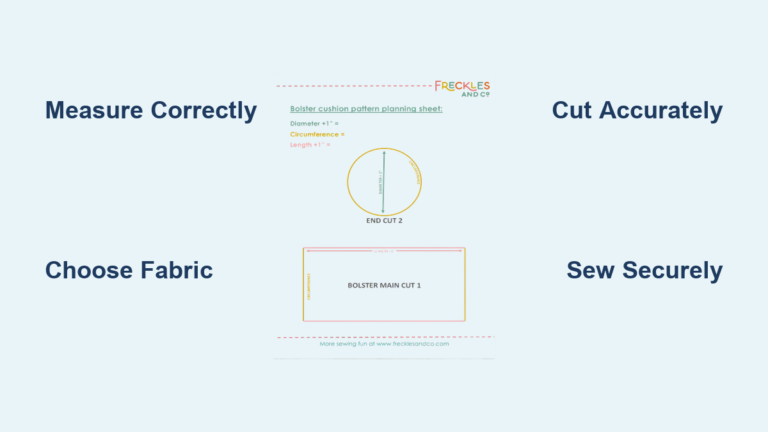
Begin by cutting two identical fabric rectangles. Each should measure 22 inches long and 12 inches wide. This creates a standard 18-inch bolster once the ends are gathered. Adjust these dimensions if you plan to use a longer or thicker pillow form.
Always pre-wash and press your fabric before cutting. This prevents unwanted shrinkage later. Use sharp scissors and a ruler to ensure clean, straight edges for a professional finish.
Sew the Long Edges Together
Join Panels With Right Sides Facing
Place the two fabric pieces together with the right sides facing inward. Align all edges carefully and pin or clip them in place to prevent shifting.
Using a sewing machine, stitch along both 22-inch long sides with a ½-inch seam allowance. Backstitch at the beginning and end of each seam to lock the stitches securely.
After sewing, trim the corners diagonally to reduce bulk when you turn the cover right side out. Be careful not to snip through your stitches.
Turn and Press the Cover
Flip the Tube Right Side Out
Carefully turn the fabric tube right side out through one of the open ends. Use a turning tool, chopstick, or blunt knitting needle to gently push out the corners.
Once fully turned, press the entire cover with a hot iron. Smooth the seams flat and make sure the edges look crisp and even. This step gives your bolster a clean, professional appearance before you add the filling.
Gather the Ends of Your Bolster

Create the Signature Tied End Look
The tied ends are what give this bolster its distinctive charm. You’ll create soft gathers at both openings to achieve this effect.
Mark and Baste Each End
On the inside of each open end, measure and mark 3 inches from the edge. Using a contrasting thread, sew two parallel rows of basting stitches around each end. Place one row about ¼ inch from the edge and the second row about ½ inch in.
Pull Threads to Form Gathers
Gently pull the bobbin threads from one side to gather the fabric. Continue pulling until the gathered end measures about 6 inches wide. This size fits snugly over a standard bolster form. Repeat the process on the opposite end.
Distribute the gathers evenly with your fingers so they look full and symmetrical. Don’t tie off the threads yet. Keep them loose until the pillow form is inserted.
Attach a Decorative Covered Button

Center the Button on One End
Choose a decorative button that matches or contrasts beautifully with your fabric. A covered button works best because it blends seamlessly into the gathered design.
Hold the gathered end flat and locate the center point. Sew the button securely onto this spot using strong thread. Pass the needle through the back of the fabric and button several times to anchor it firmly.
For extra durability on frequently used pillows, reinforce the back with a small piece of fabric interfacing or a washer-shaped scrap before sewing.
Pro Tip: Use a shank or sew a thread shank to allow room for the knot that forms when you tie the ends together.
Insert the Pillow Form
Slide in Your Cushion Insert
Carefully insert your cylindrical pillow form through the open gathered end. Push it in slowly, guiding it with one hand while supporting the fabric with the other.
Once fully inserted, adjust the cover so it sits evenly on the form. Gently pull the basting threads to tighten and shape the gathers into soft, even ruffles.
Center the buttoned end and prepare to close the opposite opening.
Close the Opening With a Hand Stitch
Sew an Invisible Ladder Stitch
Tuck the raw edges of the open end inward, hiding them inside the gathered fabric. Match the gathers so the closure lies flat and looks natural.
Use a ladder stitch (also called an invisible stitch) to sew the opening closed by hand. Follow these steps:
- Thread a needle with matching thread and knot the end.
- Insert the needle inside the fold on one side, then catch a tiny pinch of fabric on the opposite side.
- Repeat, alternating sides, and pull gently after each stitch.
- Finish with a knot hidden inside the seam.
This technique creates a seamless, nearly invisible closure that looks like the bolster was never opened.
Expert Note: Take your time with this stitch. It makes the difference between a homemade look and a high-end finish.
Optional Embellishments for Your Bolster
Customize Your Finished Pillow
Want to make your bolster stand out? Try these easy upgrades:
- Contrasting thread for basting or topstitching
- Piping or trim along the seam line before sewing
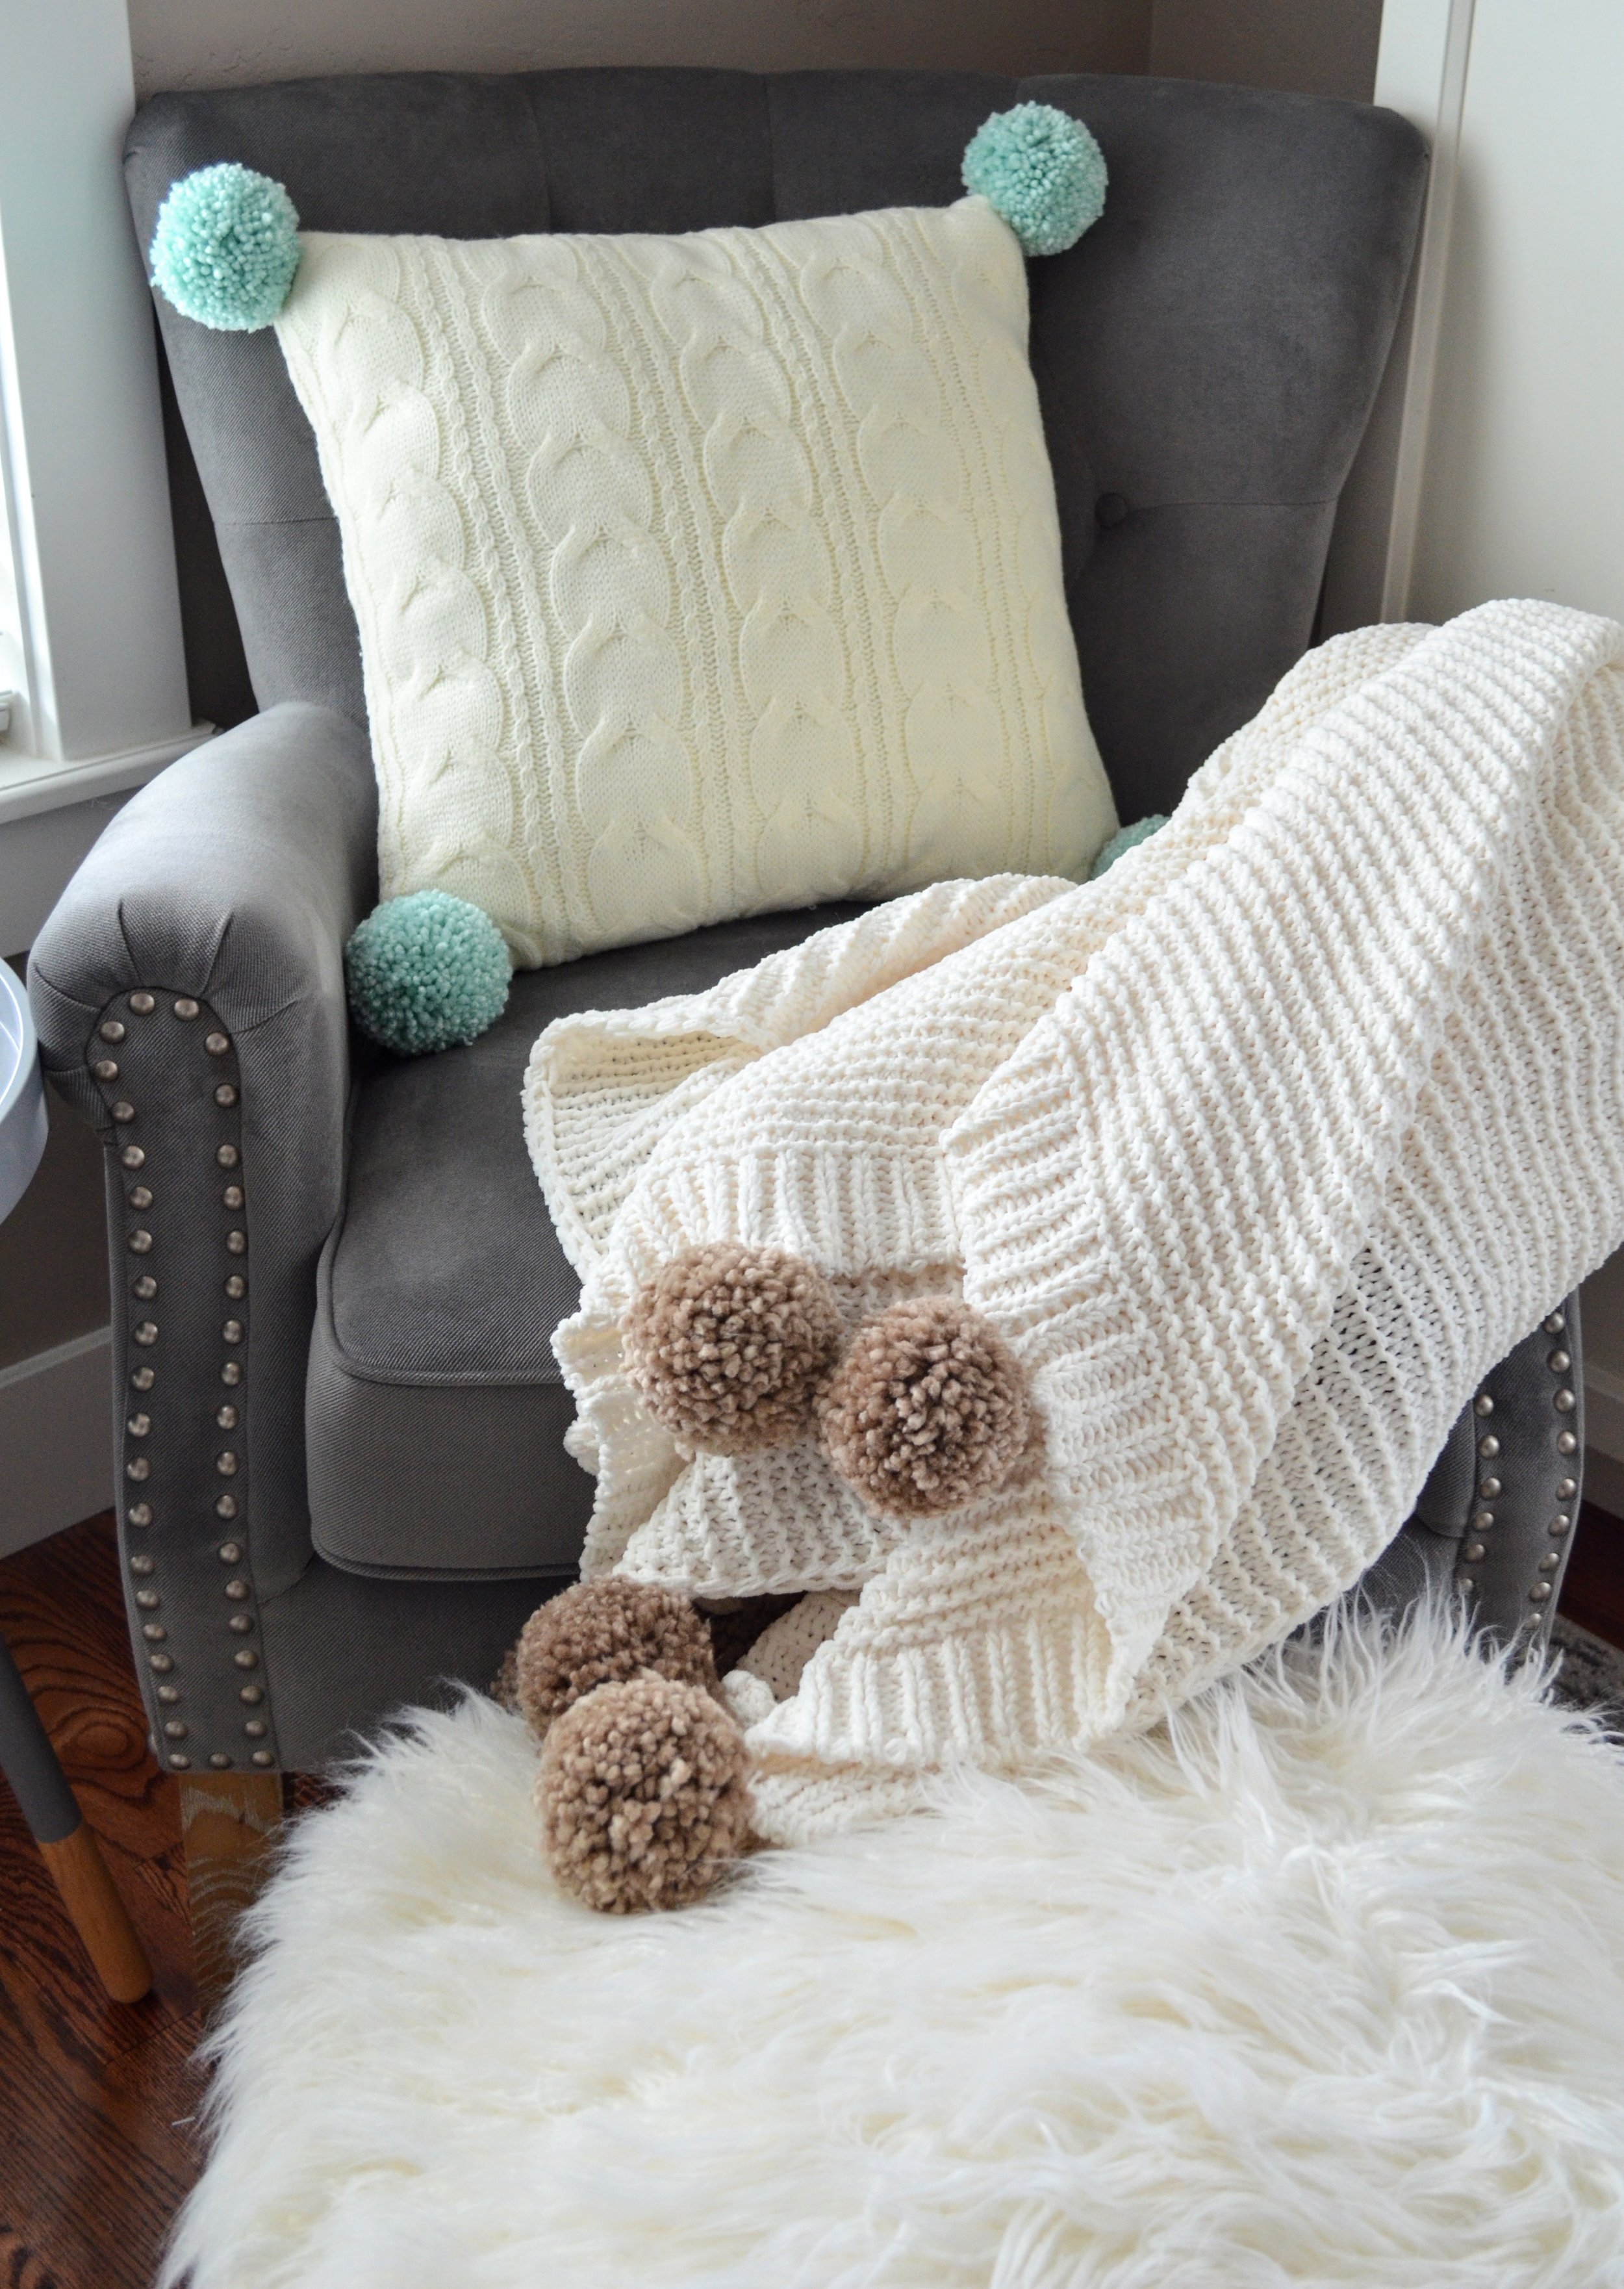
- Tassels or pom-poms attached near the button
- A lined interior using a second fabric for added durability
You can