How to Make a Bolster Dog Bed
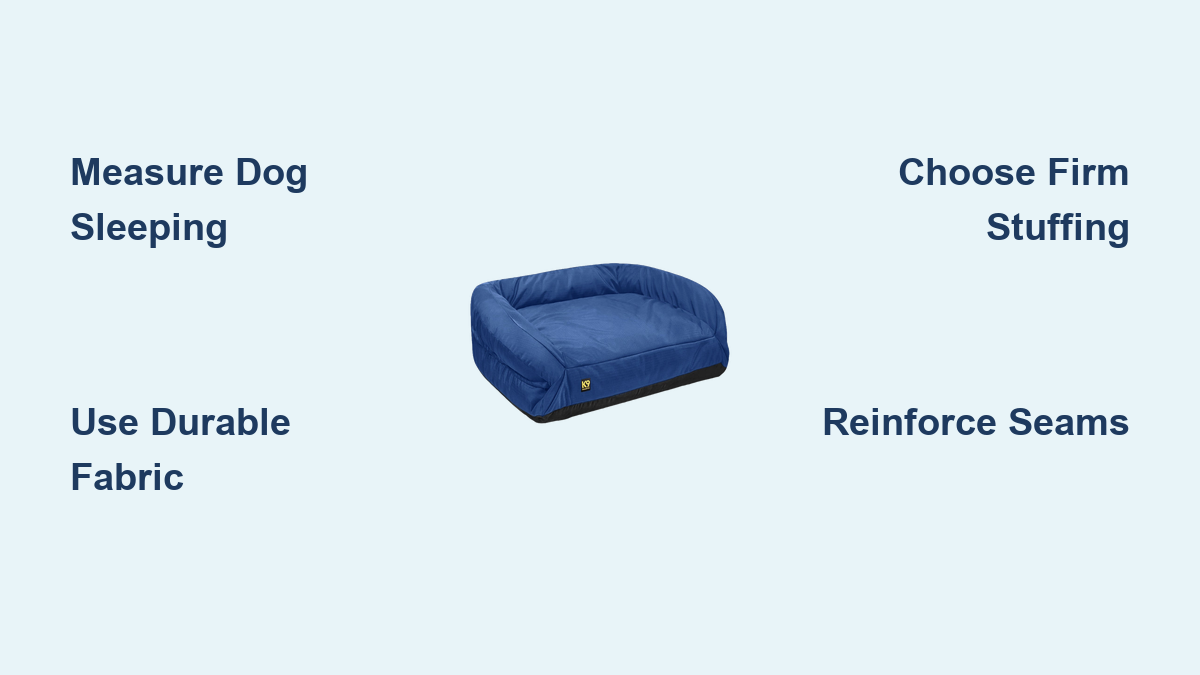
Does your dog spend half the night rearranging their bed into a pile, only to wake up on a flat, deflated cushion? You’re not the only owner dealing with this. Many pet parents struggle to find a bed that actually holds up to daily use, especially for dogs who love to burrow or rest their heads on something firm and supportive. The good news is that learning how to make a bolster dog bed at home solves both problems in a single afternoon project.
A homemade bolster bed costs a fraction of what you’d pay in a pet store and lets you customize the size, fabric, and filling to match your dog’s exact needs. This guide covers everything from accurate measuring and chew-proof fabric choices to two complete construction methods, including a no-sew version and a structured sewn bed with memory foam support.
Measure Your Dog Correctly Before Cutting Fabric

Most DIY beds fail for one simple reason: they are too small. A cramped bed forces your dog to curl up instead of stretch out, which defeats the purpose of giving them their own space.
Measure While Your Dog Sleeps
Always take measurements when your dog is fully asleep and stretched flat on the floor. A sitting or curled-up dog can measure 10 to 12 inches shorter than their true length. Use a soft tape measure from the tip of the nose to the base of the tail for length, then measure shoulder to shoulder at the widest point for width.
Add Inches for Comfort and Bolster Bulk
Once you have the base numbers, add 6 to 12 inches to both length and width. This extra space accounts for the thickness of the bolster tubes and gives your dog room to shift positions during the night. A 30-inch long dog needs a finished bed of at least 36 to 42 inches.
Match Bed Size to Breed Category
Use this quick reference to pick the right starting dimensions:
| Dog Size | Weight | Recommended Bed Size |
|---|---|---|
| Small | Up to 20 lbs | 24″ x 18″ |
| Medium | 20 to 50 lbs | 36″ x 28″ |
| Large | 50 to 90 lbs | 46″ x 36″ |
| Giant | 90+ lbs | 52″ x 42″ or larger |
Giant breeds like German Shepherds and Great Danes often need beds over 54 inches long to stretch out fully.
Choose Durable, Dog-Safe Fabrics
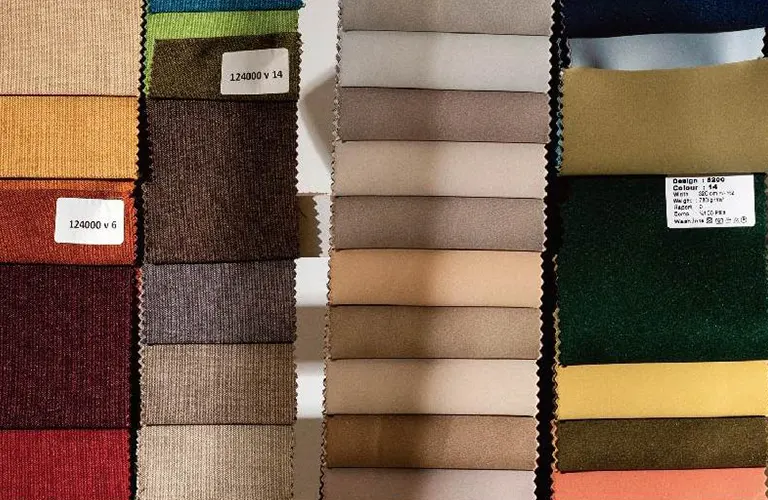
The fabric you choose determines how long your bed lasts, especially if your dog chews, digs, or has accidents.
Pick High-Durability Outer Fabric
Avoid quilting cotton because it tears within weeks under regular use. Instead, choose from these proven options:
- Canvas: Best for heavy chewers and large breeds. Lasts up to 18 months.
- Denim: Durable, washable, and good for indoor living rooms.
- Upholstery fabric: Stylish and tough, perfect for blending with home decor.
- Ripstop nylon: Ideal for extreme chewers because it resists tearing.
- Outdoor fabric: Use for patio beds because it resists sun and rain.
Fleece is soft and works well for no-sew projects, but it is less durable and best suited for small or senior dogs.
Add a Lining for Smooth Bolster Curves
Always place a lining fabric (such as twill or soft cotton) between the outer fabric and the stuffing. This prevents lumps, stops filling from poking through, and gives the bolsters a clean, rounded shape.
Add Waterproof Protection When Needed
For older dogs or those prone to accidents, use waterproof fabric as the inner layer. Note that waterproof coatings can make sewing needles sticky. Wipe the needle with rubbing alcohol every few minutes to keep it clean.
Select the Right Stuffing and Core Materials
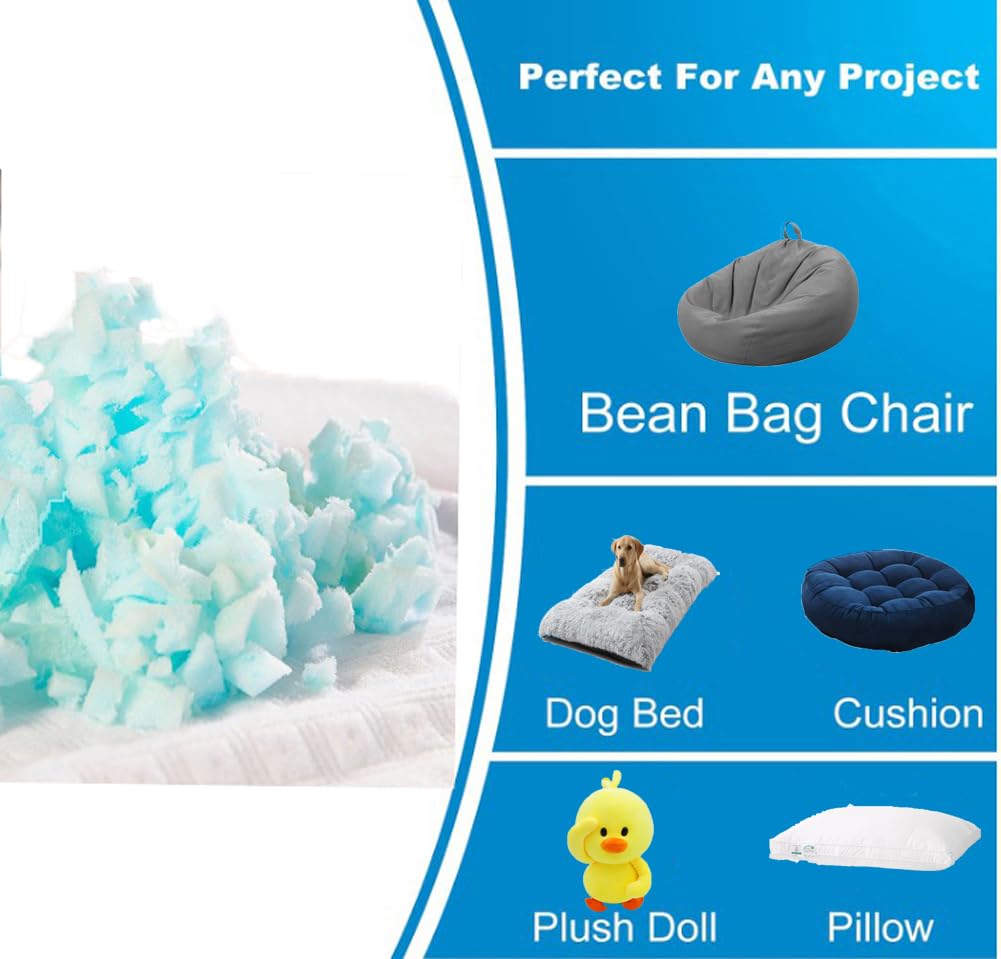
What goes inside the bed matters just as much as the outside fabric. The wrong filler flattens quickly and leaves your dog sleeping on the floor.
Use High-Density Foam for Large Dogs
Polyester fiberfill is soft but compresses fast under heavy weight. For dogs over 50 lbs, use high-density foam that is 2 to 3 inches thick. It lasts 2 to 3 years and resists flattening far better than loose fill.
Add Memory Foam for Senior Dogs
Dogs with joint pain or hip dysplasia need orthopedic support. Memory foam reduces stiffness and improves mobility, and many owners report less morning stiffness within two weeks of switching. The cheapest source is a memory foam mattress topper, which you can cut to fit your base.
Try the Pool Noodle Bolster Hack
For a firm, shape-retaining bolster, insert standard 2-inch diameter pool noodles into the side tubes. They are lightweight, inexpensive, and provide excellent head support. Calculate fabric width using this formula: (2 × desired height) + noodle diameter. For a 4-inch high bolster with a 2-inch noodle, the strip should be 10 inches wide before seam allowance.
Repurpose Old Pillows for Free Filling
Old bed pillows, towels, and t-shirts make great filling, especially for no-sew projects or base layers. They are eco-friendly and cost nothing. Just make sure they are clean and free of holes before stuffing them in.
Build a No-Sew Fleece Bolster Bed in Under an Hour
No sewing machine? No problem. You can make a soft bolster-style bed in about an hour with just scissors and a few tying skills.
Cut and Tie Two Fleece Layers
- Cut two identical rectangles of fleece using your dog’s size plus 6 to 12 inches.
- Place the layers together with edges aligned.
- Cut 4-inch squares from each corner.
- Cut 1-inch wide, 4-inch long strips around the perimeter every 4 inches.
Stuff for a Raised Edge
- Turn the raw edges inward to hide them.
- Stuff the center heavily with fiberfill or an old pillow.
- Stuff the perimeter lightly to create a natural ridge that mimics a bolster.
- Tie the strips in double knots because single knots come undone.
- Trim excess fabric for a clean look.
Pro Tip: If the bed still feels flat, add more stuffing to the center to push material outward into a raised edge.
Know the Limitations
This method creates a soft, low-rising edge rather than a firm bolster. It works best for small dogs or temporary use. For a structured feel, move on to a sewn version.
Sew a Structured Pillow-Base Bolster Bed
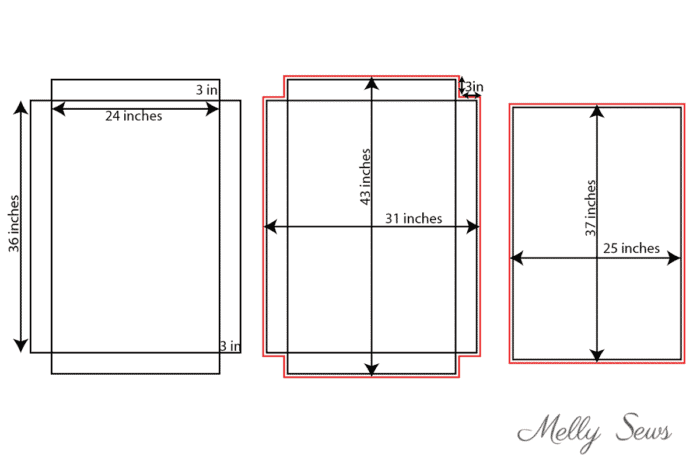
This intermediate project creates a durable, washable bed with a removable pillow and firm bolster, perfect for crates or living rooms.
Cut Fabric for the Base and Bolster
Use upholstery fabric for both pieces:
- Base: Two rectangles cut to your dog’s size plus seam allowance.
- Bolster: One long strip about 14 inches wide and equal to the base length plus side lengths. When folded, it becomes a 7-inch high tube.
Assemble the Base with a Closure
- Fold the base fabric in half with right sides together.
- Sew the two long sides and one short side.
- Clip the corners and turn the piece right side out.
- Reinforce corners by sewing diagonally across each one to prevent tearing from fluffing.
- Install Velcro or a zipper on the open end.
Pro Tip: Use Velcro instead of zippers because it won’t jam with dog hair and is easier to replace if it wears out.
Create the Bolster Tube
- Cut the bolster strip and fold it lengthwise with right sides together.
- Sew one short end closed, then sew the long edge to form a tube.
- Turn the tube right side out.
- Stuff firmly with upholstery batting using a dowel or your hand.
Warning: Don’t overstuff. Leave a 1-inch flat edge so you can sew the final end shut without breaking your needle.
Attach the Bolster to the Base
- Position the bolster around the top edge of the base.
- Hand-tack or use Velcro to attach it. Do not sew through both layers if you want a removable base pillow.
- Insert a standard bed pillow into the base.
- Close the Velcro or zipper.
Upgrade: Use Velcro on both the bolster and base so the entire cover can be removed and washed.
Upgrade with a Box-Style Bolster and Fabric Ties
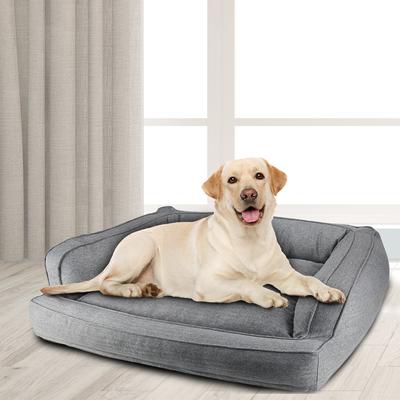
For a sleek, modern look that blends into home decor, build a box bolster bed with fabric ties.
Use Interfacing for a Stiff Base
Cut two base panels and fuse heavyweight interfacing to one. Leave a 1-inch border so the edges stay flexible for folding. This keeps the center firm while allowing the sides to fold neatly.
Make Fabric Ties
Cut eight strips measuring 1.5 inches by 12 inches from twill. Fold each strip in half lengthwise, edgestitch, and seal one end with seam sealant. The raw end stays hidden inside the seam.
Assemble Bolsters with Ties Built In
- Pair twill lining with fleece exterior fabric.
- Fold in half with right sides together.
- Insert a tie 2 inches from the top on each short end, aligning raw edges.
- Sew the side seam, clip corners, and turn right side out.
- Stuff to firm but not tight, then baste the bottom closed.
Final Assembly with Ties
- Baste long bolsters to the top and bottom of the interfaced base.
- Sandwich the bolsters between the two base panels with right sides together and stitch across the top and bottom.
- Turn right side out and insert the side bolsters.
- Hand-stitch the top panel down to hide raw edges.
- Tie the corner ties into bows to form the box shape.
Result: A crisp, tufted look that is easy to disassemble for cleaning.
Fix Common DIY Bed Problems
Even well-made beds can develop issues. Here is how to solve the most frequent ones.
Bolster Won’t Stay Attached
This usually happens when overstuffing makes the seam too thick to sew cleanly. Leave a 1-inch unstuffed flat edge when stuffing bolsters. This flat area sews easily and lies flat against the base.
Stuffing Bunches in Corners
The cause is not enough total stuffing. Add more filling to the center, which pushes material outward and fills the corners evenly.
Dog Refuses the New Bed
The cause is usually an unfamiliar scent or texture. Place your dog’s favorite blanket or toy on the bed for 1 to 2 days. Let them sniff and explore before expecting full use.
Fabric Rips Quickly
The cause is using thin fabric like quilting cotton. Replace it with canvas, denim, or ripstop nylon. Double-stitch all seams for extra strength.
Zipper Jams with Hair
Dog fur clogs the zipper teeth. Switch to Velcro or hide the zipper on the underside of the bed where it is less accessible.
Maximize Durability for Chewers
No DIY bed is completely chew-proof, but you can make it last much longer with the right strategies.
Choose Chew-Resistant Materials
Use canvas, denim, or ripstop nylon for the outer shell. Add a protective inner liner so that if the outer layer is damaged, the liner keeps the stuffing inside.
Reinforce Seams and Corners
Double-stitch every seam because single stitching splits under stress. Reinforce corners with diagonal stitches to prevent tearing from fluffing or chewing.
Hide or Replace Zippers
Zipper pulls are chew magnets. Use Velcro instead or sew zippers on the bottom side of the bed. If you must use a zipper, cover the pull with a fabric tab.
Elevate the Bed for Extreme Chewers
Build a PVC or wood frame and attach the bed to the top. This keeps the fabric out of reach while still providing comfort and support.
Keep the Bed Clean and Washable
A dirty bed causes odors, bacteria, and skin issues. Design for easy cleaning from the start.
Use Removable Covers
Always include Velcro or a zipper so the cover can be removed and washed every 2 to 3 weeks. Canvas and fleece can be machine washed in cold water and air-dried to prevent shrinking.
Spot Clean Non-Removable Beds
For beds without removable covers, use a pet-safe cleaner for stains. For deep cleaning, use a carpet cleaner machine every 3 months.
Maintain the Stuffing
If fiberfill bunches, redistribute it by hand. Add more stuffing to the center to push material into flat spots. Replace foam every 2 to 3 years as it compresses over time.
Customize for Senior and Large Dogs
Tailor your design to your dog’s age, size, and health needs for the best results.
Support Senior Dogs with Memory Foam
For dogs over 7 years old or with joint pain, use 3-inch thick memory foam as the base. Build low-entry bolsters on one or two sides so they can climb in easily. Many owners report less morning stiffness within two weeks of switching.
Scale Up for Giant Breeds
For dogs over 90 lbs, use high-density foam because polyester fill flattens instantly under their weight. Choose heavy-duty canvas for the fabric and size the bed to 52 inches by 42 inches or larger. Reinforce all seams and corners for extra strength.
Build Outdoor Bolster Beds
For patio or yard use, choose outdoor-rated fabric that resists sun and rain. Build on a PVC or wood frame to elevate the bed off the ground. This improves airflow and keeps dogs cooler in summer.
Final Safety Checks Before Use
Before handing the bed over, do a final inspection to protect your dog.
Check for Loose Threads and Broken Needles
Remove all loose threads, buttons, or decorations because these are choking hazards. After sewing thick bolster ends, inspect the bed and your work area for broken needle fragments that could be ingested.
Allow Adhesives to Cure
If you used fabric glue or adhesive Velcro, let it cure for 24 hours before letting your dog use the bed. This prevents chemical exposure and keeps your dog from sticking to the surface.
Supervise First Use
Watch your dog the first few times they use the bed. Some may try to chew or dismantle it. If so, switch to chew-resistant materials or elevate the bed on a frame.
Frequently Asked Questions About Bolster Dog Beds
What is the best fabric for a bolster dog bed?
Canvas is the best all-around fabric for most dogs because it resists tearing and lasts up to 18 months under heavy use. Denim and upholstery fabric also work well for indoor beds, while ripstop nylon is best for extreme chewers. Avoid quilting cotton because it tears within weeks.
How long does it take to make a bolster dog bed?
A no-sew fleece bolster bed takes about 55 minutes to complete. A structured sewn bed with a pillow base takes 2 to 3 hours for a beginner. A box-style bolster bed with ties takes 4 to 5 hours. An elevated frame bed takes 6 or more hours.
How much does a DIY bolster dog bed cost?
A no-sew fleece version costs $10 to $20 in materials. A structured bolster bed costs $30 to $50. A memory foam version costs $40 to $60. Over three years, the DIY approach saves $300 to $450 compared to buying multiple store-bought beds.
Can I make a bolster dog bed without sewing?
Yes. The no-sew method uses two layers of fleece cut into strips and tied together with double knots. You stuff the center heavily and the perimeter lightly to create a soft raised edge. This works best for small dogs or as a temporary bed.
What stuffing is best for a bolster dog bed?
High-density foam is best for large dogs because it lasts 2 to 3 years without flattening. Memory foam is best for senior dogs with joint issues. Polyester fiberfill works for small dogs but compresses quickly. Pool noodles inside bolster tubes provide firm, shape-retaining support.
How do I get my dog to use a new bolster bed?
Place your dog’s favorite blanket or toy on the bed for 1 to 2 days. Let them sniff and explore the bed on their own terms. Avoid forcing them onto it. Most dogs accept a new bed within a few days once it carries a familiar scent.
Final Takeaways for Building Your Own Bolster Dog Bed
Learning how to make a bolster dog bed is a rewarding project that saves money and gives your dog a custom sleeping space. The two most important factors for success are accurate measurements and durable materials. Measure your dog while they sleep, add 6 to 12 inches for comfort, and choose canvas, denim, or ripstop nylon over thin cotton.
Choose your construction method based on your skill level and your dog’s needs. Beginners can finish a no-sew fleece bed in under an hour, while intermediate sewers can build a structured pillow-base bed with removable covers in an afternoon. Senior dogs benefit most from memory foam, and heavy chewers need reinforced seams and chew-resistant fabric.
Start by gathering your materials, measuring your dog, and choosing the right fabric for your skill level. With a few hours of work and the right supplies, you will have a clean, durable bed your pup will love and the satisfaction of knowing you built it yourself.