How to Disassemble a Futon Frame
Moving a bulky futon feels impossible until you learn how to disassemble a futon frame correctly. Modern designs featuring Gold Shoe Fittings™ use snap pins and roller guides instead of complex bolts, allowing for quick breakdown without tools.
This guide shows you exactly how to remove the seat and back decks safely using proper lifting techniques. You will learn to avoid common mistakes that bend pins or crack wood while ensuring your frame stays ready for reassembly.
Remove the Mattress Before Starting Disassembly
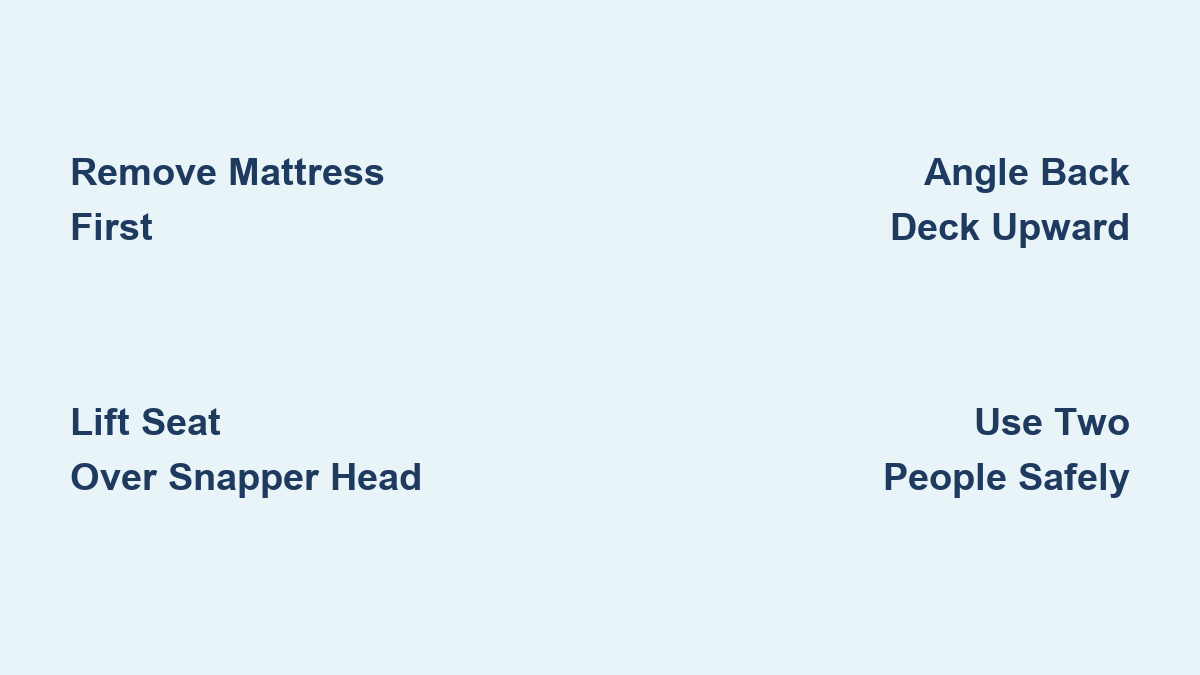
Lifting off the mattress is the absolute first step before touching any frame components. This action clears your workspace and prevents accidental tears or punctures to the fabric during the heavy lifting ahead. A standard mattress weighs between 30 and 60 pounds, so bend your knees and lift with your legs to avoid back strain.
Set the mattress aside on a clean, dry surface or cover it with a sheet for protection. With the mattress gone, you gain full visibility of the Gold Shoe Fittings™ and connection points on the frame head. These critical areas require your full attention for the next steps of the process.
Prepare Your Team and Workspace Safely
Why Two People Are Required for Safety
Disassembling a futon frame is not a job for one person due to weight and awkward angles. The seat and back decks are heavy, and unbalanced movement can stress joints or cause serious injury. Assign clear roles where one person manages the lifting while the other guides and watches for snags.
Communicate clearly using simple commands like “lift,” “pivot,” or “stop” to stay perfectly in sync. This coordination ensures control and balance throughout the entire disassembly process. Never attempt to force a heavy deck alone as this increases the risk of dropping the unit.
Clear Your Path and Check Floor Conditions
Clear a wide path around the futon to give yourself room to swing the decks outward once released. Ensure your flooring is dry and non-slip to prevent accidents while carrying heavy wooden components. If you are working near a doorway, measure the space now to confirm separated pieces will fit through easily.
Proper preparation saves significant time and avoids last-minute surprises during a move. You need enough space to set down large decks without bumping them into walls or other furniture. A cluttered area increases the chance of damaging the frame or your belongings.
Detach the Seat Deck Using Snap Pins

Locate Snap Pins and Snapper Head Mechanism
The seat deck connects to the frame via snap pins that lock into sockets on the snapper head at the front. These spring-loaded fittings are designed to release with a specific motion rather than brute force. Do not pull the deck straight out because this action can break the pins or damage the socket.
You must lift the deck up and over the snapper head to disengage the mechanism correctly. Identify the connection points on both sides of the frame before attempting to lift. Understanding this geometry helps you apply force in the right direction.
Lift Upward and Pivot Over the Frame
Stand on one side of the futon and grasp the seat deck firmly with both hands. Begin lifting straight up, then pivot the front edge upward and forward in a smooth arc. You will feel resistance as the pins engage the socket, so keep lifting until they clear the top of the snapper head.
This upward-pivot motion is crucial for a successful removal. If you do not lift high enough, the pins will catch and may bend permanently. Watch the pin closely as it clears the socket to ensure full disengagement.
Pro Tip: Look for daylight between the pin and the snapper head. Once you see this gap, the deck is free to move outward safely.
Walk the Deck Backward Carefully
With the pins disengaged, slowly walk the seat deck backward and away from the frame structure. Keep the deck level to avoid bumping it into walls, legs, or other obstacles. If the deck feels heavy, ensure both people support it evenly on opposite sides.
Set the deck down on a soft surface like cardboard or carpet to prevent scratches. Avoid placing it on rough concrete or dirt which could damage the finish. Proper handling now ensures the deck looks new when you reassemble it later.
Remove the Back Deck from Roller Guides
Identify the Roller Guide System
The back deck runs on roller guides which are metal tracks that allow it to slide and recline. Unlike the seat deck, this component does not snap in but must be lifted vertically to disengage. Forcing it sideways or pulling without lifting will jam the mechanism and bend the tracks.
Inspect the tracks to see where the deck rests before you begin lifting. Knowing the track location helps you visualize the clearance needed for removal. This awareness prevents unnecessary friction during the lift.
Apply the Angled Lift Technique
Grasp the back deck with both hands and lift it straight up while tilting the top edge slightly away from the frame. This slight angle prevents the bottom of the deck from catching on the roller guides. Keep the motion smooth and controlled to avoid binding the mechanism.
If you feel resistance, lower the deck slightly and adjust your angle before trying again. Never force the deck if it does not move freely. Proper angling ensures the wood clears the metal tracks without scraping or cracking.
Extract with Coordinated Team Movement
Once the deck clears the rollers, walk it out of the frame structure with your partner. For wider futons, one person should lead the lift while the other ensures the opposite side follows evenly. Misalignment during removal can bend the guide tracks or warp the wooden deck.
Set the back deck aside parallel to the seat deck for easy reassembly reference. Keeping the pieces organized helps you remember which side was which. This simple step saves confusion when you need to put the futon back together.
Avoid Common Disassembly Mistakes
Forcing the Seat Deck Straight Out
The most frequent error is trying to pull the seat deck straight out instead of lifting over the snapper head. This action can shear the snap pins or damage the socket permanently. If the deck will not release, reposition your grip and lift higher rather than pulling harder.
Never use a hammer or pry bar on these components. The mechanism is designed to release with manual lifting only. Using tools indicates incorrect technique and will likely void your warranty.
Skipping the Angle on the Back Deck
Lifting the back deck straight up without angling it causes the bottom edge to catch on the rollers. This mistake can bend the track or crack the wood along the grain. Always tilt the top back slightly during ascent to ensure smooth clearance.
Patience is key when dealing with roller systems. Rushing this step often leads to costly repairs or replacement parts. Take your time to feel the deck clear the guides completely.
Working Alone on Heavy Models
Futon decks can weigh over 40 pounds each, making them dangerous to handle solo. Attempting disassembly alone increases the risk of dropping the deck, damaging flooring, or straining your back. Always use two people, especially for full or queen-size frames.
Your safety and the integrity of the frame are more important than saving a minute. Recruit a friend or family member to help you lift. This simple precaution prevents most accidents associated with moving heavy furniture.
Recognize Key Hardware Components
Gold Shoe Fittings™ Explained
These durable metal connectors are built for repeated use and feature a protective finish. The “Gold” refers to a coating that resists corrosion and wear over time. They are designed to align easily during reassembly, but only if disassembly was done correctly.
Inspect these fittings after removal to look for bent pins or cracked sockets. Damage here can prevent the futon from locking securely later. Clean any dust or debris from the fittings before storage.
Snap Pins vs. Roller Guides
| Feature | Snap Pins (Seat) | Roller Guides (Back) |
|---|---|---|
| Function | Lock seat deck in place | Support sliding motion |
| Release Method | Lift and pivot over head | Vertical lift with angle |
| Common Issue | Snagging if not lifted high | Catching if not angled properly |
Understanding these differences ensures you apply the right technique to each deck. Treating them identically will lead to frustration and potential damage.
Use Visual and Tactile Cues During Removal
Watch for Pin Clearance
As you lift the seat deck, keep your eyes on the snap pin and snapper head connection. The moment the pin clears the top edge, you will see a distinct gap appear. That visual cue is your signal to stop lifting and begin walking the deck out.
Visual confirmation prevents you from lifting higher than necessary. It also assures you that the mechanism is fully disengaged. Trust your eyes as much as your hands during this process.
Feel for Smooth Release
You should feel a slight “pop” or release when the pins disengage from the socket. If you are pushing or straining heavily, something is likely misaligned. Lower the deck, reposition your hands, and try the motion again.
Smooth motion indicates correct technique and proper alignment. Rough or jerky movement suggests you need to adjust your angle. Listening to your body and the frame prevents damage.
Check Alignment During Removal
For the back deck, pause halfway through the lift and check both sides simultaneously. Are the rollers clearing evenly on both tracks? If one side lags, adjust your grip and re-synchronize with your partner immediately.
Uneven lifting puts stress on the frame structure. Correcting alignment mid-lift protects the integrity of the roller guides. Communication between partners is essential here.
Handle Decks with Care During Transport
Support Full Weight Continuously
Never let go of the deck once it is free from the frame structure. Even partial support can allow the weight to swing and damage nearby furniture or walls. Keep a firm grip and move deliberately at all times.
Sudden drops can crack the wood or break the fittings. Maintain constant tension and control until the piece is safely on the ground. Your grip strength is the only thing holding the deck secure.
Protect Deck Edges from Damage
Wooden or laminated edges can chip easily on hard floors or doorframes. When setting decks down, place a blanket or cardboard underneath to cushion the impact. Avoid leaning them against walls where they might slide and fall.
Protecting the edges ensures the futon looks good for years to come. Small chips can grow into larger structural issues over time. Treat the wood with respect during the move.
Prepare for Storage or Moving Efficiently
Label Parts for Easy Reassembly
Use masking tape to mark “Front,” “Back,” “Left,” and “Right” on each deck and frame section. This simple step saves time when putting the futon back together later. It is especially helpful if the frame has been in storage for months.
Confusion during reassembly often leads to forced fits and damage. Clear labels remove all guesswork from the process. Spend a minute labeling now to save minutes later.
Bundle Hardware Separately
Although most futons with Gold Shoe Fittings™ do not require tools, some models have loose bolts or caps. Store any small hardware in a labeled ziplock bag and tape it to the underside of the main frame. This prevents loss during transit or storage.
Loose parts often get thrown away by mistake if not secured. Keeping them with the frame ensures you have everything needed for setup. A missing bolt can render the whole frame unusable.
Stack Smartly to Save Space
If storing vertically, place the heaviest piece, usually the seat deck, at the bottom. Use padding between pieces to prevent scratches and finish damage. Avoid placing heavy items on top of stored decks which could cause warping.
Proper stacking maximizes space while protecting your investment. Warped decks will not fit the frame correctly later. Plan your stack order before placing anything down.
Reassembly Readiness Tips
Keep Fittings Clean and Dry
Wipe down the snap pins and roller guides with a dry cloth before storage. Dust or debris can interfere with smooth reconnection when you are ready to use the futon again. Do not lubricate these mechanisms as they are designed as dry-fit components.
Clean fittings ensure a tight and secure lock upon reassembly. Dirt acts as an abrasive that wears down metal over time. A quick wipe-down is a small effort with big rewards.
Verify Alignment Marks Match
Before reassembling, confirm that all your alignment marks match the original configuration. The seat deck must sit squarely on the snapper head for the pins to engage properly. Misaligned decks will not lock and can collapse under weight.
Double-checking alignment prevents dangerous failures during use. Ensure every piece is oriented correctly before applying pressure. Safety depends on correct assembly.
Test Stability Before Regular Use
After reassembly, perform a quick stability test by gently rocking the frame. Sit on the seat deck lightly to ensure the pins are fully seated and secure. Open and close the back deck to confirm the rollers move freely without binding.
Testing gives you confidence that the futon is safe for sleeping or sitting. If anything feels loose, disassemble and check your connections again. Never skip the final safety check.
Frequently Asked Questions About Disassembling a Futon Frame
Can I disassemble a futon frame by myself?
It is strongly recommended to use two people for disassembly due to the weight and awkward size of the decks. Attempting this alone increases the risk of personal injury or damage to the frame components.
What tools do I need to take apart a futon with Gold Shoe Fittings?
You typically do not need any tools for frames with Gold Shoe Fittings™ as they use tool-free snap pins and roller guides. Your hands and proper lifting technique are the only requirements for disassembly.
Why won’t my seat deck lift off the frame?
You are likely pulling straight out instead of lifting up and over the snapper head. Ensure you pivot the deck upward until the snap pins clear the socket completely before pulling away.
How do I stop the back deck from catching on the rollers?
You must lift the back deck vertically while tilting the top edge slightly away from the frame. This angled lift clears the roller guides without binding or scratching the wood.
What should I do if the snap pins feel stuck?
Do not force them with tools or hammers as this causes permanent damage. Reposition your grip, lift higher, and ensure you are pivoting over the snapper head correctly.
How should I store the futon decks to prevent warping?
Store decks flat on a hard surface or stack them with the heaviest piece on the bottom using padding between layers. Avoid leaning them vertically for long periods unless they are fully supported.
Key Takeaways for Disassembling Your Futon Frame
Successfully learning how to disassemble a futon frame relies on using the correct lifting angles and teamwork. Always remove the mattress first, lift the seat deck over the snapper head, and angle the back deck to clear the rollers. These specific motions protect the Gold Shoe Fittings™ and ensure your furniture remains durable.
Follow these steps carefully to avoid damaging pins, bending tracks, or injuring yourself during the process. Proper technique makes moving and storing your futon efficient and stress-free. Now you are ready to disassemble your frame with confidence and safety.