How to Use Manta Sleep Mask
You have unboxed your new sleep aid, but figuring out the right fit can feel confusing without clear instructions. Learning how to use Manta sleep mask components correctly is the only way to achieve the total darkness and zero-pressure comfort this device promises.
This guide walks you through selecting nose bridges, adjusting straps, and positioning the mask to stop light leaks instantly. You will master the customization process to ensure deep, uninterrupted rest whether you are a side sleeper or a frequent traveler.
Unbox and Identify All Manta Sleep Mask Components
Your box contains several interchangeable parts designed to create a personalized fit for your unique face shape. Laying these out before you begin helps you understand the customization options available immediately.
What Comes Inside the Package
The kit includes the main mask body with pre-attached medium eye cushions as a starting point. You will also find three distinct nose bridge sizes and three sets of eye cushions in low, medium, and high profiles.
An adjustable elastic strap with dual sliders allows for precise tension control on both sides of your head. The package also includes a travel pouch, a cleaning cloth, and a user guide for quick reference.
Choose the Correct Nose Bridge Size
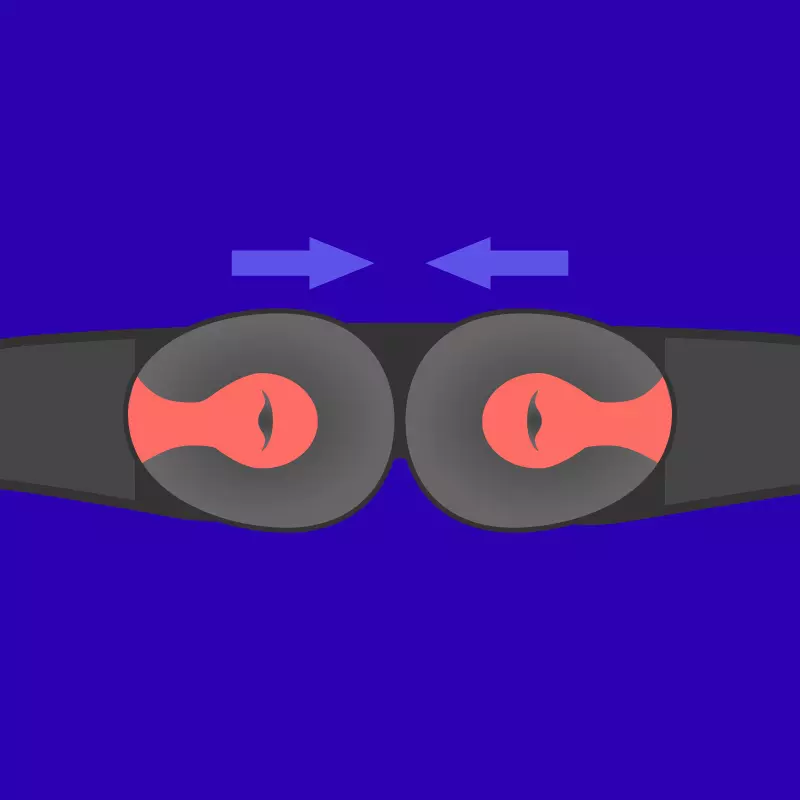
The nose bridge determines how well the top of the mask seals against your skin to prevent light intrusion. Selecting the wrong size often results in gaps above the nose or excessive pressure on the nasal bone.
Match the Bridge to Your Facial Structure
- Narrow Bridge: Best for petite adults or children with smaller nasal structures.
- Medium Bridge: The default option that fits the majority of users comfortably.
- Wide Bridge: Ideal for broader noses or anyone experiencing light leaks on the sides.
Snap your chosen bridge into the top center of the mask until you hear a firm click. If light still creeps in above your nose, try switching to a wider bridge for a better seal.
Select the Right Eye Cushion Profile
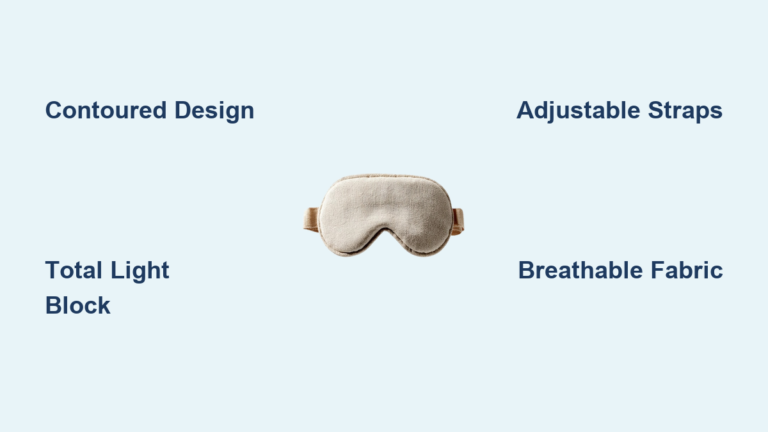
Eye cushions dictate how much space exists between your eyelids and the inner fabric of the mask. Choosing the correct profile prevents your lashes from touching the material and reduces pressure on your eyes.
Low Versus Medium Versus High Profiles
- Low Profile: Offers minimal depth for deep side sleepers who press their face into pillows.
- Medium Profile: Provides balanced depth and works well for most back and side sleepers.
- High Profile: Creates maximum space for long eyelashes or those who dislike any eyelid contact.
Gently pull off the existing cushions and press new ones firmly into the mask frame until they seal completely. Avoid sleeping with your eyes fully open even with high-profile cushions unless a doctor approves.
Adjust the Dual Slider Strap System
A properly adjusted strap keeps the mask secure without squeezing your head or causing headaches. The Manta system uses two independent sliders so you can adjust tension asymmetrically if needed.
Steps for Perfect Strap Tension
- Place the mask on your face and pull the strap around the back of your head.
- Slide each side up or down to tighten or loosen the band independently.
- Position the sliders behind your ears rather than on top of your head for stability.
- Ensure the pressure feels even across your forehead and the back of your skull.
Common Mistake: Over-tightening the strap creates pressure points and leaves red marks on your skin. The mask should stay in place gently without needing excessive force.
If you have long hair, braid it or twist it before putting the mask on to prevent tangles and ensure a flush fit against your skin.
Position the Mask Correctly on Your Face
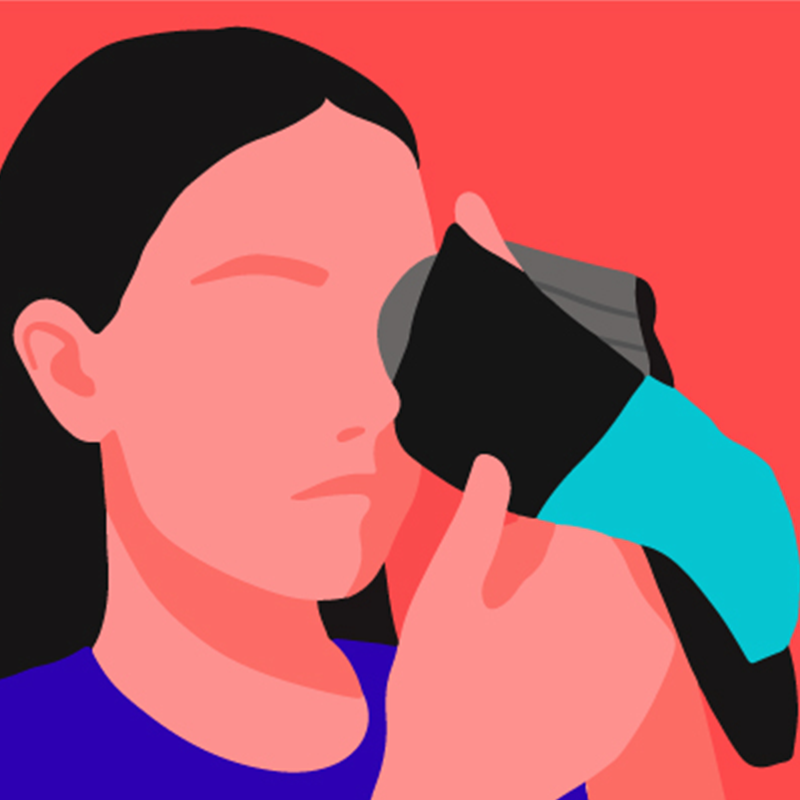
Proper placement is critical for blocking 100% of light while maintaining comfort throughout the night. Many users fail because they place the mask too low on their cheeks or too high on their forehead.
Align with Eyebrows and Cheekbones
Rest the bottom edge of the mask just above your cheekbones so it does not rest on your face soft tissue. Let the top sit flush against your forehead while centering the nose bridge over your nasal ridge.
You should feel even contact around your eye sockets without the mask pressing directly on your eyeballs. Close your eyes and turn on a bright lamp to check for any remaining light leaks before settling down.
Test for Light Leaks and Gaps

Even a tiny gap can disrupt your circadian rhythm, especially if you sleep in a bright environment or during the day. Testing the seal ensures you get the full benefit of the blackout design.
Check These Common Leak Points
- Above the Nose: Usually fixed by switching to a wider nose bridge.
- Under the Eyes: Often resolved by installing deeper eye cushions.
- Sides Near Temples: Typically corrected by adjusting the strap sliders behind the ears.
Perform the “hand test” by cupping your hands over the mask after wearing it to check airflow. If it feels stuffy or hard to breathe, the seal is too tight and needs loosening.
Clean and Maintain Your Sleep Mask
Regular cleaning extends the life of your Manta Sleep Mask and prevents skin irritation or breakouts from accumulated oils. A simple weekly routine keeps the materials fresh and hygienic.
Weekly Cleaning Routine
- Remove the eye cushions and nose bridge from the main mask body.
- Wash the components with mild soap and lukewarm water gently.
- Air dry all parts completely before reassembling the mask.
- Wipe down the elastic strap with a damp cloth to remove sweat.
Avoid: Harsh chemicals, alcohol wipes, or machine washing as these degrade the foam and elastic materials. Replace your cushions every 6 to 12 months depending on frequency of use.
Customize Settings for Side Sleepers

Side sleepers face unique challenges because pillow pressure can push the mask into the eyes. Adjusting your configuration prevents discomfort and maintains the light-blocking seal.
Best Practices for Side Sleeping
Use low or medium cushions to reduce bulk and minimize the chance of the mask shifting. Ensure the strap does not dig into your ear when lying on your side by adjusting the sliders carefully.
You might consider removing the nose bridge entirely if it presses uncomfortably into the pillow. This modification can sometimes improve comfort for extreme side sleepers without compromising darkness.
Optimize the Mask for Travel and Naps
Travel environments often have unpredictable lighting, making a reliable sleep mask essential for rest on planes or in hotels. Proper preparation ensures you can sleep anywhere effectively.
Travel Preparation Tips
Pack the mask in its included travel pouch to protect the cushions from dirt and damage. Bring your extra cushions and bridges in the case so you can adapt to different sleeping positions on the go.
Use high-profile cushions when sleeping upright in a seat to avoid eyelash friction against the fabric. Combining the mask with a travel pillow creates a portable darkroom for maximum rest.
Troubleshoot Common Fit Issues
Minor problems like slipping or pressure points often have simple solutions once you know where to look. Diagnosing the issue quickly helps you return to sleep faster.
Fix Mask Slipping During Sleep
Tighten the straps slightly or reposition the sliders directly behind your ears for better grip. Try a different cushion height to improve facial contact if the current ones are too shallow.
Resolve Pressure on Eyes or Forehead
Switch to softer cushions or reduce strap tension if you feel pain or see red marks. Confirm you are not pushing the mask too hard against your face during adjustment.
Address Difficulty Breathing Through Nose
Ensure the nose bridge is not too narrow or positioned too high on your nasal bone. Try the medium or low bridge for better airflow if the current setup feels restrictive.
Frequently Asked Questions About Manta Sleep Mask
Can I wash the Manta Sleep Mask in a washing machine?
No, you should never machine wash the mask as it damages the foam and elastic. Hand wash the components with mild soap and water, then air dry them completely.
How often should I replace the eye cushions?
Replace your eye cushions every 6 to 12 months depending on how often you use the mask. Replace them sooner if they lose their shape or become difficult to clean thoroughly.
Does this mask work for people with long eyelashes?
Yes, the high-profile eye cushions provide extra depth to prevent lashes from touching the fabric. This design ensures zero pressure on your eyelids while maintaining a dark seal.
Is the Manta Sleep Mask suitable for CPAP users?
Standard models work for many, but Manta offers a specific CPAP-compatible version with port openings for tubing. Do not modify the standard mask yourself to fit CPAP equipment.
Why does light leak above my nose?
Light leaks above the nose usually mean your nose bridge is too narrow for your facial structure. Switch to a wider nose bridge included in your kit to seal the gap effectively.
Key Takeaways for Using Your Manta Sleep Mask
Mastering how to use Manta sleep mask components transforms your sleep quality by eliminating light and pressure. Selecting the right nose bridge and eye cushion profile ensures a custom fit that stays secure all night.
Start by testing different combinations of bridges and cushions to find your perfect setup. Once you achieve a leak-free seal with gentle tension, you will experience the deep, restorative rest you deserve.