How to Make a Bolster Pillow
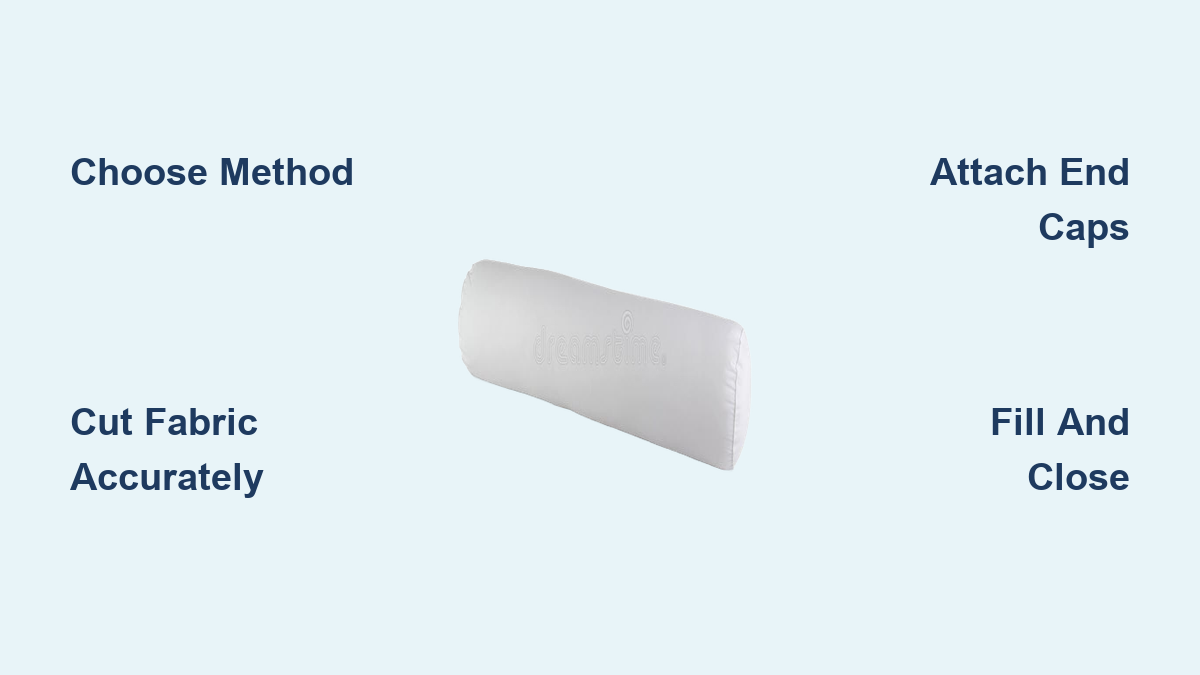
You’ve spotted them on styled beds, designer sofas, and luxury hotel suites. Bolster pillows bring clean lines, texture, and tailored polish to any room. But finding the perfect size or fabric in stores often proves impossible. The solution is straightforward: make your own. Learning how to make a bolster pillow is a beginner-friendly sewing project that delivers professional-looking results with the right techniques.
This guide walks you through two proven construction methods. One uses loose fill for a custom shape and invisible closure. The other uses a pre-made insert with a zippered cover for easy maintenance. You’ll learn precise measurements, fabric selection tips, and professional techniques like piping application and slip-stitching. By the end, you’ll know exactly how to make a bolster pillow that fits your furniture and matches your decor.
Choose Your Construction Method
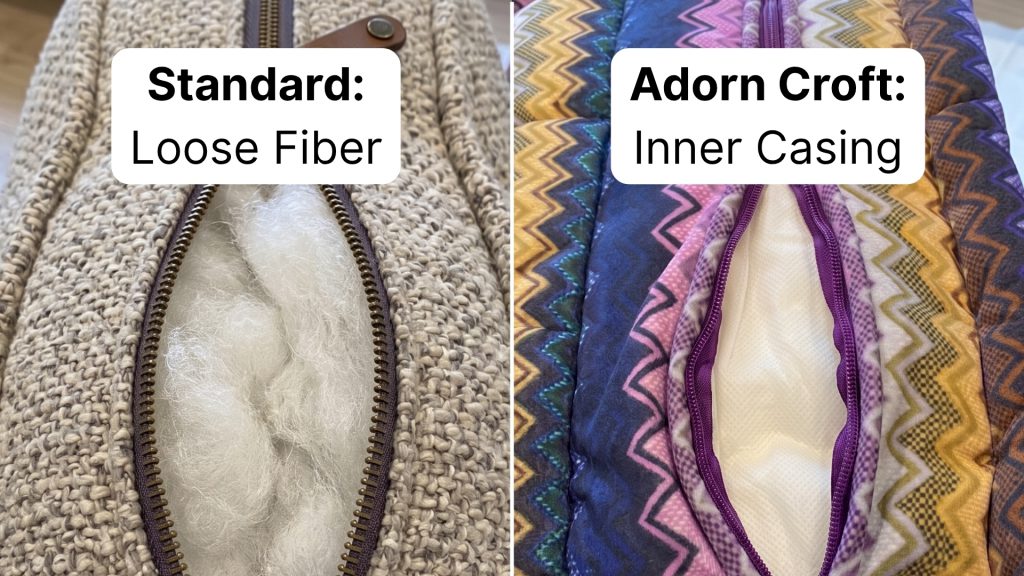
The first decision in how to make a bolster pillow is selecting the right approach based on your priorities: durability, washability, or a flawless finish.
Loose-Fill vs Insert-Based: Key Differences
- Loose-fill method: Best for custom sizes and a seamless look. Uses Poly-fil and hand-stitched closure.
- Insert method: Ideal for washable, structured pillows. Uses a commercial insert and zipper.
Each approach has clear strengths. Choose loose-fill for drama and a clean silhouette. Pick the insert method for practicality and long-term shape retention.
Gather Supplies and Materials
Before cutting any fabric, assemble all tools and materials. Skipping the right supplies leads to uneven seams or visible stitching lines.
Select the Right Fabric
Choose tightly woven, durable fabric that holds its shape well:
– Cotton poplin for crisp structure
– Linen blends for natural texture
– Vintage or floral prints for contrast in neutral rooms
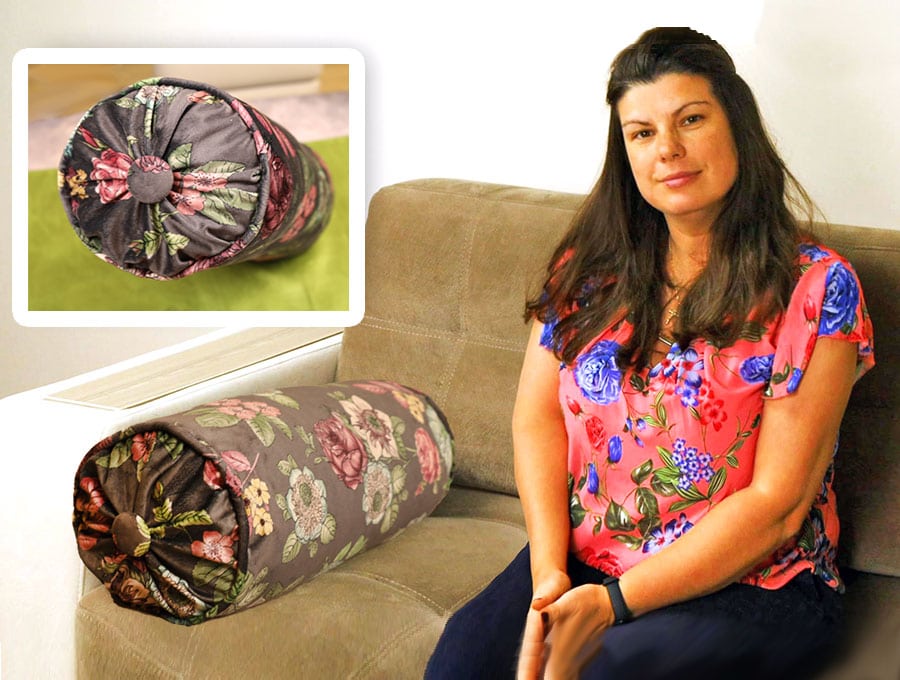
For patterned fabric, lay your insert or mock cylinder on the fabric first. Angle the design to hide repeats. This avoids obvious pattern matches on long pillows.
Essential Tools Checklist
- Sewing machine with zipper foot (critical for piping)
- Darning needle (for slip-stitch closure)
- Matching thread
- Scissors and straight pins
- Round object (like a plate) for tracing end caps
- Measuring tape
Without a zipper foot, you cannot stitch close enough to piping for a sharp edge. Do not skip this tool.
Filling and Closure Options
- Loose Poly-fil: Adjustable firmness, but compacts over time
- Pre-made insert (such as 6×28 inch): Consistent shape, easy to insert
- Closure types:
- Invisible zipper for a clean look
- Regular zipper for more durability
- Slip stitch for a seamless finish
For high-traffic areas or homes with kids and pets, use a zippered insert cover.
Cut Fabric to Size

Accurate cutting ensures a smooth cylinder and properly fitted end caps. Mistakes here cause puckering or gaps in your finished pillow.
Determine Pillow Dimensions
Decide on length and diameter. Common sizes include:
– Standard: 6 inch diameter x 28 inch long
– King bed span: 12 inch x 72 inch
– Chair bolster: 4 inch x 18 inch
Add seam allowances based on your chosen method.
Cut the Body Panel
For the loose-fill method:
– Add 1 inch to the circumference for hemming
– Example: For a 6 inch diameter pillow, circumference equals 18.85 inch. Cut fabric 19.85 inch wide
– Length equals your desired pillow length
Cut one rectangle. Place it along the fabric’s grain for stability.
For the insert method:
– Cut body panel to insert length plus 1 inch seam allowance
– Width equals insert circumference plus 1 inch (half inch on each side)
Cut Circular End Caps
For the loose-fill method:
1. Sew and turn the cylinder right-side-out
2. Measure its height (this equals the diameter of the end cap)
3. Multiply height by 2 to get the required circumference
4. Use a dish or compass to trace and cut two circles
For the insert method:
– Measure the insert diameter
– Add 1 inch for seam allowance (half inch on each side)
– Trace and cut two circles
Always double-check measurements before cutting.
Apply Trim or Piping
Trim adds flair. Piping adds structure. Both require precision and patience.
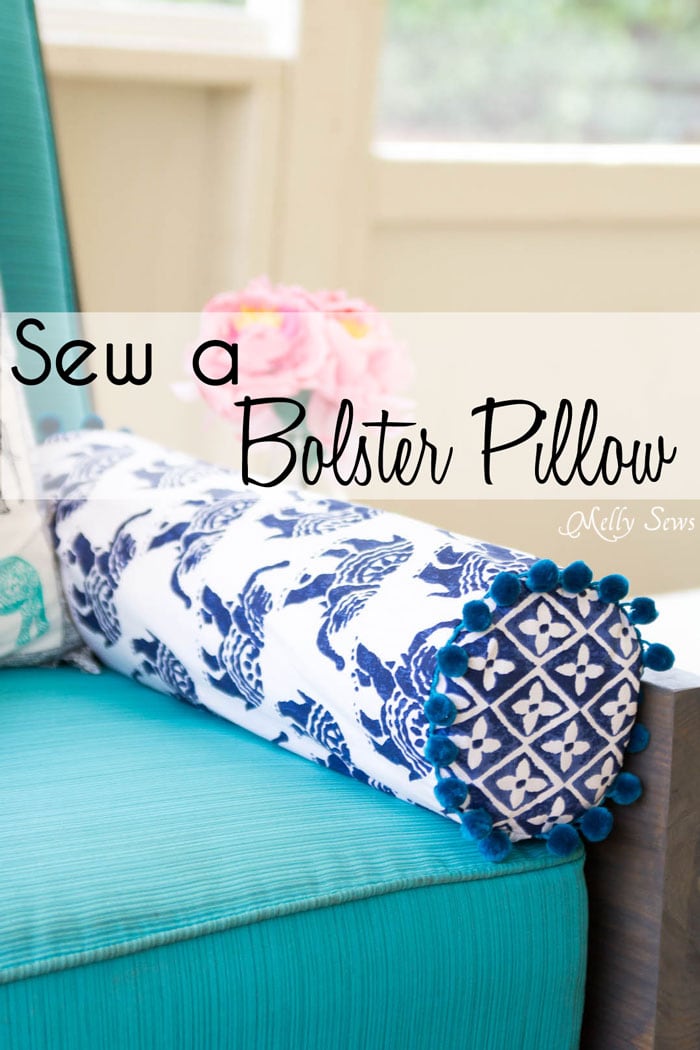
Add Pom-Pom Trim (Loose-Fill Method)
- Pin trim to the ends of the fabric rectangle
- Position so the finished edge faces inward
- Stitch in place, keeping stitches hidden
This prevents the seam from showing on the outer face of the pillow.
Make and Attach Piping (Insert Method)
- Cut 1.5 inch wide bias strips from scrap fabric
- Wrap around cord, fold edge over, and stitch
- Attach piping to the right side of each end cap
- For seamless join: fold one end into the other and stitch closed
Use a zipper foot to stitch close to the cord without damaging it.
Sew the Pillow Body
Now build the main cylindrical structure.
Form the Cylinder
- Fold fabric with right sides together
- Pin long edges
- Stitch with half inch seam allowance
- Press seam open or to one side
For the loose-fill method, leave one end open for filling later.
For the insert method, install the zipper now:
– Center the zipper on one long edge
– Use zipper foot to stitch close
– Close the seam after the zipper is in place
Attach the End Caps
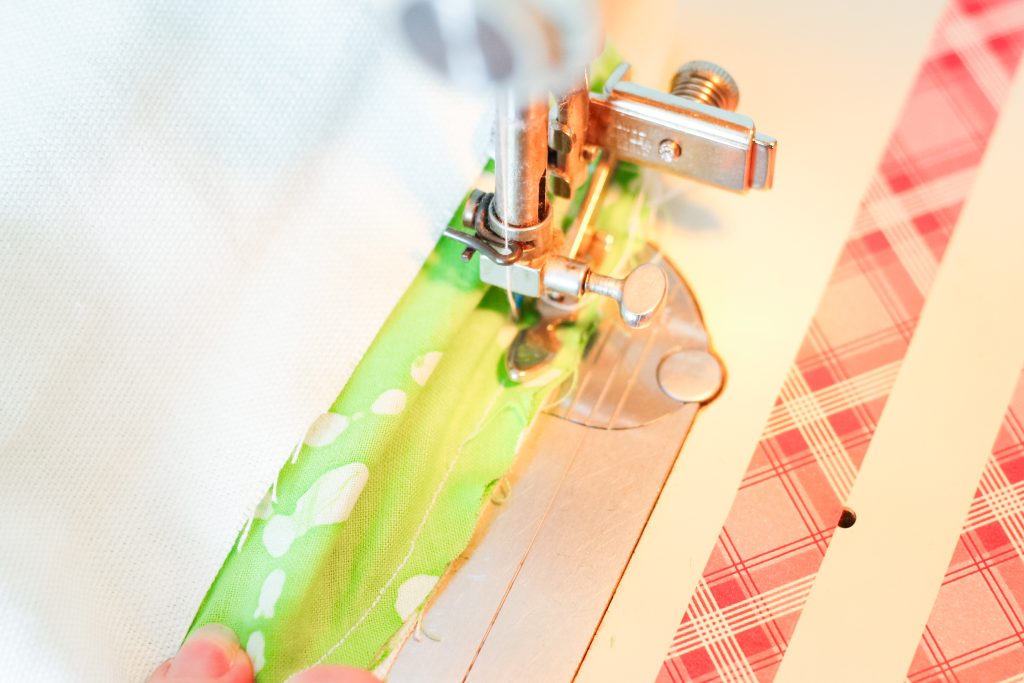
This is the trickiest step. Aligning circles to a cylinder takes patience and precision.
Pin Circles to Cylinder
- Place end cap on open end with right sides together
- Match center points first (top, bottom, sides)
- Pin frequently, easing fabric as needed
- For tight fit: stretch cap slightly. For loose: gather gently
Use clips if pins slip on slippery fabric.
Stitch End Caps in Place
- Use zipper foot to get close to piping or trim
- Backstitch at start and end
- For loose-fill: only stitch one end fully. Leave the second end half-stitched for filling
Stitching directly over the piping thread line prevents double stitch lines on the finished pillow.
Fill and Close the Pillow
Now bring your bolster to life.
Insert the Filling (Loose-Fill Method)
- Turn pillow right-side-out through the open end
- Begin stuffing with Poly-fil in small handfuls
- Push fill deep into ends with a wooden spoon or dowel
- Smooth lumps and condense fill as you go
Pro tip: Overfill slightly. Poly-fil compresses over time with regular use.
Achieve Even Firmness
- Roll the pillow to distribute fill evenly
- Sit on it gently to test firmness
- Add more fill if it feels soft or saggy
Under-filled bolsters sag and lose shape. Over-filled ones bulge or strain seams.
Close with Slip Stitch
- Fold raw edges of the opening inward (quarter inch)
- Thread darning needle with matching thread
- Use ladder stitch: catch one stitch from each side, pull tight
- Knot securely and bury thread
Done correctly, the seam disappears completely.
Insert the Pillow Form (Insert Method)
For the zippered version, this is the final assembly step.
Insert the Pre-Made Cushion
- Open the zipper fully
- Gently push the insert into the cover
- Work from ends toward center
- Smooth out wrinkles as you go
Ensure the insert lies flat with no twisting.
Check Fit and Finish
- Zip closed and inspect all seams
- Adjust insert if it sits lopsided
- Press lightly with steam if fabric wrinkles
The cover should hug the insert snugly without bunching.
Pro Tips for a Polished Result
Avoid common mistakes with these expert insights.
Prevent Puckered Seams
- Pin circles in eighths rather than just quarters
- Ease fabric slowly under the presser foot
- Do not stretch the cylinder while sewing
Hide Pattern Repeats
- Angle the fabric layout diagonally
- Center a focal point (like a large flower) on one end
- Avoid placing obvious repeats at both ends
Reinforce Stress Points
- Backstitch multiple times where end caps meet the body
- For heavy use, add a second row of stitching near seams
- Use fray-check on raw edges inside the pillow
Maintain Your Bolster Pillow
Longevity depends on proper care and maintenance.
Cleaning Methods by Type
- Loose-fill (slip-stitched): Spot clean only. For deep cleaning, unstitch, wash, dry, refill, and resew
- Zippered cover: Remove insert, machine wash cover on gentle cycle, air dry or use low heat
Never machine wash a permanently closed bolster. Fill clumps and fabric warps.
Refresh Shape Over Time
- Fluff loose-fill bolsters monthly
- For sunken areas, insert small amounts of new Poly-fil through a hidden seam
- Rotate position on furniture to prevent one-sided wear
Design Ideas and Use Cases
Custom bolsters solve real design challenges in any room.
Tailor to Your Furniture
- King bed: Make a 72 inch bolster to span the width
- Sofa arms: Use short bolsters (18 to 24 inch) at each end
- Accent chair: Mini bolster (12 to 18 inch) adds cohesion
Create Visual Drama
- Pair a dark bolster (navy, black, emerald) with white bedding
- Use gold or red florals in neutral living rooms
- Match piping to a rug or curtain for visual unity
Mix and Match Methods
- Use the loose-fill method for display pillows on beds and couches
- Use the insert method for everyday use in kids’ rooms or pet spaces
Frequently Asked Questions About Making a Bolster Pillow
What is the easiest way to make a bolster pillow?
The insert method is easiest for beginners. You simply sew a zippered cover around a pre-made pillow form. This eliminates tricky hand-stitching and filling steps. The loose-fill method requires more skill but produces a seamless look.
What fabric works best for bolster pillows?
Tightly woven fabrics like cotton poplin and linen blends work best. They hold shape well and resist stretching. For patterned fabric, consider busy florals or vintage prints that complement neutral room palettes.
How do I calculate the size of the end caps?
For the loose-fill method, measure the height of your stitched cylinder, then multiply by 2. This gives you the circumference needed for the circular end caps. Use a round dish or compass to trace circles matching this measurement.
Can I wash a bolster pillow with loose fill?
Machine washing is not recommended for slip-stitched bolsters. The filling clumps and fabric warps. Spot clean the surface instead. For deep cleaning, carefully unstitch the seam, remove filling, wash the fabric, refill, and resew.
Do I need a zipper foot for piping?
Yes, a zipper foot is essential. Standard presser feet cannot stitch close enough to piping cord for a sharp, professional edge. Without it, your piping will look loose and amateurish.
How firm should a bolster pillow be?
Bolsters should feel firm and supportive, not soft or squishy. Under-filling causes sagging over time. Over-filling strains seams and creates bulges. Condense the Poly-fil as you stuff, and test firmness by gently pressing the pillow before closing.
Key Takeaways for Making Your Own Bolster Pillow
Learning how to make a bolster pillow gives you complete control over size, fabric, and finish. Store-bought options cannot match custom dimensions or personalized style. Both the loose-fill and insert methods are beginner-friendly with the right tools and patience.
Remember these essential points:
– Use a zipper foot for clean piping application
– Calculate end caps as height multiplied by 2
– Condense fill thoroughly for proper firmness
– Angle patterns to hide repeats on long pillows
Start by choosing your construction method based on your needs. Gather quality materials and tools before cutting fabric. Take your time with end cap alignment, as this step determines the final shape. With this guide, you can create custom bolsters that elevate your space one perfectly stitched cylinder at a time.