How to Sew a Yoga Bolster: Pattern Guide
Tired of folding blankets into awkward shapes every time you settle into a restorative pose? A well-made yoga bolster transforms your practice, giving you reliable support for deep relaxation and spinal alignment. With the right yoga bolster sewing pattern, you can craft a firm, personalized prop that matches your style and fits your body perfectly.
This guide walks you through every step, from pattern printing to final stitching. You’ll learn the exact dimensions professionals use, two stuffing methods for different budgets, and how to build both an inner insert and a washable outer cover. Let’s get started.
Standard Bolster Dimensions for Restorative Yoga

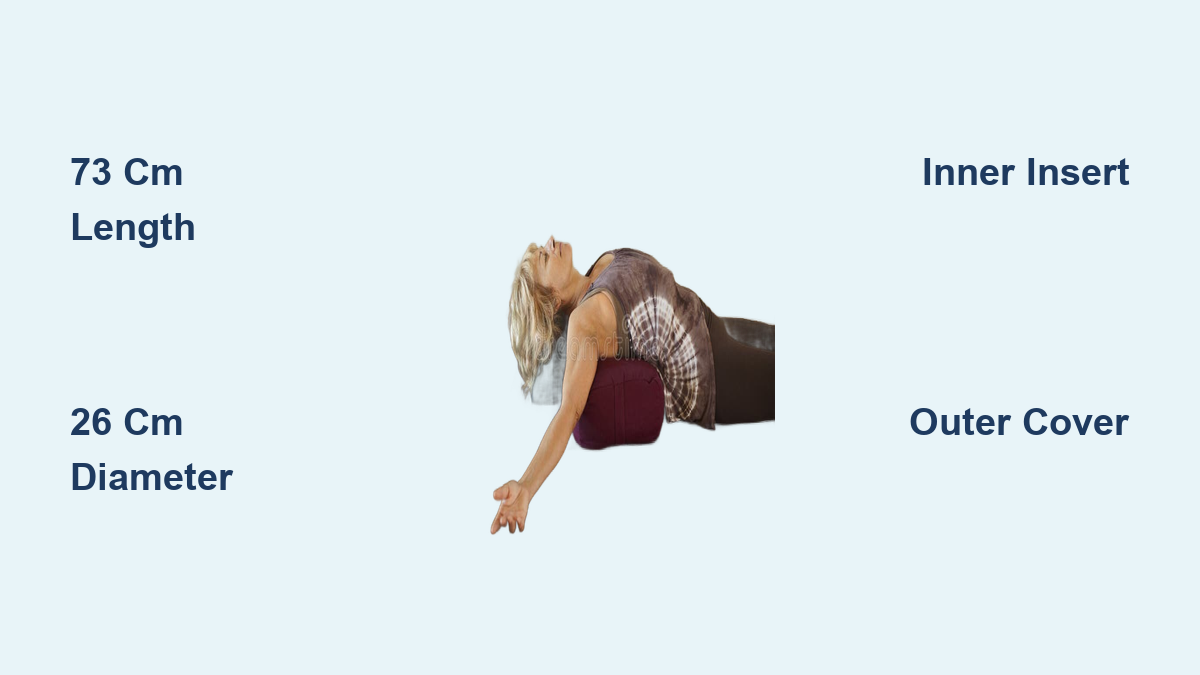
73 cm Length and 26 cm Diameter
A full-size yoga bolster must measure 73 cm long and 26 cm in diameter to properly support the spine during poses like Supta Baddha Konasana or supported Savasana. These dimensions align with professional-grade props used in studios worldwide.
Cylindrical Shape for Stability
The cylindrical design provides even weight distribution and prevents rolling. When properly stuffed, it maintains shape under body pressure without flattening. This stability is critical for proper alignment and lasting comfort.
Dual-Layer Construction Guide
Inner Insert Versus Outer Cover
Every high-quality bolster uses a two-part system. The inner insert is a tightly stitched fabric tube that holds stuffing securely. The outer cover is a removable, washable layer that protects the insert and adds style.
Why Two Layers Matter
Using separate layers prevents frequent washing of the inner core, which could loosen stuffing over time. It also allows you to sew multiple covers in different fabrics while reusing the same insert. This setup is ideal for home studios or shared spaces.
Required Pattern Components
Digital PDF Pattern Setup
Most modern yoga bolster sewing patterns come as instant-download PDFs. Always print at 100% scale (never use “fit to page”) to preserve the exact 73 cm by 26 cm measurements.
Print and Assemble Tips
• Use letter or A4 paper depending on your region
• Tape sheets together along marked lines
• Cut out pattern pieces carefully, following grainline indicators for proper fabric alignment
Key Pattern Pieces Included
Your pattern should provide templates for:
• The main cylinder for both inner and outer layers
• Handle reinforcements if you choose to add them
• Seam allowance guides, typically 1.5 cm or 5/8 inch
Fabric Selection by Layer
Outer Cover: Style Plus Durability
Choose soft, skin-friendly fabrics that complement your space. Cotton-linen blends offer breathability and elegance. Terry cloth provides absorbency and coziness. Velvet or corduroy delivers a luxurious feel that works beautifully in meditation areas.
Avoid slippery fabrics like satin unless you back them with interfacing.
Inner Insert: Strength Comes First
Use tightly woven, high-thread-count cotton such as canvas, drill, or muslin to prevent batting from poking through. This layer bears constant internal pressure, so durability trumps aesthetics here.
Stuffing Options Compared

Method A: Firm Support with Batting
Use thick cotton upholstery batting for a dense, professional-grade bolster. This method works best for makers selling finished products, practitioners needing consistent support, and restorative yoga teachers using bolsters daily.
Pro Tip: Roll the batting tightly before inserting it into the inner tube to eliminate air pockets and maximize density.
Method B: Eco-Friendly with Thrifted Blankets
Fold and layer old wool or cotton blankets for a softer, budget-friendly core. This approach suits DIY beginners testing the process, sustainable sewers reducing textile waste, and anyone making lightweight bolsters for kids or gentle stretching.
Note: Multiple thin blankets work better than one thick blanket. Layer them for adjustability.
Handle Installation Steps
Cut Reinforced Loops
Make handles from double-folded fabric strips measuring 5 cm by 40 cm. Fold each strip in half lengthwise with right sides together, stitch along the edge, then turn right side out using a loop turner.
Position for Easy Carry
Attach one handle to each end of the bolster, centered on the circular cap. Alternatively, install both handles on a single end if you prefer one-handed lifting.
Secure with Box Stitching
Anchor handles with a square or X-shaped stitch for maximum strength. This prevents tearing when carrying a fully stuffed bolster, which can weigh 3 to 5 lbs.
Step-by-Step Assembly
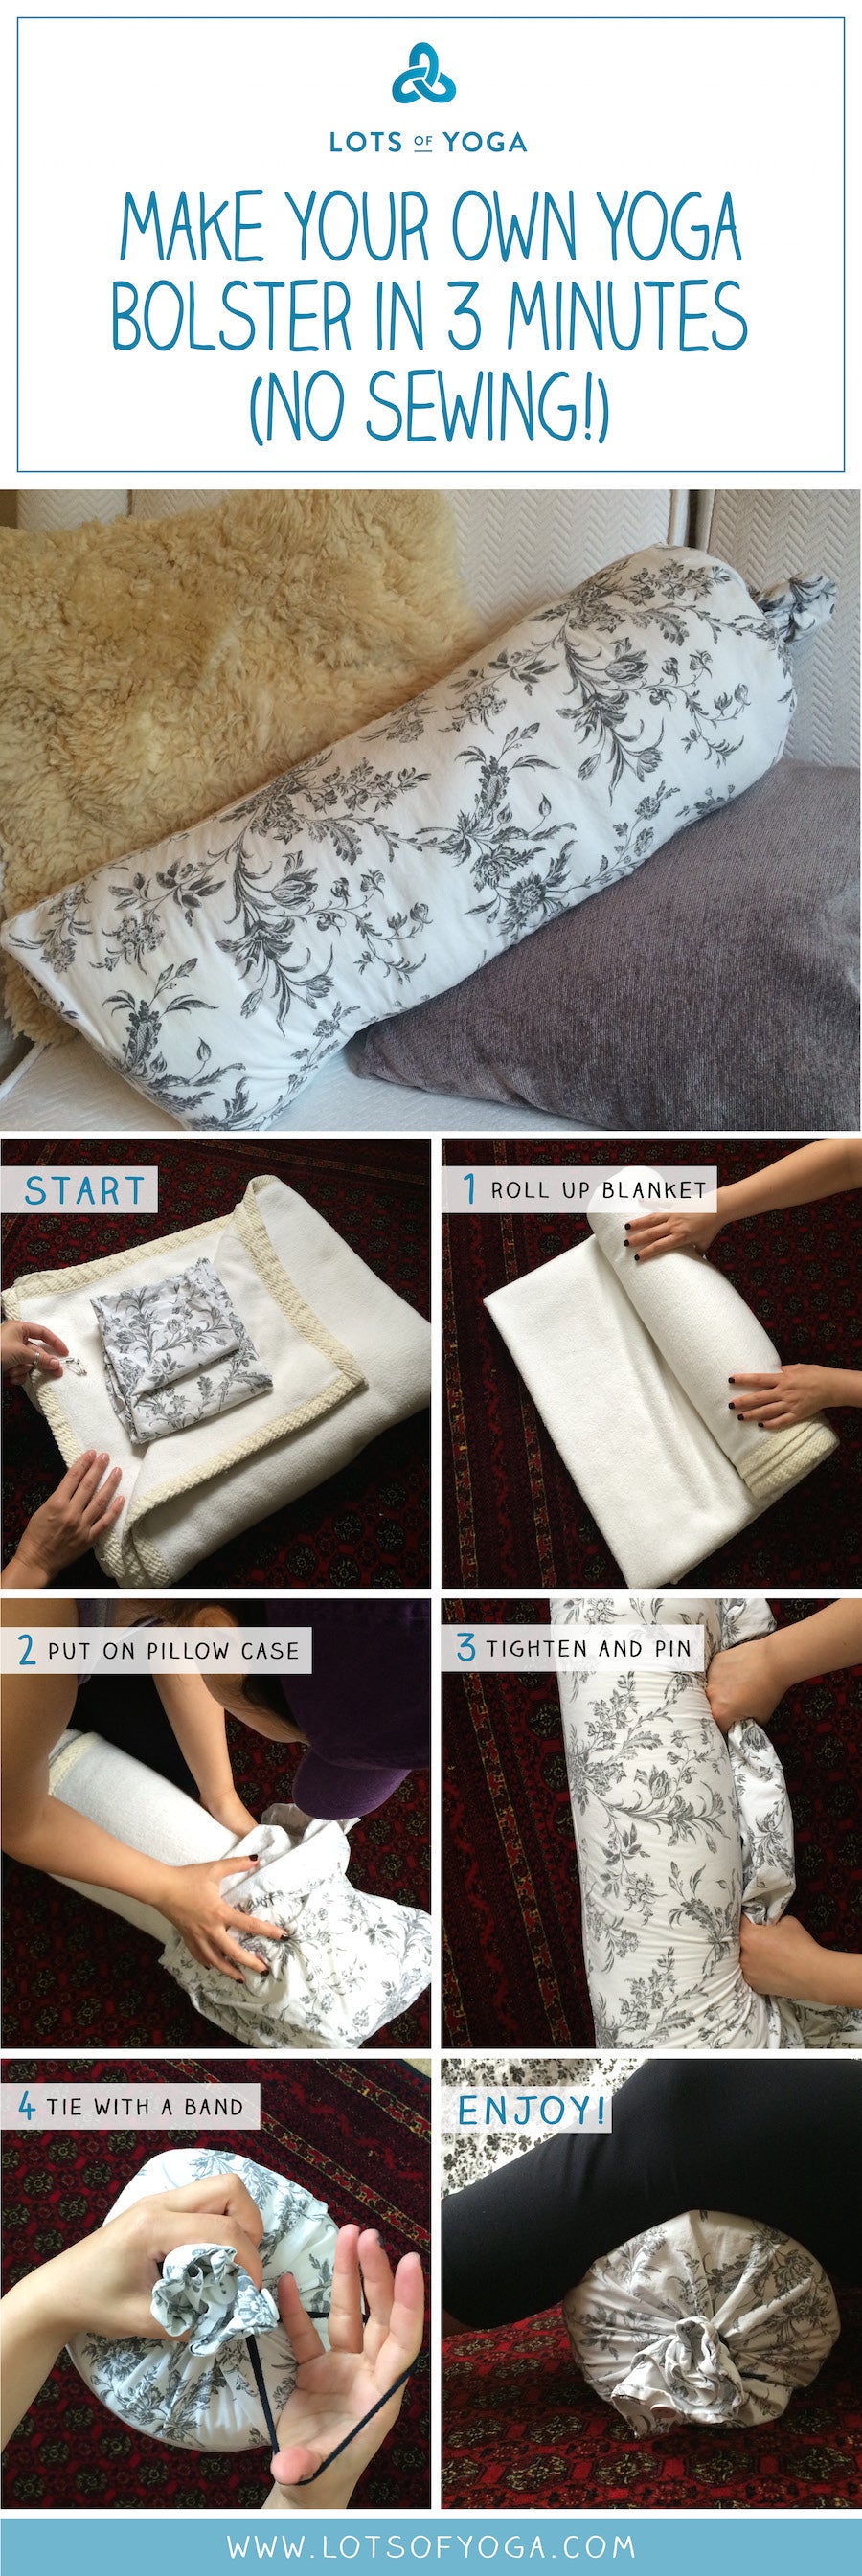
Cut Fabric to Pattern
Lay out your fabric with the grainline parallel to the selvage. Pin and cut:
• One rectangle for the outer cover cylinder
• One rectangle for the inner insert
• Two circular end caps if applicable
• Handle straps
Double-check measurements before cutting.
Sew the Inner Insert First
- Place fabric with right sides together.
- Sew along the long edge with a 1.5 cm seam allowance.
- Press the seam open or to one side.
- Leave one short end open for stuffing; close both ends later.
Warning: Use strong thread and backstitch at start and end points to reinforce stress zones.
Insert and Pack the Filling
For the batting method, roll batting into a tight log and feed it slowly into the tube, pushing down with a dowel to compress evenly.
For the blanket method, fold blankets into a cylinder shape and tuck them into the insert, adjusting layers until firm but pliable.
Test Firmness: Sit on it gently. It should compress slightly but not collapse.
Close the Insert Securely
Once stuffed, fold the seam allowance inward and hand-stitch closed with a ladder stitch. Make sure the closure is tight. This bag won’t be washed often, so durability is essential.
Build the Removable Outer Cover
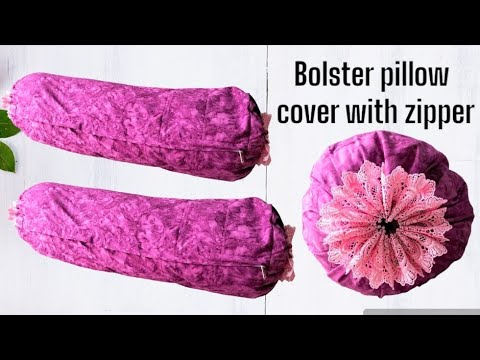
Same Shape, Different Closure
Construct the outer cylinder the same way as the inner insert, but add a closure for removal and washing.
Zipper Installation (Recommended)
Install an invisible or nylon zipper along the seam:
1. Baste the opening shut temporarily.
2. Mark zipper placement.
3. Use a zipper foot to sew the zipper to each side.
4. Test glide before final stitching.
Alternative: Use an envelope-style overlap where one side extends and tucks under the other. No zipper needed.
Final Fit Check
Slide the inner insert into the outer cover. It should fit snugly but not strain the fabric. If too tight, recheck your pattern scaling.
Troubleshooting Common Issues
Under-Stuffed? Add More Layers
If the bolster feels soft or collapses under weight, remove the insert and add more batting or folded fabric. Repack tightly, focusing on the center third where most pressure occurs.
Over-Stuffed? Risk of Seam Splitting
Too much stuffing strains seams and makes the bolster uncomfortable. If fabric pulls or puckers, unpick one end slightly and remove a small amount of filling. Re-close securely.
Pattern Printed Wrong Size?
If your bolster ends up too short or narrow, reprint the pattern at 100% actual size. Never use “fit to page.” Measure the test square (usually 2 inches by 2 inches) on the first page to verify accuracy.
Pro Tips for Success
Press Seams for Clean Finish
Iron every seam after stitching. This flattens the join, improves accuracy, and gives a polished look, especially important for visible outer covers.
Label Your Layers
Mark “INNER” and “OUTER” on each piece before sewing. It sounds simple, but confusion between layers is a common beginner mistake.
Wash Outer Cover Regularly
Machine-wash the outer cover every few weeks in cold water. Air dry to preserve color and fabric integrity. Never machine-wash the inner insert.
Why Make Your Own?
Save Money, Elevate Quality
Store-bought bolsters often cost $60 to $100. With a yoga bolster sewing pattern, you can make one for under $30 using quality materials. Plus, you control the firmness, size, and fabric with no compromises.
Customize for Practice and Space
Match your bolster to your mat, decor, or teaching brand. Sew covers in calming blues, earthy greens, or seasonal prints. Offer clients multiple options when selling handmade wellness gear.
Ideal for Restorative and Therapeutic Use
Unlike floor pillows or folded blankets, a dedicated bolster provides consistent elevation for poses that relieve back pain, open the chest, or calm the nervous system. Once you try one, you’ll wonder how you practiced without it.
Final Assembly Checklist
✅ Printed pattern at 100% scale
✅ Fabric cut with correct grain orientation
✅ Inner insert fully stitched with one end open
✅ Handles securely attached and reinforced
✅ Insert stuffed to firm, even density
✅ Inner insert closed with strong hand stitch
✅ Outer cover assembled with working closure
✅ Insert fits smoothly into outer cover
Frequently Asked Questions About Yoga Bolster Sewing Patterns
What are the standard dimensions for a yoga bolster?
A full-size bolster measures 73 cm long and 26 cm in diameter. These dimensions support the spine, knees, and torso during restorative poses and meditation.
What fabric works best for the inner insert?
Use tightly woven, high-thread-count cotton such as canvas, drill, or muslin. This prevents batting from poking through and withstands internal pressure over time.
Can I use old blankets instead of batting?
Yes. Fold and layer thrifted wool or cotton blankets for a softer, budget-friendly core. Multiple thin blankets layer better than one thick blanket and allow density adjustments.
How do I keep the bolster firm enough for restorative poses?
Roll cotton upholstery batting tightly and pack it into the inner tube with a dowel. Eliminate air pockets and focus density on the center third where body pressure concentrates.
Do I need a zipper for the outer cover?
A zipper is recommended for easy removal and washing. An envelope-style overlap works as a no-zipper alternative, where one fabric edge tucks under the other.
How much weight can a finished bolster hold?
A properly stuffed bolster weighs 3 to 5 lbs and supports full body weight in restorative poses. Reinforced handles with box stitching prevent tearing during transport.
Key Takeaways for Crafting Your Yoga Bolster
A handmade yoga bolster is more than a cushion. It’s a tool for deeper relaxation, better alignment, and mindful living. With a reliable yoga bolster sewing pattern and the steps outlined here, you can create a professional-quality prop that supports your practice for years.
Choose firm upholstery batting for commercial-grade results or upcycled textiles for a sustainable, budget-friendly option. Either way, each stitch brings you closer to a personalized wellness space. Start small, follow the steps, and soon you’ll be making bolsters for friends, students, or even a small business.