How to Make a Futon Cover
Is your current futon looking tired or stained beyond repair? Learning how to make a futon cover offers a cost-effective solution that refreshes your space without buying new furniture.
This guide walks you through measuring, sewing, and finishing a custom slipcover using durable Jacquard fabric. You will discover how to install a hidden zipper, shape corners with pleats, and add professional buttons for a perfect fit.
Measure Your Futon for a Perfect Fit

Accurate measurements are the foundation of a wrinkle-free cover that fits your mattress like a glove. Skipping this step often leads to ill-fitting fabric that sags or tears under tension.
Calculate Exact Fabric Dimensions
You must add extra inches to your physical measurements to account for seam allowances and fabric ease.
* Measure your standard full futon (typically 78″ long × 53″ wide × 8″ deep).
* Add 2 inches to both the length and width dimensions.
* Cut your fabric to 80″ × 56″ to ensure a snug result.
Pro Tip: Mark these dimensions directly on your work surface with tape to visualize the final layout before cutting.
Select Heavy-Duty Fabric Materials
Choosing the right textile ensures your cover withstands daily sitting and sleeping.
* Recommended: Thick Jacquard fabric features a woven pattern that resists fading and abrasion.
* Alternatives: Canvas, denim, or outdoor upholstery fabric provide excellent durability.
* Avoid: Stretchy or lightweight knits since they sag over time and lose their shape.
Cut two identical rectangles from your chosen material to serve as the top and bottom panels.
Install a Hidden Continuous Zipper
A long continuous zipper makes your cover removable for easy washing and maintenance. Proper installation hides the mechanism while ensuring smooth operation.
Position the Zipper Correctly
Orientation matters when you want the zipper pull to disappear behind the mattress.
* Place the zipper arrow indicator facing toward the back of the futon.
* Use a continuous zipper on a roll cut to your exact length (78″ recommended).
* Ensure the pull tab hides behind the mattress when the cover is closed.
Attach the Zipper Step by Step
Follow this sequence to secure the zipper without puckering the fabric.
1. Align the two fabric pieces with right sides together along one long edge.
2. Staple the fabrics together along the edge to hold layers steady.
3. Open the zipper halfway and pin it face-down along the seam line.
4. Sew the zipper in place using a zipper foot on your machine.
5. Remove staples carefully with a flathead screwdriver after stitching.
Warning: Go slowly when sewing over metal stops to avoid breaking your needle.
Secure Zipper with Fabric Stoppers
Prevent the slider from detaching completely by adding custom stops at both ends.
* Cut two small 1″ × 1″ squares from scrap fabric.
* Slide each piece under the zipper tape ends.
* Sew across the tape and scrap fabric to create a solid barrier.
* Trim any excess threads for a clean finish.
Create Structured Pleated Corners
Flat fabric panels require shaping to fit a thick mattress cleanly without gaping. Pleating solves the problem of bulky corners effectively.
Why Pleat Instead of Round?
Since this design uses only two rectangular pieces, rounded corners are not possible without complex pattern making. Pleats provide the necessary depth and structure for an 8-inch mattress.
Make a 4-Inch Corner Pleat
Create sharp corners by folding and stitching the fabric at each vertex.
1. Lay the sewn cover flat with the zipper fully open.
2. Pinch the fabric at each corner so the side and end meet evenly.
3. Measure and mark a 4-inch fold inward to create depth.
4. Iron the fold flat for a crisp edge before sewing.
5. Sew a straight line across the pleat about ¼” from the edge.
6. Repeat this process on all four corners.
Visual Cue: The finished pleat should form a neat triangle folded flat against the underside of the cover.
Serge or Finish All Edges
Protect your investment by reinforcing all raw edges before final assembly. This step is critical if you plan to machine wash your new cover.
Prevent Fraying with Edge Finishing
Unfinished edges will unravel quickly after the first wash cycle.
* Best Method: Use an overlock (serger) machine to finish all raw edges.
* Alternative: Use a zigzag stitch on a regular sewing machine.
* Focus Areas: Long sides, short ends, and the area around the zipper opening.
Skipping this step risks significant unraveling that compromises the entire project.
Insert the Mattress and Test Fit
It is time to see your hard work in action by sliding the mattress into the new cover. This test run confirms your measurements and pleating accuracy.
Slide in the Futon Core
Follow these steps to insert the mattress without damaging seams.
1. Fully unzip the cover to open it completely.
2. Carefully feed the futon mattress inside the fabric shell.
3. Adjust corners so pleats lie flat underneath the mattress.
4. Zip closed from front to back to secure the fit.
Check for tightness to ensure no sagging or looseness exists. If the fit is too loose, reduce the pleat size slightly and resew. If it is too tight, check that you did not sew over your seam allowance.
Add Decorative Buttons for Polish
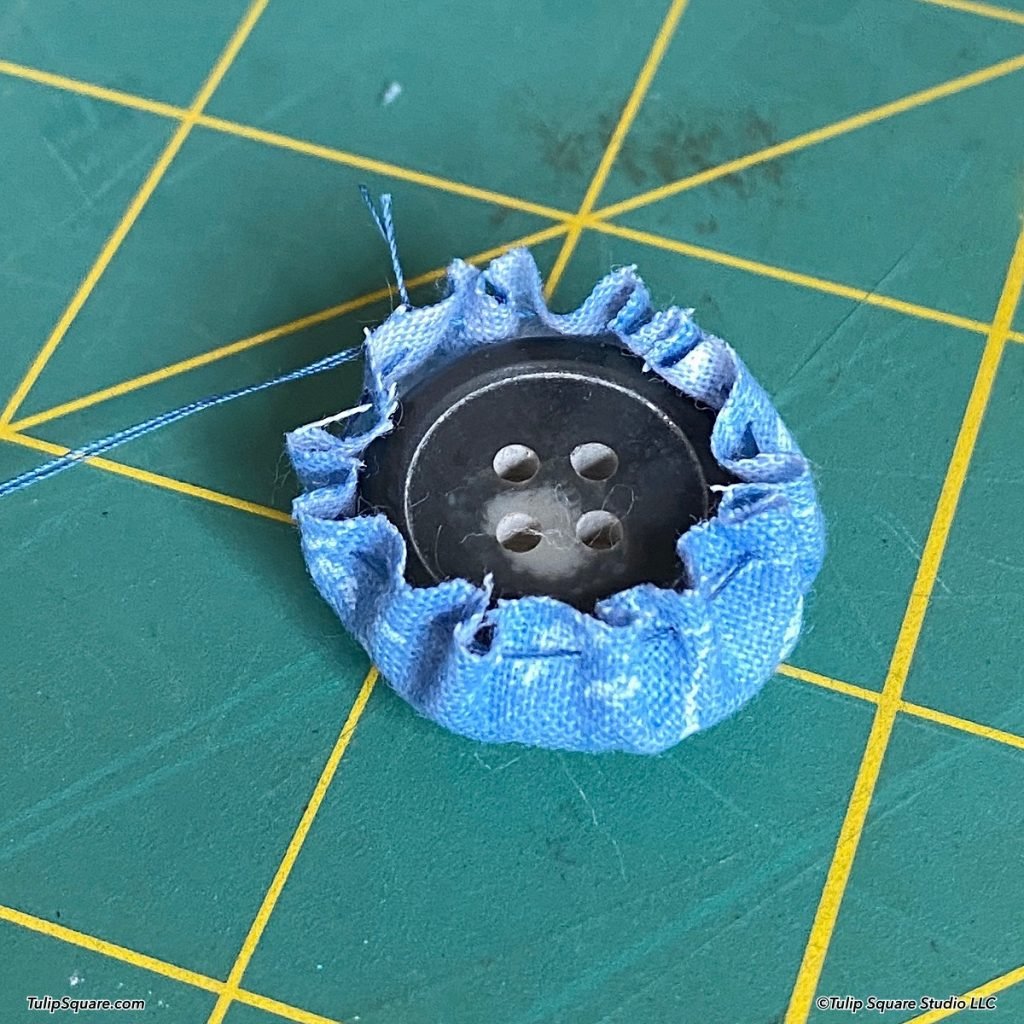
Buttons elevate the look of your DIY project while helping secure the cover layers together. This optional step adds a tailored, furniture-grade finish.
Make Fabric-Covered Buttons
Use a button-making kit to create custom buttons that match your fabric perfectly.
* Cut circular fabric pieces according to kit instructions (usually 1.25″ diameter).
* Place the top fabric over the button mold.
* Insert the backing disc and press firmly.
* Apply extra force for thick Jacquard to ensure it locks securely.
Expert Note: Use leftover cover fabric so your buttons blend seamlessly with the rest of the design.
Space Buttons Evenly
Strategic placement ensures symmetry and visual balance across the surface.
* Position the first button at the center of the cover (39″ from each end).
* Space subsequent buttons every 18 inches along the length.
* Place buttons 16 inches from the front edge to keep them visible but out of the seating area.
Attach with Button Twine
Strong twine prevents the buttons from tearing through the thick fabric over time.
1. Thread double strands of button twine through a long needle.
2. Pass through the button shank from front to back.
3. Loop the twine into a slip knot on the underside and tighten gently.
4. Repeat knotting 2–3 times for security before trimming excess.
Test the tension by tugging gently to ensure the button stays firm without puckering the fabric.
Care and Maintenance Tips
Proper care extends the life of your handmade cover and keeps it looking fresh. Regular maintenance prevents dirt buildup and fabric degradation.
Washing Instructions
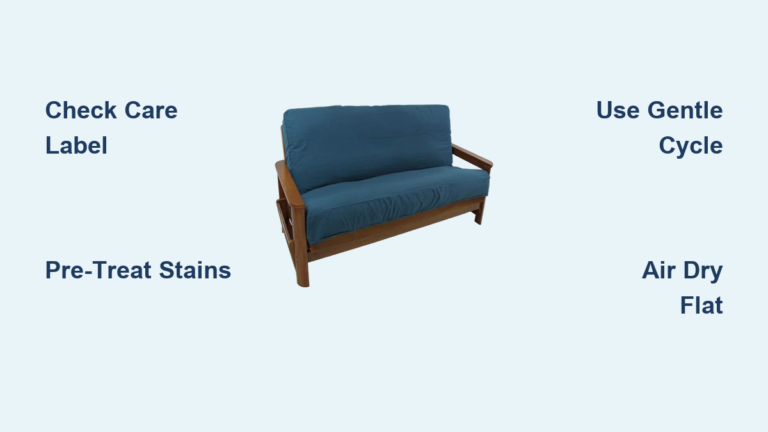
Remove the cover by unzipping it completely before cleaning.
* Machine wash cold on a gentle cycle.
* Use mild detergent and avoid bleach or fabric softener.
* Air dry or tumble dry on low heat to prevent shrinking.
Important: Always resew loose threads immediately to prevent larger tears during washing.
Spot Clean Between Washes
Address spills quickly to avoid permanent staining on your custom cover.
* Blot spills immediately with a damp cloth.
* Use upholstery cleaner for stubborn stains.
* Avoid soaking the fabric as water can damage the inner foam.
Customize Your Design
Make your futon a focal point in your room with creative fabric choices. Personalization turns a functional item into a design statement.
Go Bold with Color Blocking
Create a modern look by using contrasting fabrics for different panels.
* Cut the front and back from different colored fabrics.
* Seam them vertically or horizontally before adding the zipper.
* Try a navy top with a cream bottom for a sophisticated contrast.
Try Pattern Mixing
Combine textures and patterns for a unique aesthetic appeal.
* Pair geometric Jacquard with solid trim for visual interest.
* Add piping along edges for a designer touch.
* Match your room’s palette to make the cover double as decor.
Troubleshooting Common Issues
Even experienced sewers encounter hiccups during DIY projects. Here is how to fix common problems quickly.
Zipper Won’t Close Smoothly
This issue usually stems from fabric caught in teeth or uneven tension.
* Fix: Re-sew one side ensuring fabric lies flat.
* Prevention: Keep the zipper fully open during stitching.
Cover Slips Off Corners
Inadequate pleating or a loose fit causes the cover to shift.
* Fix: Increase pleat depth to 5 inches.
* Alternative: Add non-slip fabric strips underneath the mattress.
Buttons Pull Through
Weak backing or thin twine causes buttons to rip through fabric.
* Fix: Use waxed button twine and double knot underneath.
* Reinforce: Add a small fabric patch behind the button for extra strength.
Frequently Asked Questions About Making Futon Covers
What fabric is best for a durable futon cover?
Thick Jacquard fabric is ideal because its woven pattern resists fading and abrasion. Canvas and denim are also excellent durable alternatives for high-traffic furniture.
Can I wash my DIY futon cover in a machine?
Yes, if you serge or zigzag all raw edges before assembly. Wash on a cold, gentle cycle and air dry or tumble dry low to prevent shrinking.
How do I make corners fit a thick mattress?
Create a 4-inch pleat at each corner by folding the fabric inward and stitching it flat. This adds the necessary depth for an 8-inch mattress.
Do I need a special machine to make buttons?
No, but a button-making kit helps create professional-looking covered buttons. You can also use pre-made buttons if you prefer not to cover them yourself.
How long does it take to make a futon cover?
Most beginners complete this project in 3 to 5 hours. This includes measuring, cutting, sewing the zipper, pleating corners, and attaching buttons.
Key Takeaways for Making Your Futon Cover
You now have the skills to transform an old piece of furniture with a custom, durable cover. By measuring precisely and using heavy-duty Jacquard fabric, you ensure a long-lasting result that looks professional.
Remember to install a hidden zipper for easy removal and shape your corners with pleats for a snug fit. Adding decorative buttons provides a polished finish that secures the layers together.
Start your project today by gathering your materials and measuring your mattress. Your refreshed futon will serve as a stylish centerpiece in your home for years to come.