How to Make a Bolster Pillow Cover
You finally found the bolster pillow shape you love, but the cover clashes with your living room palette. Or maybe the original cover has seen better days and needs replacing. Learning how to make a bolster pillow cover puts you in control of fabric, color, and fit without hunting for a custom order. This beginner-friendly sewing project requires just one fabric rectangle and basic stitching skills. In this guide, you will learn how to measure, cut, sew, and finish a snug handmade cover that looks store-bought.
Measure Your Bolster Correctly

Accurate measurements are the foundation of a well-fitting cover. Skip this step, and you risk ending up with a cover that is too tight or too loose.
Length and Diameter Guide
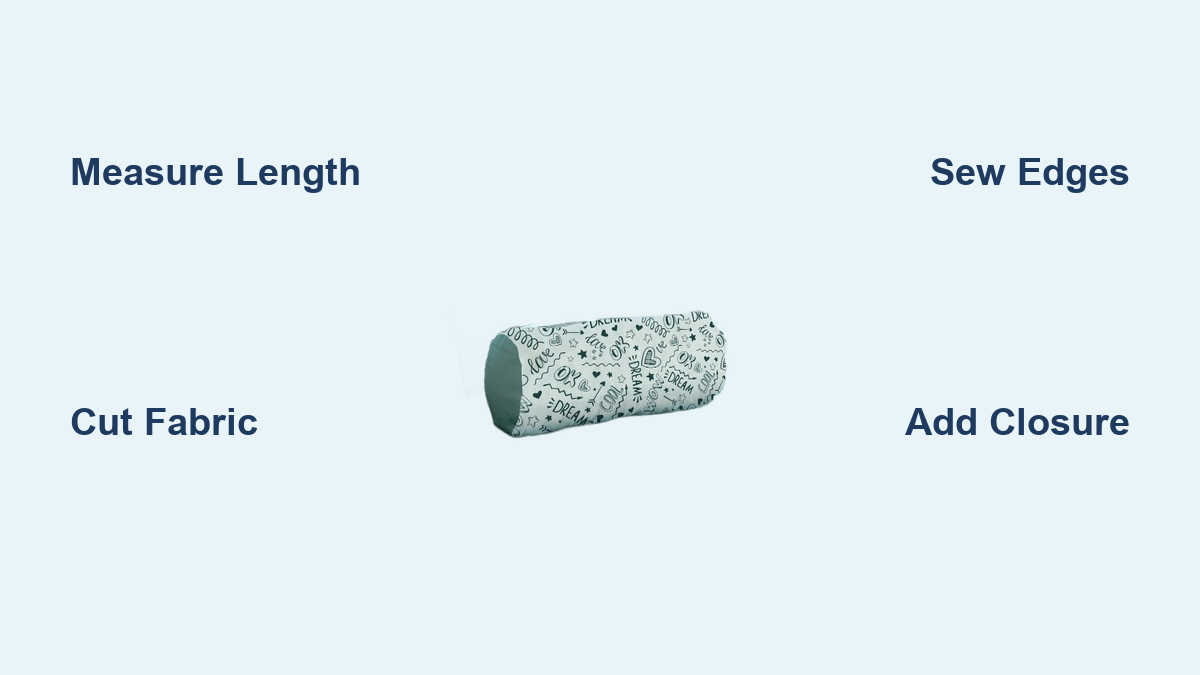
- Length: Lay the bolster flat and measure from one end to the other in a straight line. Record this exact number for your fabric length.
- Diameter: Wrap a soft measuring tape around the thickest middle section of the bolster to find the circumference. This measurement determines how wide your fabric needs to be.
Calculate Fabric Dimensions
Use these simple formulas for a snug, removable fit:
- Fabric length = Bolster length (exact measurement)
- Fabric width = (Bolster diameter × 2) + 2 inches for seam allowance
The doubled diameter accounts for fabric wrapping around the top and bottom of the pillow. The extra 2 inches gives you 1 inch of seam allowance on each side.
Cut the Right Fabric Size
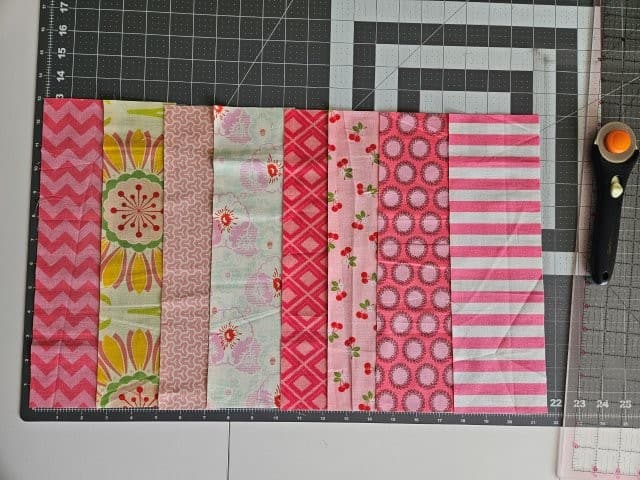
Cutting precision now saves you from puckers and gaps later.
Choose Suitable Fabric
- Best options: Cotton or linen work well for bolster covers. Both are durable, easy to sew, and come in many colors and patterns.
- Pre-wash fabric: Always wash and dry fabric before cutting to prevent shrinkage after sewing.
- Avoid heavy upholstery fabrics unless your sewing machine handles thick layers easily.
Cutting Process
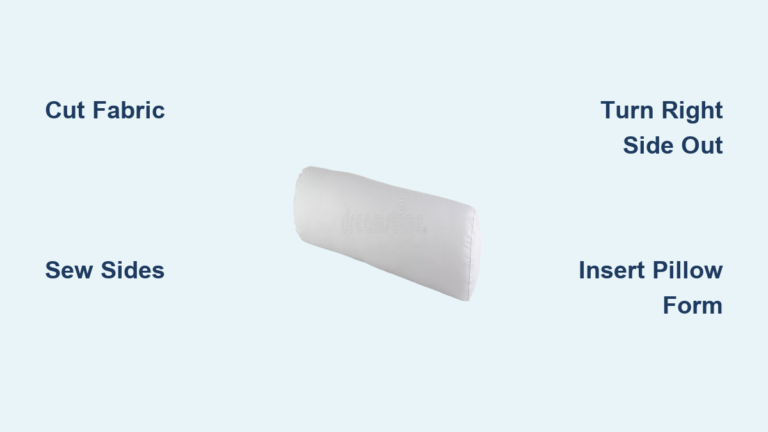
- Lay fabric flat on a clean surface with the right side down.
- Use a rotary cutter and ruler or sharp fabric scissors for clean edges.
- Cut one rectangle using your calculated length and width.
- For a double-sided cover, cut two identical pieces.
Sew the Long Edges Together
This step creates the tube shape that slides over your pillow.
Prep for Sewing
- Place fabric pieces together with right sides facing each other.
- Align all edges carefully before pinning.
- Secure with pins or sewing clips every 3 to 4 inches along the long sides only.
Stitch With a ½-Inch Seam Allowance
- Set your sewing machine to a medium straight stitch (about 2.5mm).
- Choose thread that matches your fabric color.
- Sew along both long edges using a ½-inch seam allowance.
- Backstitch at the start and end of each seam to lock the stitches.
Reduce Bulk at the Corners
- After sewing, trim the corners diagonally without cutting the stitches.
- This step creates sharper, cleaner corners when you turn the cover right side out.
Turn and Press the Cover
A crisp pressed finish gives your handmade cover a professional look.
Turn Right Side Out
- Reach through one open end and gently pull the fabric inside out.
- Use a turning tool, chopstick, or blunt knitting needle to push out the corners fully.
- Work slowly to avoid poking holes in delicate fabric.
Iron for a Smooth Fit
- Set your iron to the appropriate heat for your fabric type.
- Slide the iron inside the tube or press flat from the outside.
- Press seam lines open or to one side for even thickness throughout.
Insert the Bolster Pillow
Now comes the satisfying moment of seeing your finished cover in action.
Slide Pillow Into Cover
- Start with one end of the bolster and feed it into the open end of the cover.
- Gently push the pillow through until it fills the entire tube.
- Adjust the fabric so it sits evenly with no wrinkles or twists.
Check for Proper Fit
- The cover should hug the bolster snugly without stretching the seams.
- If too tight, add a little more width to your next cover.
- If too loose, double-check your diameter measurement before cutting.
Add a Secure Closure (Optional)
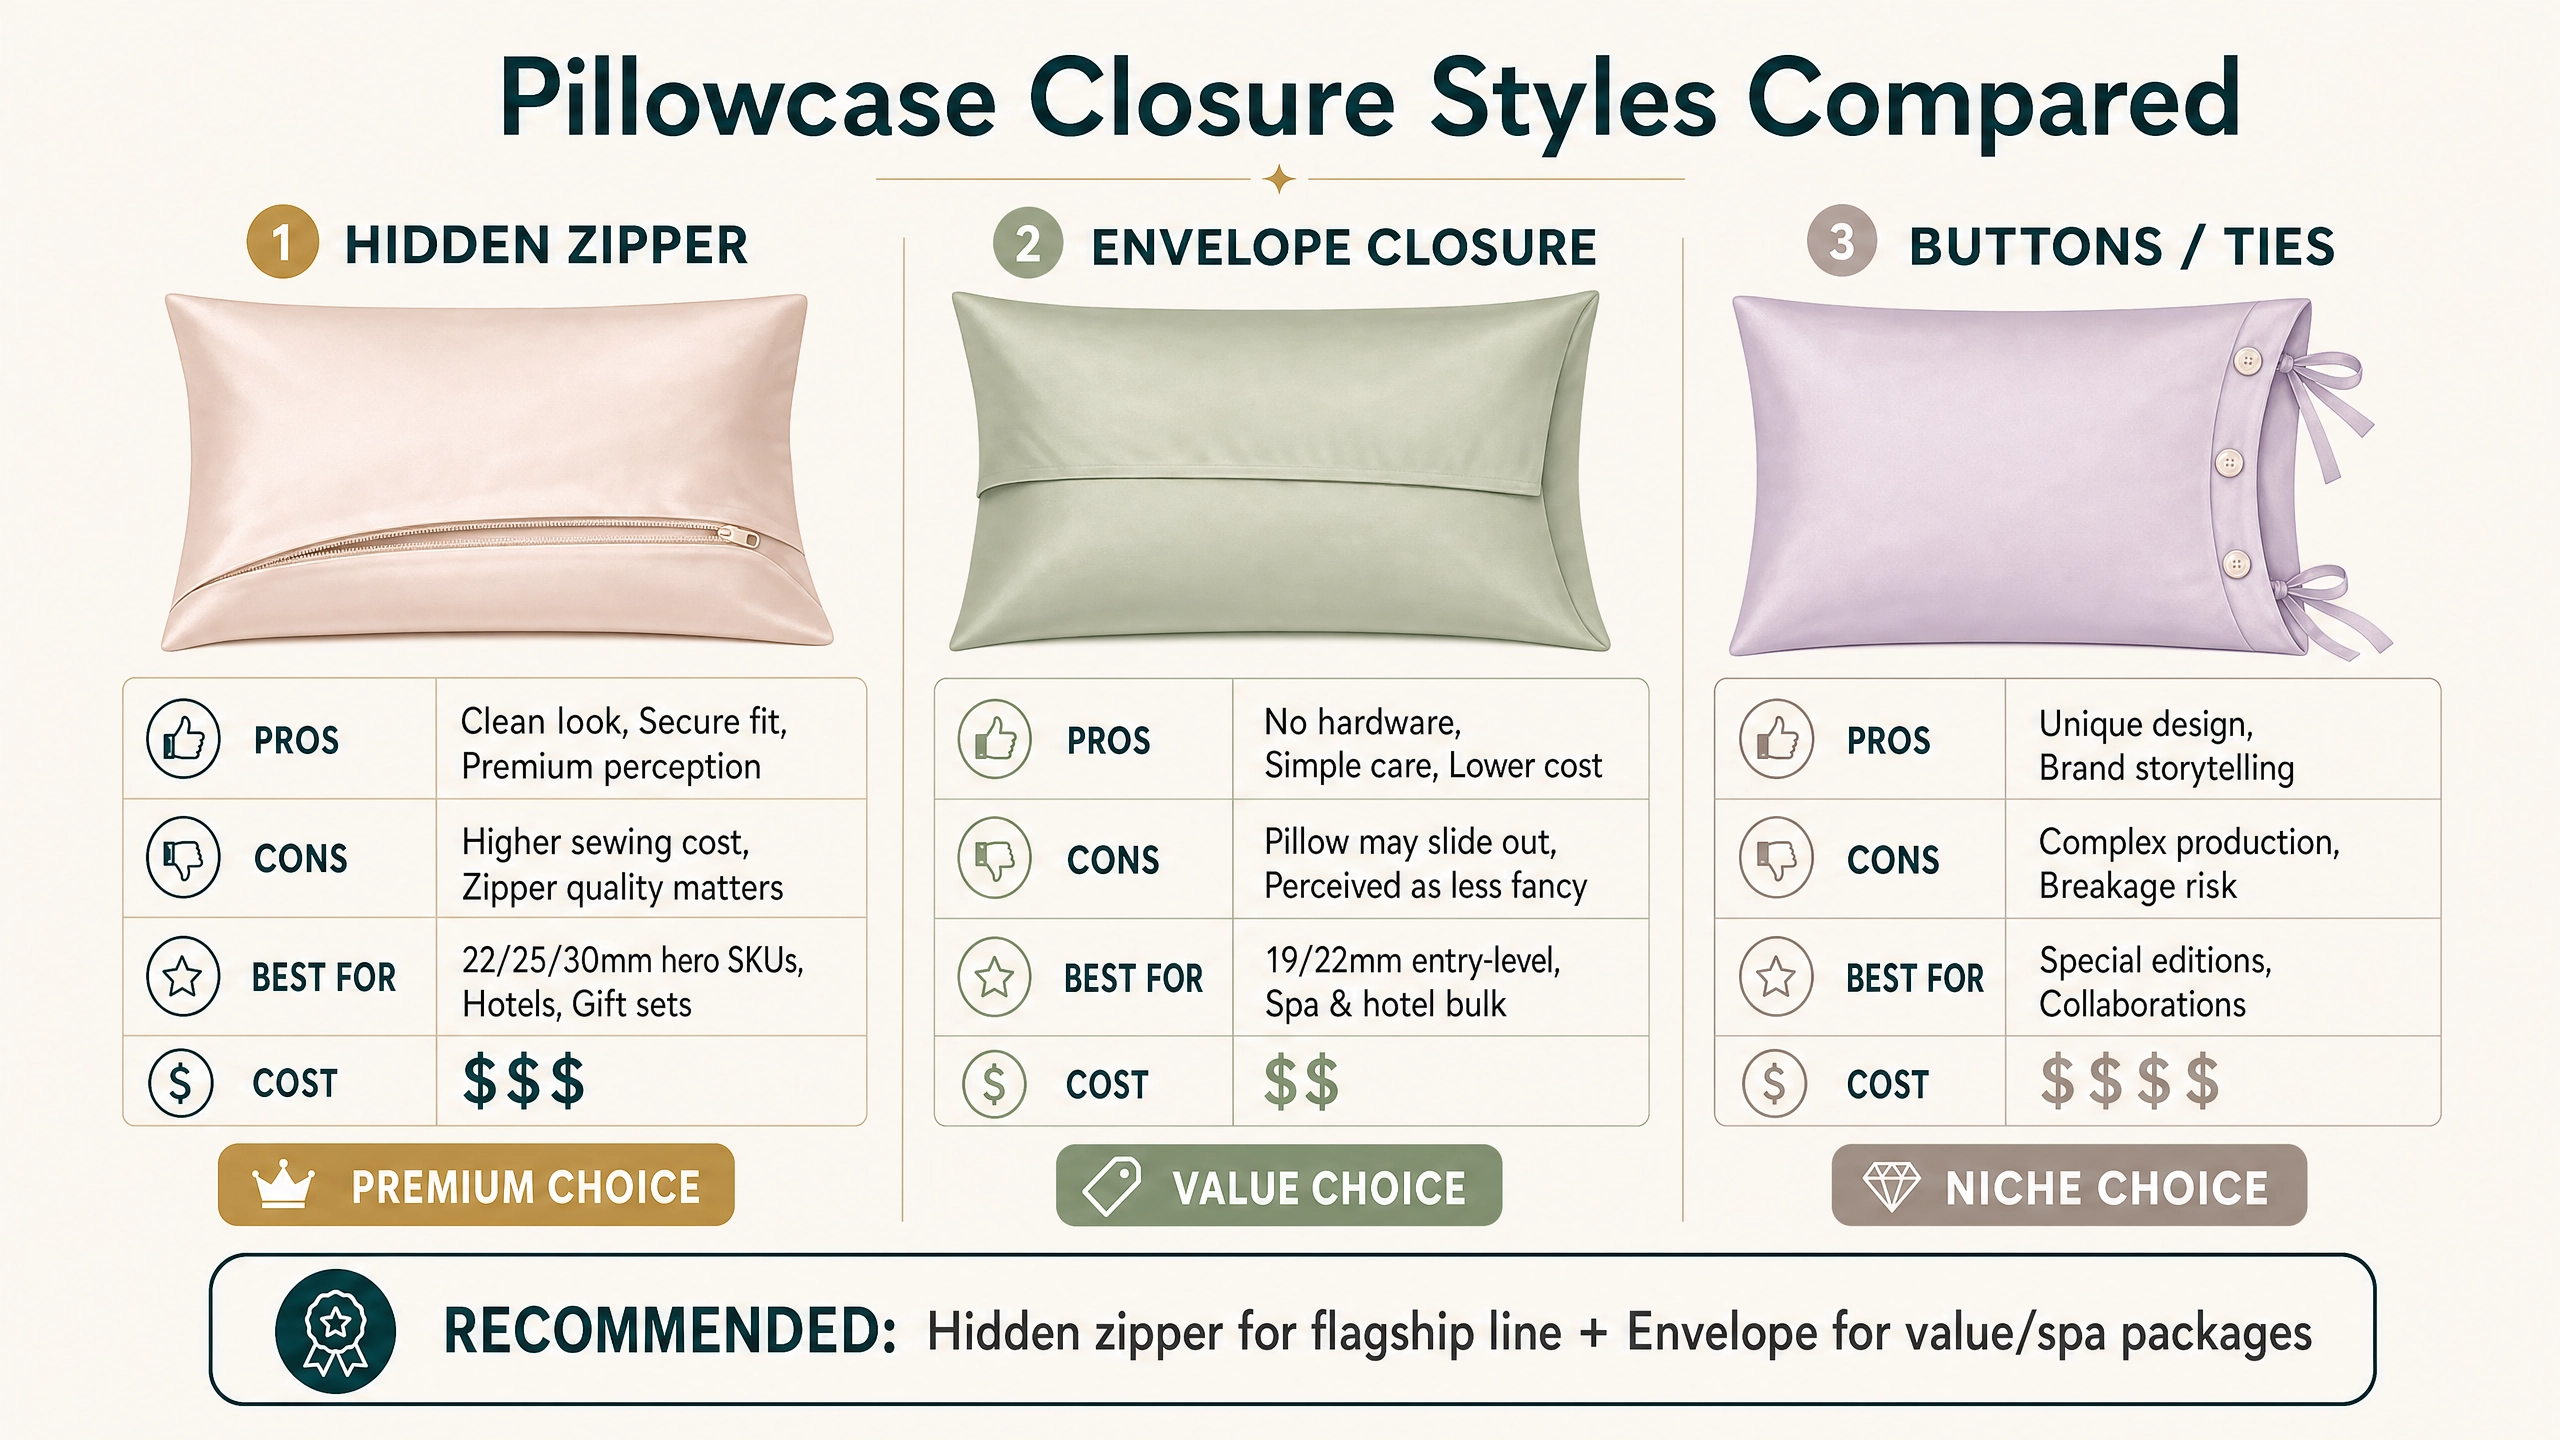
An open-ended cover works for tight fits, but closures keep the pillow from slipping out.
Zipper Installation
- Best for frequent washing: Zippers offer clean looks and easy removal.
- Cut one fabric piece short by the zipper length.
- Insert the zipper between the two ends using a zipper foot.
- Close the zipper before inserting the bolster.
Button and Loop Closure
- Simple and decorative: Sew a button on one end and a fabric loop on the other.
- Use thick thread or embroidery floss for lasting durability.
- Position the loop so it overlaps slightly when closed.
Hook-and-Loop (Velcro)
- Easy for beginners: Sew the soft side to one end and the rough side to the other.
- Trim Velcro to 1 to 2 inches for small bolsters.
- Place it inside the seam allowance so edges stay enclosed.
Troubleshoot Common Fit Issues
Even careful sewers run into snags. Here is how to fix them fast.
Cover Too Tight to Insert Pillow
- Cause: Inaccurate width calculation or thick fabric eating up seam allowance.
- Fix: Add an extra ½ inch to width next time, or use a walking foot to prevent fabric shift while sewing.
Gaps at the Ends
- Cause: Uneven pressing or misaligned fabric during sewing.
- Fix: Make sure the cover is fully turned and pressed before inserting the pillow.
Seams Pucker After Washing
- Cause: Fabric was not pre-washed before sewing.
- Fix: Always pre-shrink fabric first, then use lower heat when drying the finished cover.
Maintain Your Handmade Cover
Keep your bolster cover looking fresh with simple care habits.
Washing Tips
- Remove the bolster before washing the cover.
- Machine wash on a gentle cycle with cold water.
- Air dry or tumble dry low to prevent shrinkage.
- Re-press with an iron after drying for a crisp finish.
Storage Advice
- Store covers in a cool, dry place away from direct sunlight.
- Avoid plastic bags and use cotton storage sacks instead to prevent moisture buildup.
Frequently Asked Questions About Bolster Pillow Covers
What size fabric do I need for a bolster pillow cover?
The fabric length should match your bolster’s exact length. The fabric width should equal your bolster’s diameter multiplied by 2, plus 2 inches for seam allowance. For example, a 2-inch diameter bolster needs a 6-inch wide fabric piece.
What is the best fabric for a bolster cover?
Cotton and linen are both excellent choices for bolster covers. They are durable, easy to sew, and come in countless patterns and colors. Always pre-wash fabric before cutting to prevent shrinkage.
How do you measure a bolster pillow for a cover?
Measure the length from end to end while the bolster lies flat. Then wrap a soft measuring tape around the thickest middle section to find the circumference. These two numbers give you everything needed to calculate fabric size.
What seam allowance should I use for a bolster pillow cover?
A ½-inch seam allowance works well for most bolster pillow covers. This allowance provides enough room for secure seams without wasting fabric. Remember to factor seam allowance into your width calculation before cutting.
Can you make a bolster cover without sewing?
Yes, you can create a no-sew bolster cover using fabric glue or iron-on hem tape. Cut your fabric to the calculated dimensions, apply adhesive along the long edges, and press to bond. The result looks similar to a sewn version.
How do you keep a bolster pillow from slipping out of the cover?
Add a closure such as a zipper, button and loop, or Velcro to keep the pillow secure. Zippers work best for covers that get washed often, while button loops add a decorative touch. Velcro is the easiest option for beginners.
Key Takeaways for Making Your Own Bolster Pillow Cover
Learning how to make a bolster pillow cover gives you complete creative control over your home decor. Accurate measuring, clean ½-inch seams, and pre-washed fabric are the three keys to a professional-looking result. Optional closures like zippers or buttons add function and polish to your finished project. Grab your fabric, thread, and sewing machine, and start stitching your custom bolster cover today.