
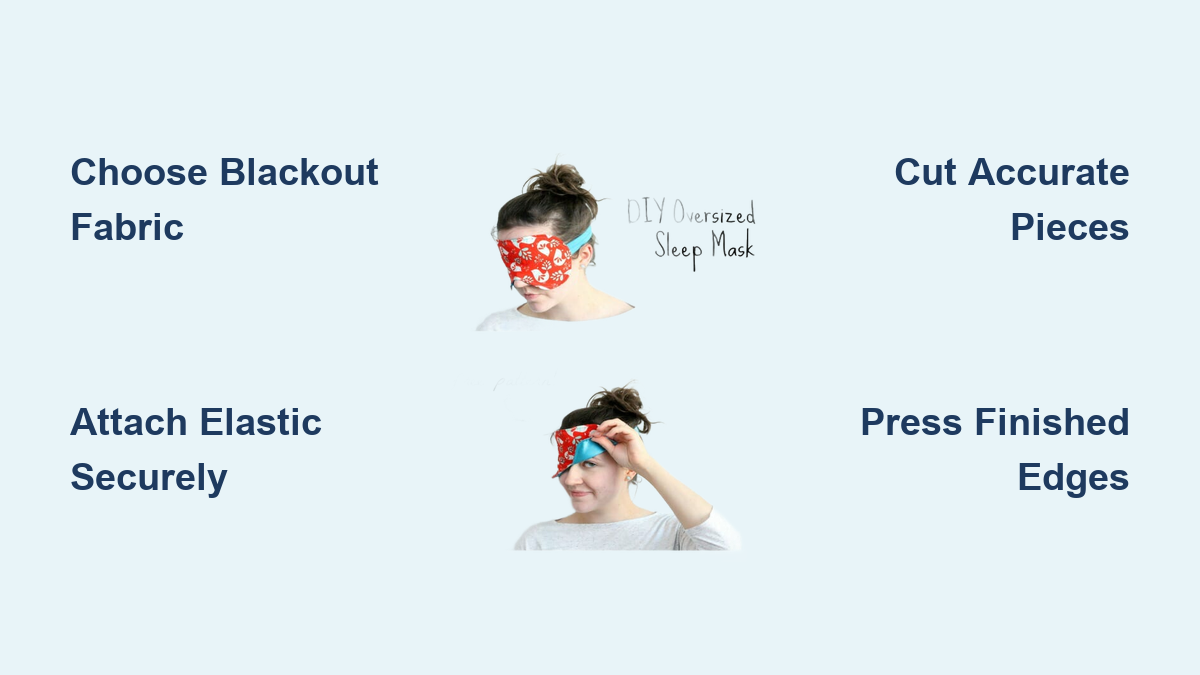
Easy Sleep Mask Sewing Pattern (2026 Guide)
Stray light often ruins a good night’s rest, but a custom sleep mask sewing pattern solves this by blocking brightness while feeling soft on your skin. You can make a mask that fits perfectly and stays in place all night using simple materials found in your stash.
This guide teaches two methods: a contoured shape for a professional fit and a rectangular version for quick gifts. You will learn to cut layers, attach adjustable elastic, and finish edges for a durable result that looks store-bought.
Choose the Right Fabric for Light Blocking

Selecting the correct materials determines how well your mask blocks light and feels against your face. The best designs combine a structured front with a plush backing to hug your features without pressure.
Pick Outer and Inner Layers
Use cotton or flannel for the outer layer because it holds its shape and accepts decorative stitching well. For the inner layer touching your eyes, choose fleece, minky, or plush fabric to prevent pressure on your eyelids. Dark-colored inner fabrics like navy or black improve light absorption significantly.
Add Light-Blocking Interfacing
Apply fusible fleece to the wrong side of your cotton front piece to boost light-blocking power. Press it with a hot iron using a pressing cloth for ten seconds at a time until fully bonded. You can also insert a thin layer of blackout fabric between the front and back for maximum coverage.
Match Fabric to Skill Level
Beginners should start with rectangular patterns using cotton and flannel since they are easy to cut and sew. Intermediate sewers can tackle contoured shapes with minky backing, which require clipping curves and managing stretchy fabrics. Always pre-wash your fabric to prevent shrinkage after completion.
Cut Accurate Pattern Pieces
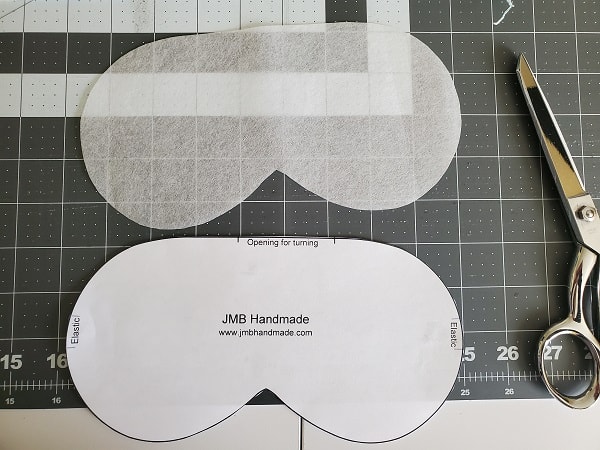
Precise cutting ensures your mask fits your eye sockets correctly and looks professional. Use sharp tools and follow your chosen template closely for the best results.
Use a Printable Template
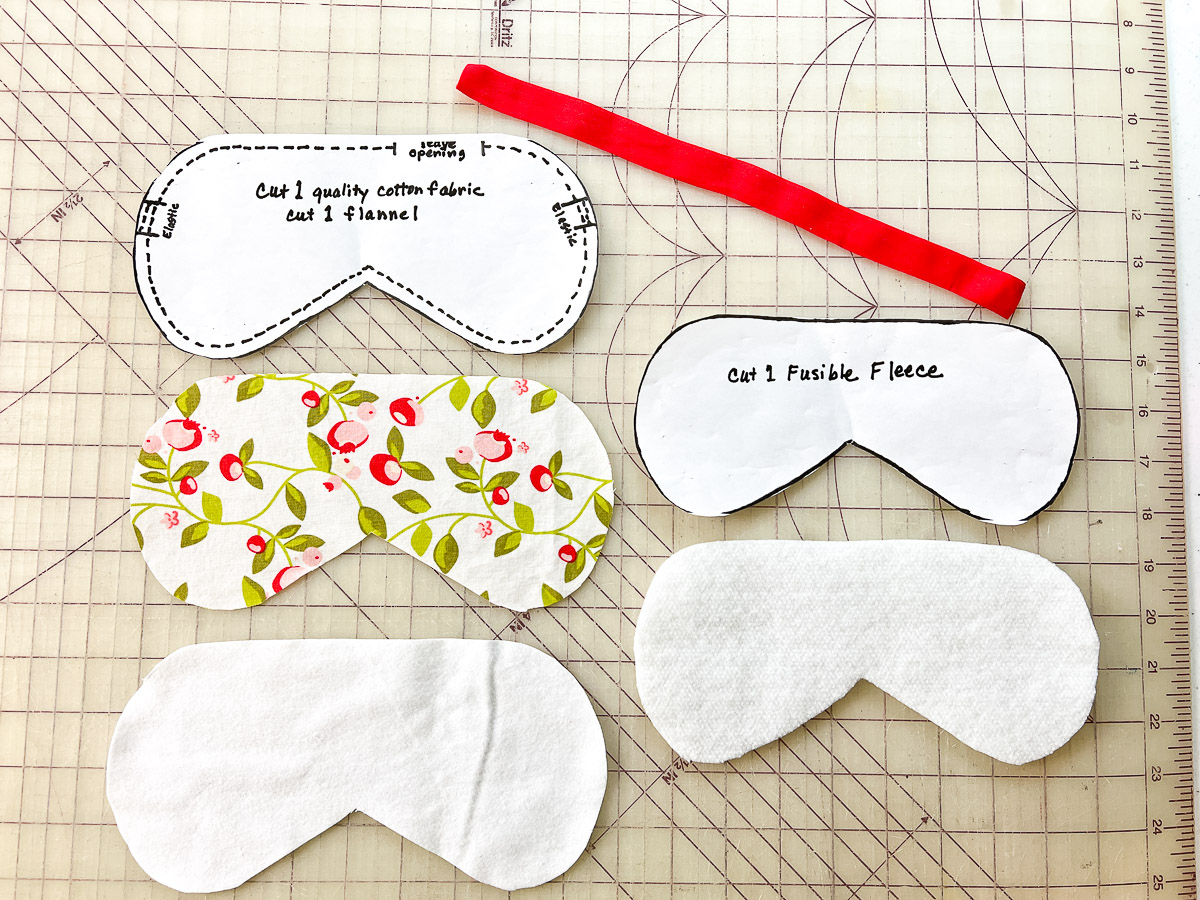
Download or trace a contoured sleep mask pattern that mimics the eye socket shape for a snug fit. Transfer it to tissue paper first for clean handling, then cut three pieces: one from front fabric, one from inner fabric, and one from backing. For the rectangular method, simply cut two 4-inch by 6-inch pieces from outer fabric and two from inner fabric.
Mark Critical Placement Points
Transfer essential markings from the pattern onto your fabric before cutting. You need to mark elastic dots where strap ends attach and an eye center “X” to guide appliqué placement. Mark slit notches on the sides where fold-over elastic will be inserted later.
Cut Felt for Appliqués
Cut felt shapes in contrasting colors if you plan to add decorative eyes or lashes. Use white for eyes, black for pupils, and green or pink for lids to create fun designs. Keep them small enough to fit within the seam allowance and align them with your center mark.
Attach Elastic Securely
A secure strap ensures your mask stays in place without squeezing your head. You can choose between traditional end-attachment or a modern fold-over method.
Measure and Sew End-Style Straps
Measure from temple to temple around the back of your head to determine the correct length. Cut ¼-inch wide elastic to that length, subtracting ½ inch total for seam allowances. Pin each end to the marked dots on the front fabric and backstitch three to four times for durability.
Insert Fold-Over Elastic (FOE)
Cut 5/8-inch fold-over elastic to 12–14 inches for a soft, adjustable finish. Make small slits at the side notches on the front fabric and slide the FOE over the slit. Ensure the shiny side faces down and overlaps the edge by 1/8 inch before pinning it in place.
Assemble Layers Correctly
Proper layering prevents bulk and ensures your mask functions as intended. Follow the specific order for your chosen pattern type to avoid confusion.
Stack in Proper Order
For contoured masks, place minky or fleece right side down as the bottom layer. Put the front fabric with elastic or appliqué right side up in the middle. Place the inner flannel or lining right side down on top. For rectangular masks, place outer and inner pieces right sides together.
Baste for Stability
Use a long basting stitch to temporarily hold the outer fleece and inner flannel layers together for contoured designs. Do not backstitch so you can remove it easily later. Align the front piece on top and pin all layers around the perimeter, leaving a 2–3 inch gap unsewn for turning.
Sew With Precision
Consistent stitching creates a durable mask that withstands repeated washing and use. Take your time around curves to prevent puckering.
Use Consistent Seam Allowance
Sew around the entire edge with a ¼-inch seam allowance and backstitch at the start and end. For curved areas like the nose bridge, slow down and use short, controlled stitches. Avoid catching the elastic in the seam unless it is meant to be enclosed.
Navigate Corners and Curves
Trim corners diagonally after sewing rectangular masks to reduce bulk. For contoured shapes, clip small notches into curved edges up to the stitching line so the seam lies flat when turned. Use clips instead of pins for stretchy minky to prevent shifting.
Trim, Turn, and Press
Finishing touches transform your sewn pieces into a polished, comfortable sleep accessory. This step removes bulk and sets the shape.
Reduce Bulk and Smooth Edges
Trim excess threads and cut down the seam allowance on fleece or flannel layers to minimize thickness. Clip curves deeply but carefully without cutting the stitches. For rectangles, trim corners at a 45-degree angle.
Turn Right Side Out
Reach through the opening and pull the mask right side out gently. Use a chopstick or turning tool to push out corners and shape the curves slowly. Check that all edges are crisp and symmetrical before proceeding.
Press for a Polished Finish
Lightly press the mask from the front cotton side using a warm iron. Always use a pressing cloth when ironing over minky or fleece backs to protect the fibers. Fold the raw edges of the opening inward so they meet the sewn seam.
Close Gap and Topstitch
Securing the opening finalizes your project and adds a professional touch. You can hand sew for invisibility or machine stitch for speed.
Hand-Sew Invisible Closure
Fold the raw edges of the opening inward and pin them shut. Use a slip stitch to close by hand, inserting the needle through tiny folds of fabric. Pull tight and push the knot into the seam to hide it completely for a plush finish.
Machine Topstitch
Stitch around the entire perimeter with a 1/8-inch seam allowance for a crisp, durable edge. This secures the opening and flattens layers effectively. Remove any basting stitches you used earlier with a seam ripper.
Customize Your Design
Personal touches make your sleep mask unique and fun to wear. You can add themes or adjust sizes for different users.
Add Appliqués and Embroidery
Sew felt features like eyes, lashes, or animal faces onto the front fabric before assembling layers. Use a backstitch for hand-sewn details to ensure strength. You can also machine-embroider initials or stars for a personalized touch.
Mix Prints and Colors
Pair fun prints like florals or geometrics with solid plush backs for contrast. Try dark inner linings to boost light blockage further. Make matching sets with leftover fabric such as travel pillows or sleep sacks.
Adjust Size for Age Groups
Most printable patterns include nested sizes for adults and children. For kids, shorten elastic to 6–7 inches and scale down the pattern slightly. Test the fit on the intended wearer before final sewing.
Ensure Comfort and Fit

A well-made mask should block light without causing discomfort during sleep. Focus on pressure distribution and hold.
Prevent Pressure on Eyes
A good sleep mask should hover slightly above the eyelashes rather than pressing on them. Use soft, lofty backings like minky or fleece to distribute weight evenly. Avoid stiff interfacing or thick batting that adds unnecessary pressure.
Guarantee Snug but Gentle Hold
The elastic should stay in place without squeezing your head. Fold-over elastic offers gentle stretch while custom-measured straps ensure a perfect fit. Shorten the elastic if the mask slips or lengthen it if it leaves marks.
Block All Light Effectively
Double-layer construction plus fusible fleece or blackout lining eliminates glow effectively. The contoured shape seals better at the nose bridge than rectangles to prevent light leaks. Test your mask in a bright room to ensure no light shines through.
Maintain and Care Properly
Proper care extends the life of your handmade sleep mask and keeps it hygienic. Follow these steps to maintain its shape and function.
Wash Before First Use
Always pre-wash your finished mask to remove lint, dyes, or sizing chemicals. This step also softens the fabric and pre-shrinks it for a better fit.
Clean Safely and Gently
Place the mask in a laundry bag and use a gentle cycle if machine washing. Hand wash heavily decorated or hand-stitched versions with mild detergent and cool water.
Dry Without Damage
Air dry only and never use high heat to avoid melting synthetic fibers. Lay the mask flat to preserve its shape and elasticity over time.
Repair Easily When Needed
Re-sew loose seams with matching thread if they come undone. Replace worn elastic by cutting open the attachment point and re-stitching securely.
Frequently Asked Questions About Sleep Mask Sewing Patterns
What fabric is best for blocking light?
Use fleece, minky, or flannel for the inner layer as these materials provide bulk and softness. Adding fusible fleece or a dedicated blackout fabric layer between the front and back ensures total darkness.
How much elastic do I need for an adult mask?
Measure from temple to temple around the back of your head for a custom fit. Standard adult masks typically use 7–8 inches of ¼-inch elastic or 12–14 inches of fold-over elastic.
Can I make a sleep mask without a sewing machine?
Yes, you can hand sew the entire project using a backstitch for strength. Hand sewing is particularly effective for attaching appliqués and closing the final opening invisibly.
How do I prevent the mask from pressing on my eyelids?
Choose lofty fabrics like minky or fleece for the backing to create a barrier. Ensure your pattern has a contoured shape that hovers slightly above the eyes rather than resting directly on them.
Is this pattern suitable for children?
Yes, simply scale down the pattern dimensions and shorten the elastic to 6–7 inches. Use soft, breathable fabrics and avoid small decorative parts that could pose a choking hazard.
Key Takeaways for Your Sleep Mask Sewing Pattern Project

Creating a custom sleep mask allows you to control comfort, style, and light-blocking ability. By selecting soft fabrics like minky, securing elastic properly, and finishing edges with care, you build a durable accessory for better rest.
Start with a simple rectangular design if you are new to sewing, or challenge yourself with a contoured shape for a professional fit. Your handmade mask will block light effectively and make a thoughtful gift for friends and family.