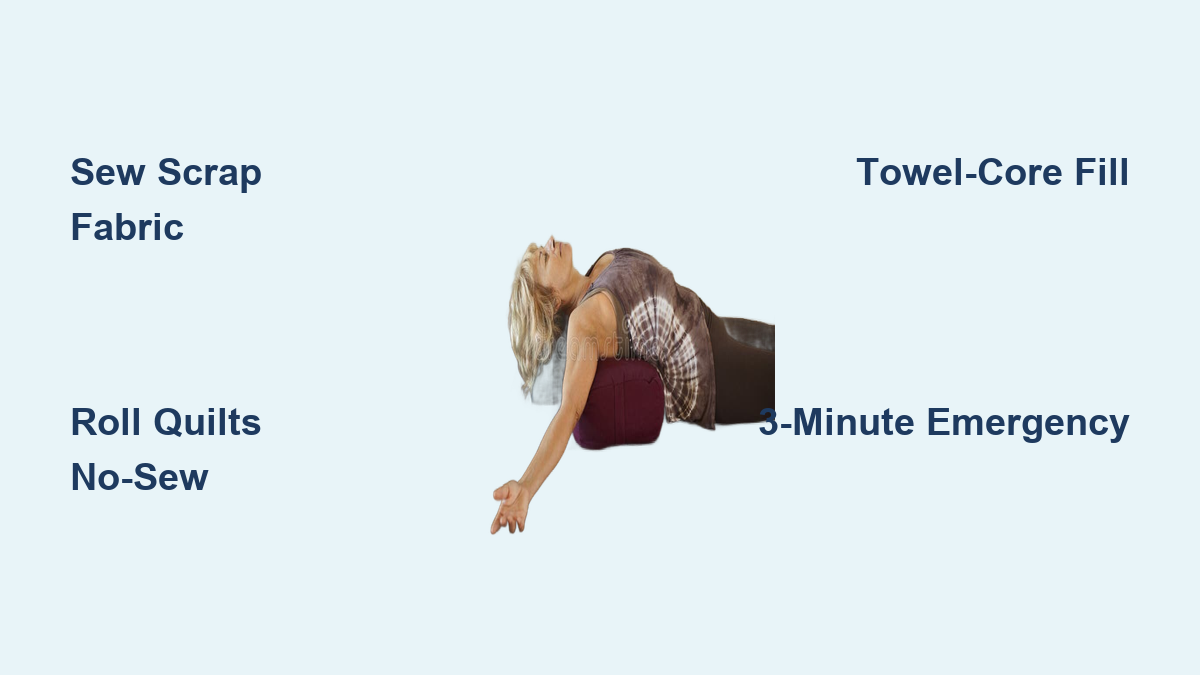
How to Make a Yoga Bolster
You don’t need to spend $75 on a store-bought yoga bolster to support your restorative or prenatal practice. Whether you’re a seasoned sewer or someone who just needs a quick fix for tonight’s Yin session, you can make a yoga bolster that’s firm, supportive, and tailored to your needs using materials you likely already own.
A well-made DIY yoga bolster provides spinal support, opens the chest in gentle backbends, and helps the nervous system relax. This guide walks you through four proven methods, from no-sew rolls to custom-sewn washable bolsters, so you can choose the right one for your skill level, time, and budget.
Choose Your Bolster-Building Method
Compare DIY Options First
Before cutting fabric or rolling blankets, consider your priorities: speed, cost, durability, or washability. Each method has trade-offs worth knowing.
| Feature | Sewn Scrap Bolster | Quilt Roll (No-Sew) | Towel-Core Bolster | 3-Minute Emergency |
|---|---|---|---|---|
| Sewing Required | Yes | No | Yes | No |
| Time Needed | 2 to 3 hours | 5 minutes | 1 to 2 hours | 3 minutes |
| Cost | $0 to $10 | $0 | $20 to $30 | $0 |
| Firmness | High | High | Very High | Medium |
| Washable? | Spot-clean only | Pillowcase washable | Yes, with zipper | Spot-clean only |
| Best For | Crafters | Quick setup | Stability lovers | Immediate use |
Now let’s dive into each method step by step.
Build a Sewn Scrap Bolster (Custom and Durable)

This approach works best for crafters who want a long-lasting, personalized bolster using fabric scraps from old projects.
Cut Fabric Pieces to Size
You’ll create a cylinder with end caps and handles. Use sturdy cotton, canvas, or upholstery fabric for durability.
- Body: 2 rectangles measuring 24″ × 12″
- Handles: 2 strips measuring 24″ × 3″
- End caps: 2 circles measuring 12″ in diameter
Cut carefully with fabric scissors. Iron all pieces flat before sewing to remove wrinkles.
Sew the Body Tube
- Place the two 24″ × 12″ rectangles together with right sides facing.
- Sew along both 12-inch edges to form a tube.
- Backstitch at the start and end of each seam for strength.
- Press seams open with an iron to reduce bulk.
Make and Attach Handles
- Fold each 24″ × 3″ strip lengthwise with wrong sides together.
- Sew along the long edge to create a strap.
- Turn right side out using a safety pin or loop turner.
- Topstitch both long edges to flatten and reinforce.
- Pin handles to the body tube, centered on the long sides.
Create Rounded End Caps
- Cut two 12″ diameter circles from your fabric.
- Sew around the edge with a ½” seam allowance, leaving a 2″ gap.
- Turn right side out through the gap.
- Lightly stuff with batting to give shape without overfilling.
- Set aside for final assembly.
Assemble and Close the Bolster
- Pin an end cap to one open end of the body tube with right sides together.
- Sew around the circle with a ½” seam, backstitching at start and end.
- Clip notches in the seam allowance around the curve to help it lie flat.
- Repeat for the second end cap.
- Turn the entire bolster right side out.
- Press seams and topstitch ¼” from the edge around both ends.
Stuff Firmly with Scraps and Batting
Firmness matters most here. A soft bolster collapses under body weight and fails its purpose.
- Mix fabric scraps (cotton, denim, fleece) with polyester batting.
- Use a funnel or long spoon to push stuffing deep into the ends.
- Pack tightly until it feels like a firm couch cushion.
- Check firmness by pressing with your hand; it should resist indentation.
Pro Tip: Add a zipper in the seam during body tube assembly for future washing access.
Roll a No-Sew Quilt Bolster (Fast and Free)
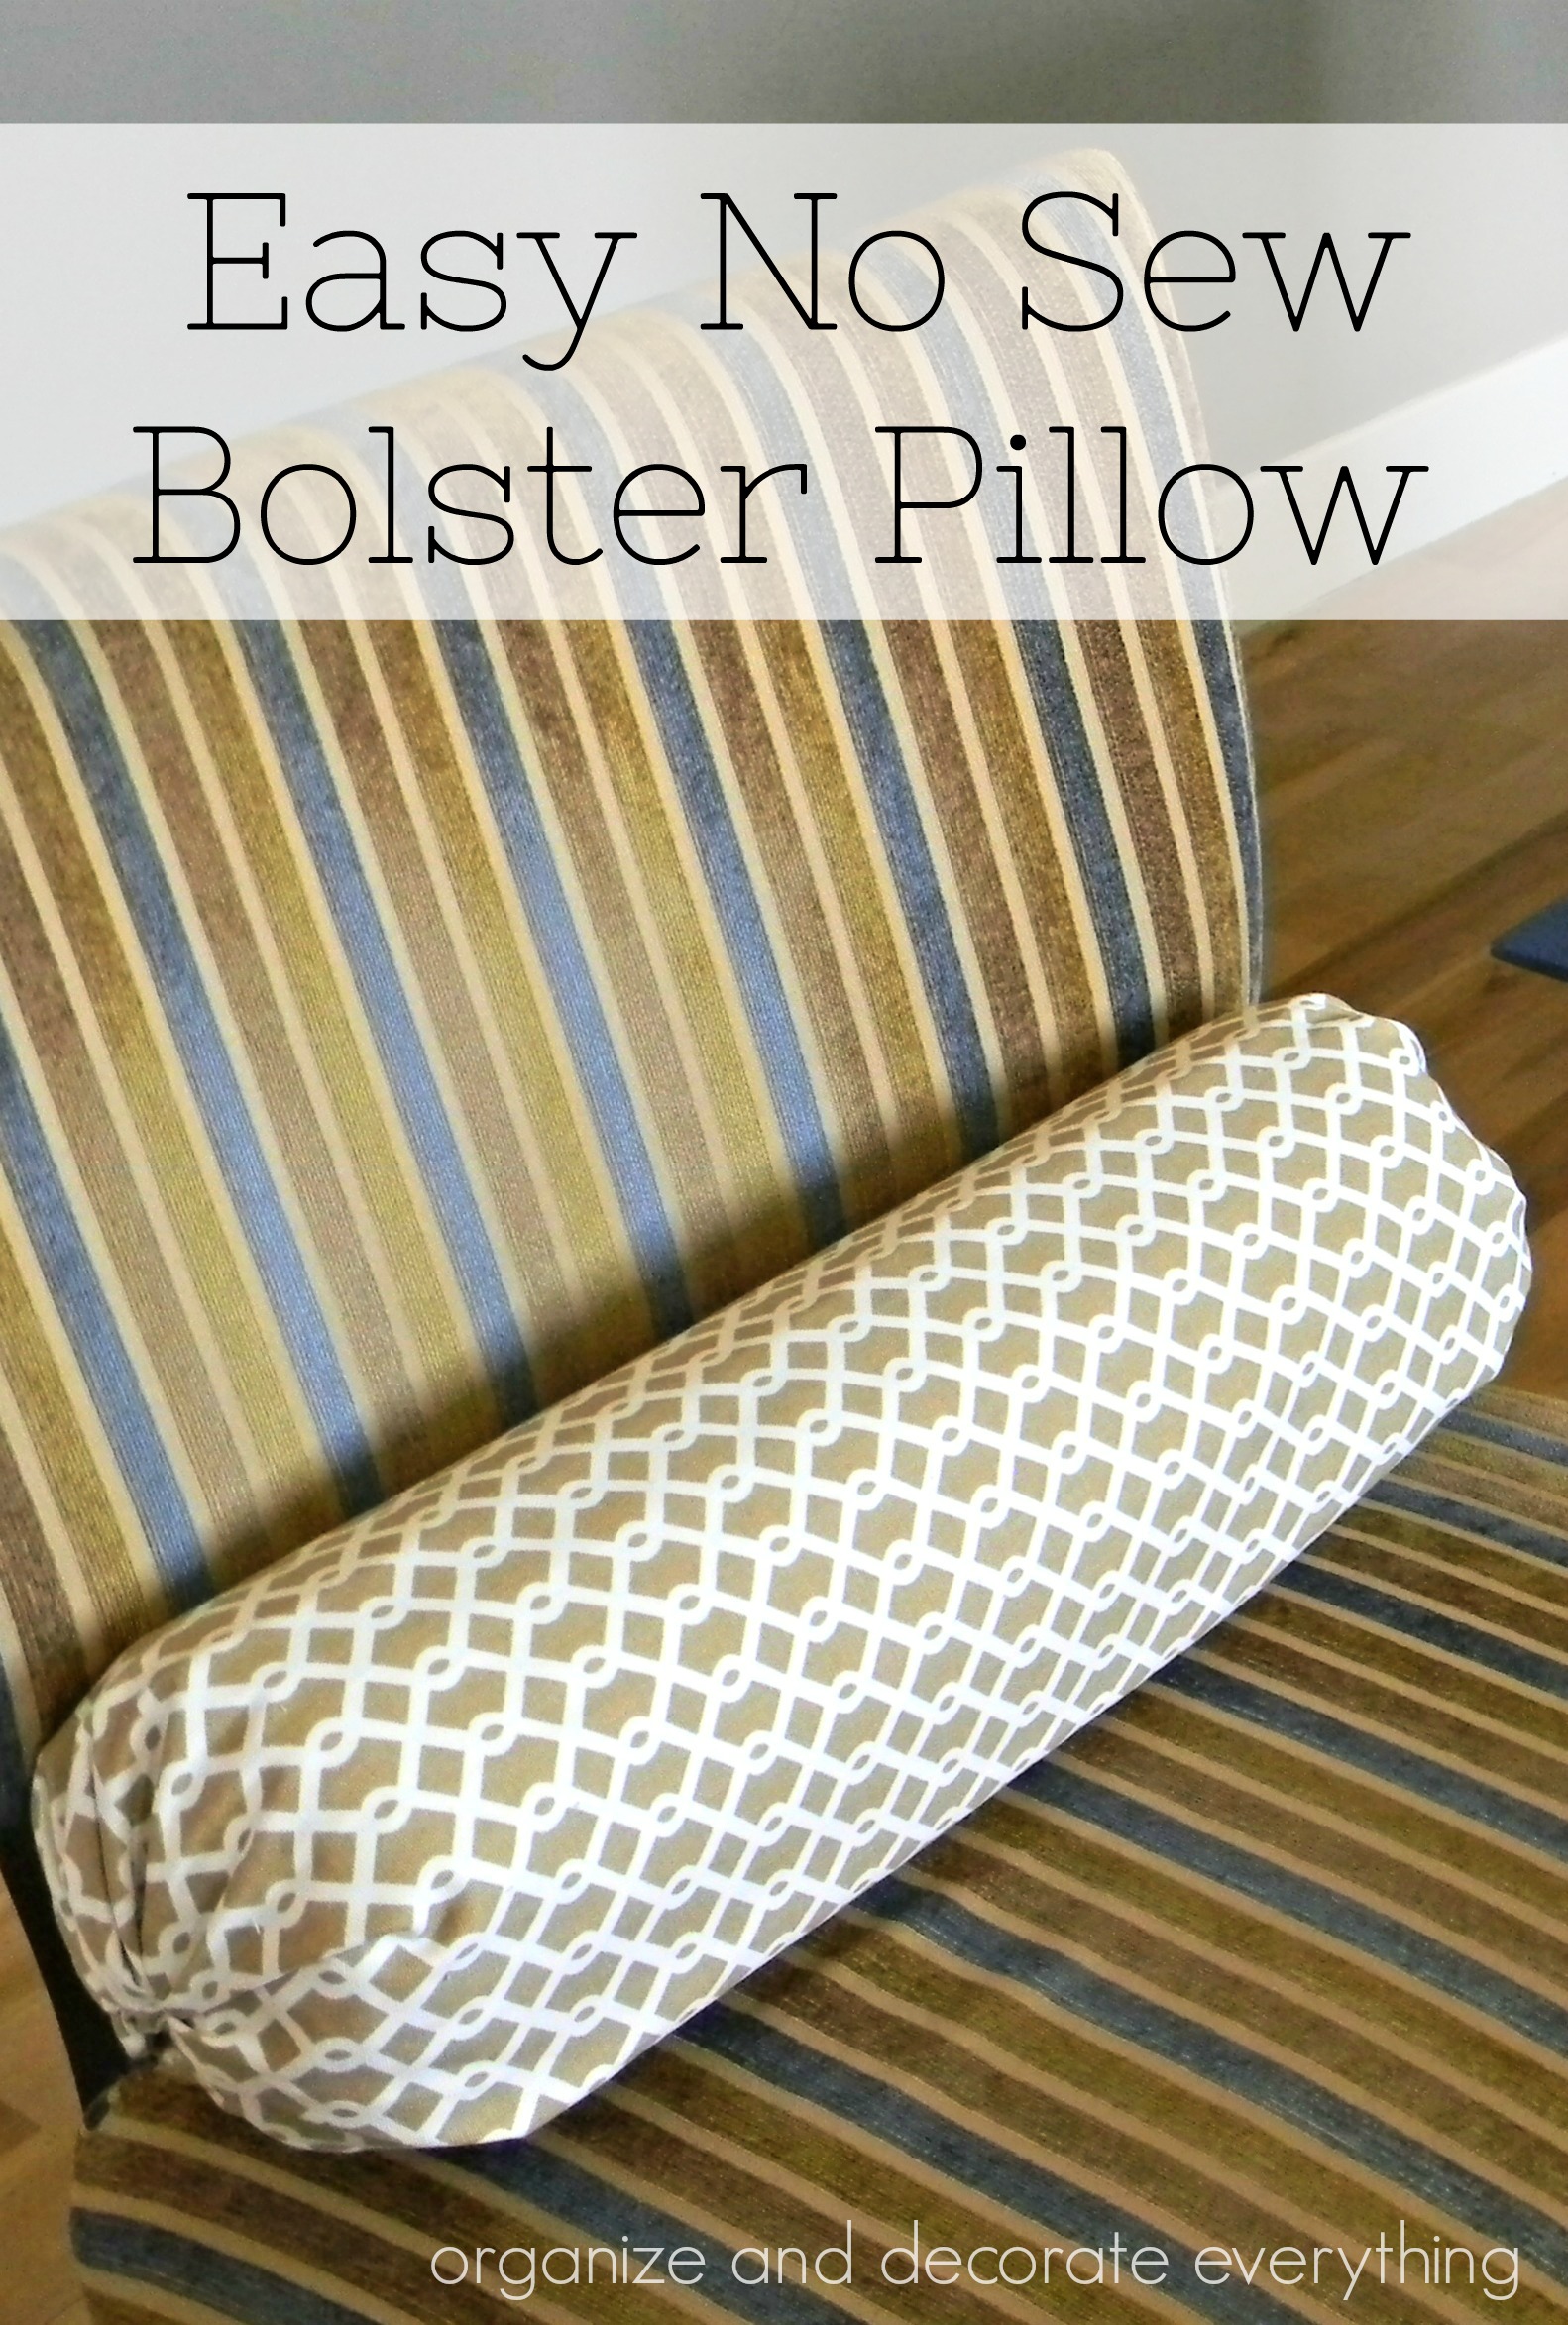
This method suits beginners or anyone needing a bolster right now without any tools.
Gather and Fold 4 Quilts
Use heavy, hand-stitched quilts for maximum firmness. Thinner blankets work but may compress more easily.
- Collect 4 large quilts or blankets from your linen closet.
- Fold each one lengthwise in half.
- Stack them with the largest, thickest quilt on the bottom.
Layering this way creates a stable, dense core that mimics commercial bolster density.
Roll Into a Tight Cylinder
- Start rolling from one end like you would a yoga mat.
- Keep the roll tight and even with no loose sections.
- Roll until you have a firm cylinder about 6 to 8 inches in diameter.
Visual Cue: It should feel solid when you press on it with no give or wobble.
Slide Into Pillowcases for Clean Finish
- Take 2 large pillowcases from your bedding.
- Slide one onto each end of the rolled cylinder.
- Tuck the loose end of each case under and around the roll, like wrapping a gift.
This keeps the roll from unspooling and gives a neat, finished appearance.
Bonus: Use decorative pillowcases to match your yoga space aesthetic.
Construct a Towel-Core Bolster (Heavy and Stable)
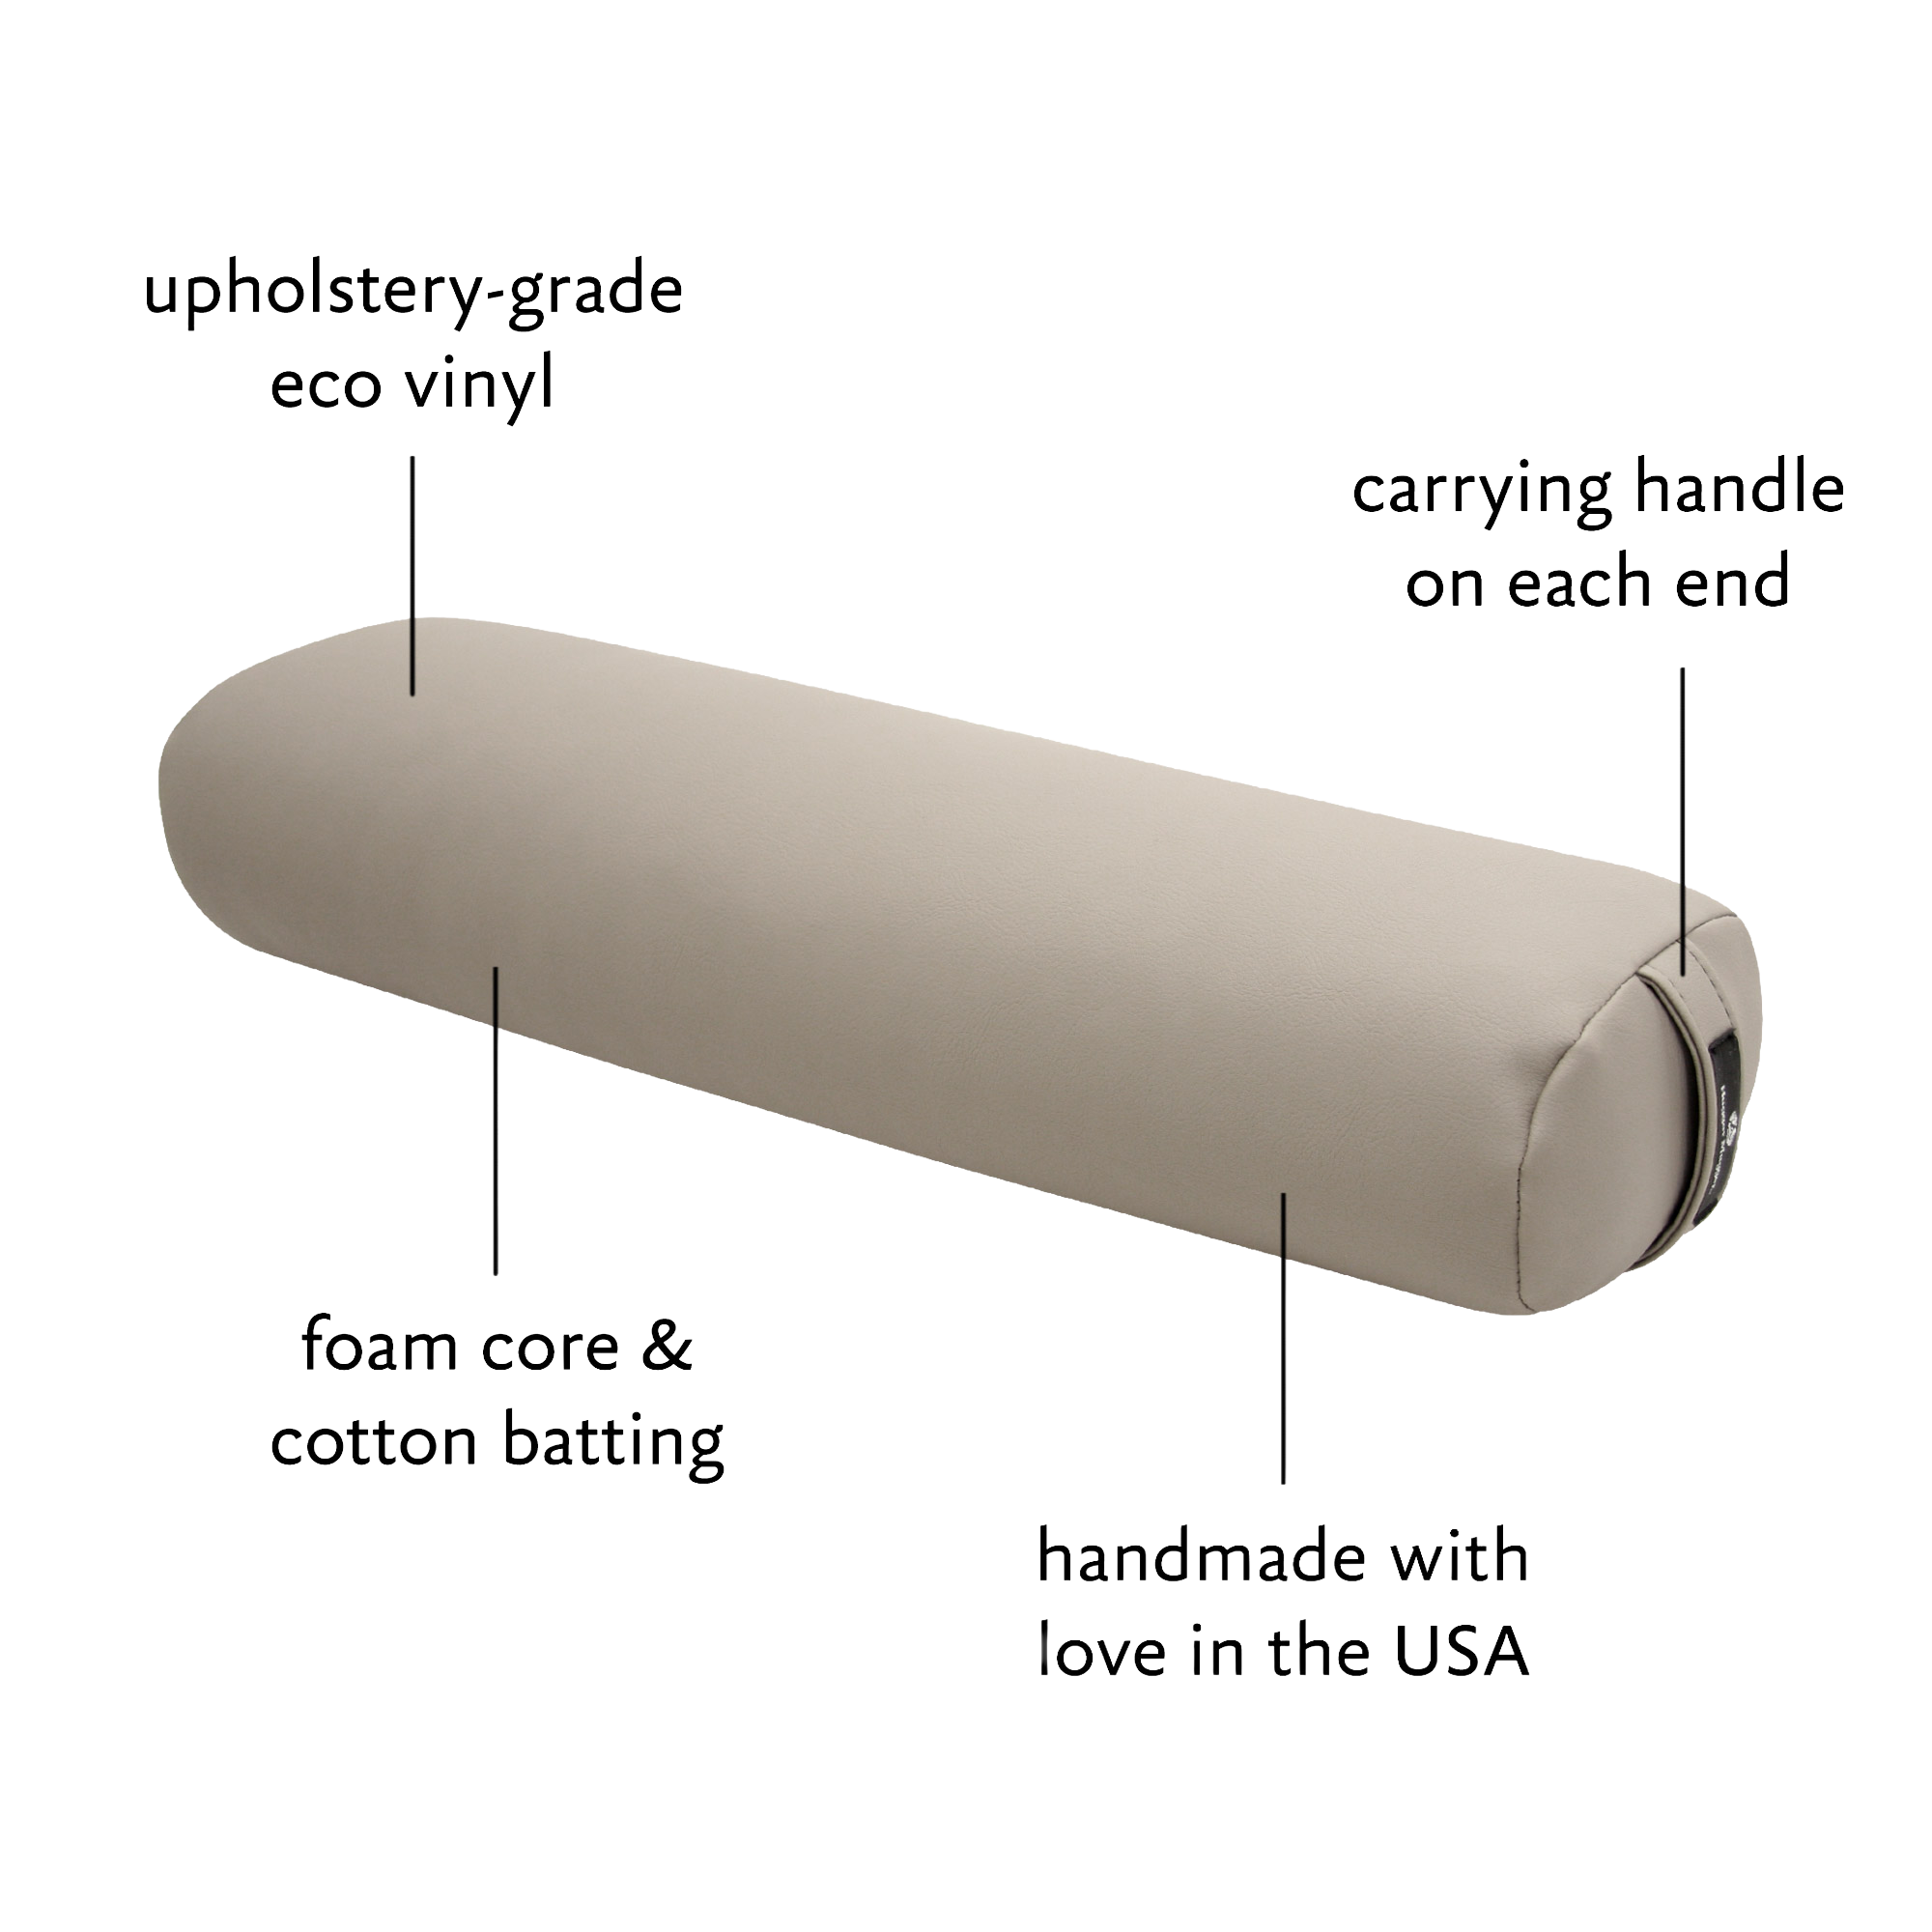
For users who want weight and grounding, this method uses bath towels as the supportive core.
Cut Fabric Strips for Gusseted Design
This bolster has a rectangular cross-section for better stability during poses.
- Main panels: 2 pieces measuring 12″ × 36″
- Side gussets: 2 pieces measuring 6″ × 36″
- End caps: 2 pieces measuring 12″ × 6″
- Handles: 2 pieces measuring 2″ × 6″
Use durable fabric like canvas or denim for long-lasting support.
Make and Attach Handles
- Fold the 2″ × 6″ strips in half lengthwise with wrong sides together.
- Sew along the long edge to form straps.
- Turn right side out and press flat with an iron.
- Sew each handle to the center of a 12″ × 6″ end piece.
Sew the Body with Gussets
- Place the two 12″ × 36″ main panels with right sides together.
- Sew along one 36″ edge to form a tube.
- Open and lay flat. Attach a 6″ × 36″ gusset to each long edge.
- Sew one 12″ × 6″ end piece (with handles) to one open end.
- For the second end, sew three sides, turn right side out, and leave one side open as a stuffing pocket.
Insert Towels and Polyfill
- Insert 4 full-sized bath towels into the bolster shell.
- Compress them to fit snugly so they provide the core weight.
- Fill gaps with polyester fiberfill or kapok for softness.
- Sew the final end closed by hand or machine.
Warning: The thickness makes hand-sewing difficult. Use a heavy-duty sewing machine.
Expert Upgrade: Install a zipper in one seam before final assembly for easy washing.
Make a 3-Minute Emergency Bolster (No Sewing)
When you need a bolster right now, this no-tool method works in under three minutes.
Roll a Blanket Tightly
- Lay out an old blanket on the floor.
- Fold it lengthwise once or twice for added thickness.
- Roll from one end to the other as tight as possible.
Firmness Check: Squeeze it. If it squishes too much, re-roll tighter.
Cover with a Pillowcase
- Turn a pillowcase inside out.
- Place the open end over one end of the rolled blanket.
- Slide the case onto the roll, pulling it all the way on.
- Fold the open end of the pillowcase over the top to secure.
Secure with Pins and Elastic
- Use 4 to 6 safety pins to close the sides of the pillowcase around the roll.
- Tie the open end tightly with a hairband or elastic band.
Caution: Do not use this bolster unattended. Pins may loosen or rust over time.
This is a temporary solution ideal for travel or testing bolster use before investing time.
Customize Firmness, Weight, and Size
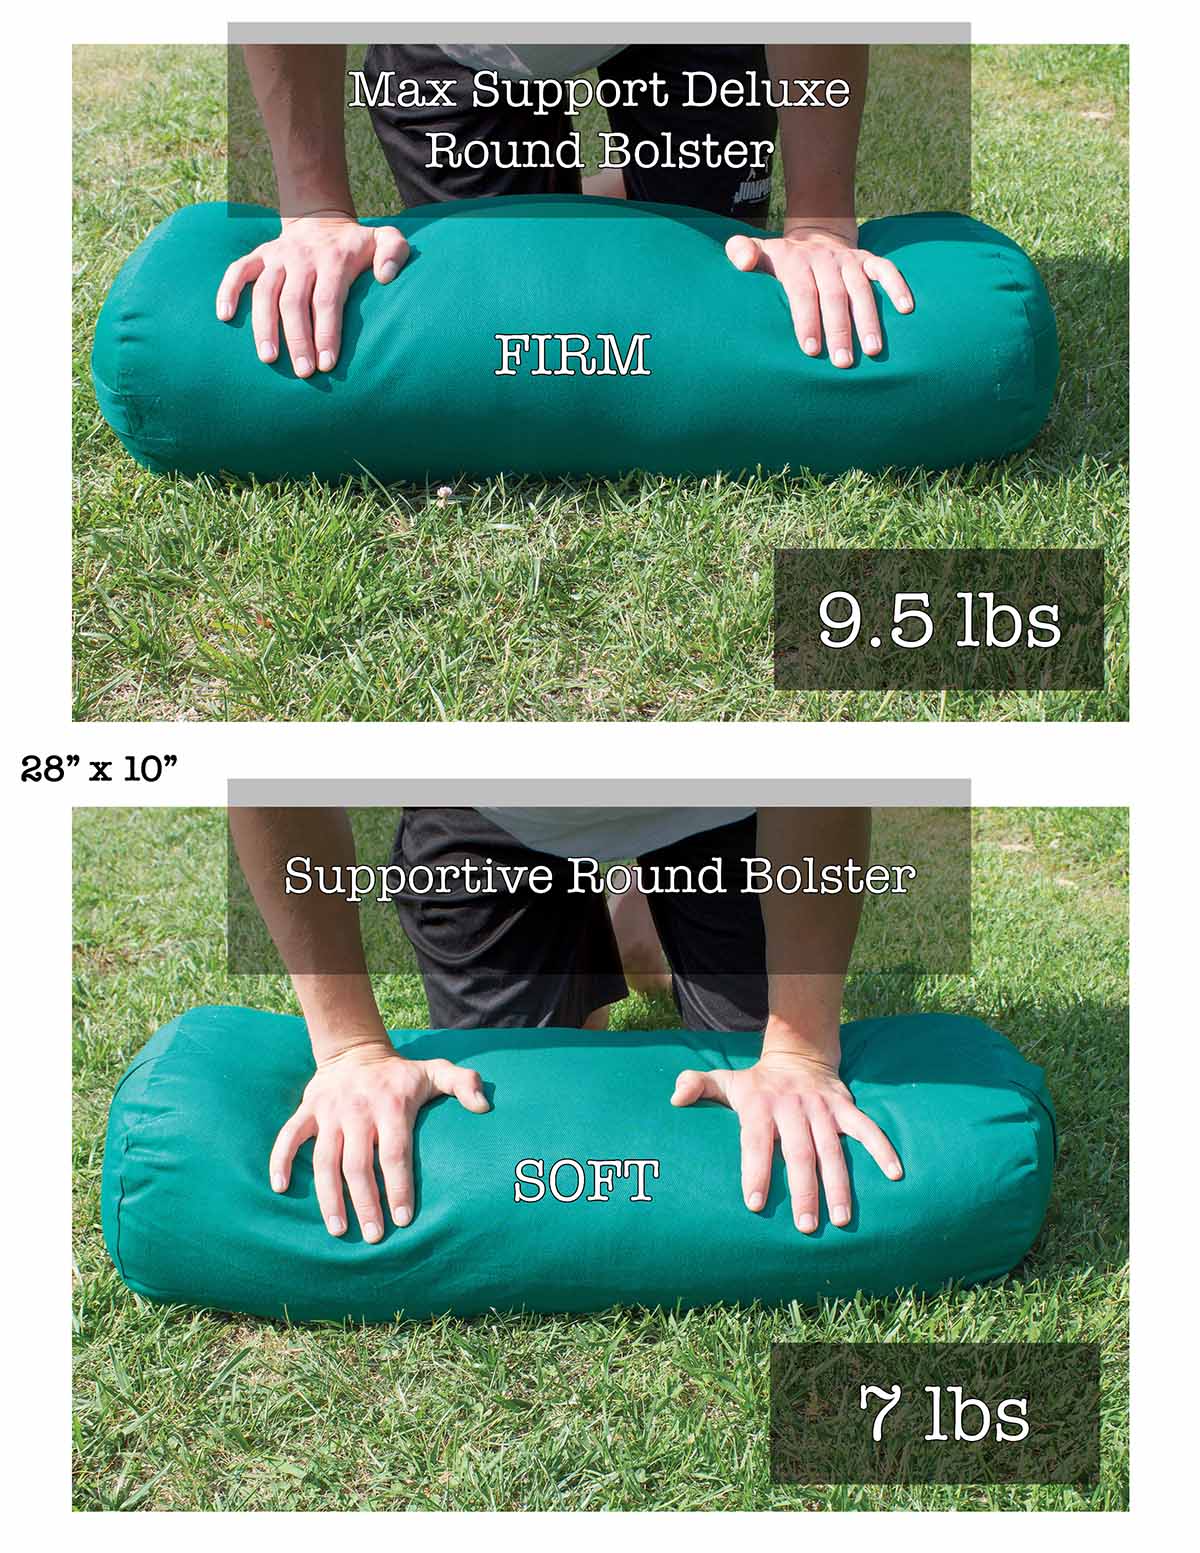
Adjust for Personal Preference
Not all bodies or practices are the same. Tailor your bolster to match your needs.
| Goal | How to Achieve It |
|---|---|
| Softer bolster | Use fewer towels or more polyfill |
| Firmer bolster | Pack tighter with 4 thick towels or dense quilts |
| Lighter weight | Use 1 to 2 towels plus extra polyfill |
| Heavier stability | Use 4 bath towels and add rice in sealed bags |
User Feedback: Many prefer heavier bolsters because they don’t shift during poses like gentle backbends.
Standard Dimensions for Full Support
- Length: 24 to 36 inches (supports from neck to tailbone)
- Diameter: 6 to 12 inches (wider means more surface area)
- Ideal Use: Rests under the spine in reclined poses
Measure your torso from skull base to sacrum to customize length for your body.
Use Your Bolster in Key Yoga Poses
Open the Chest and Armpits
Pose: Reclined Bound Angle (Supta Baddha Konasana)
Place the bolster vertically under your spine. Lie back with head supported and arms open wide. Feel the chest expand and shoulders release tension.
Support Gentle Backbends
Pose: Supported Bridge
Position the bolster under your lower back, just above the sacrum. Let hips rest lightly on the ends with arms out to sides and palms up.
Benefit: Relieves lower back tension without over-arching the spine.
Elevate Hips for Inversion Effect
Pose: Legs-Up-the-Wall (Viparita Karani)
Place the bolster under your hips and extend legs up the wall. Stay 5 to 10 minutes to reduce leg swelling, ideal for teachers, nurses, and chefs.
Assist Forward Folds
Pose: Seated Forward Bend (Paschimottanasana)
Place the bolster on your thighs and rest your forehead on top. Let gravity deepen the stretch gently without strain.
Support Prenatal Practice
Use the bolster horizontally under your back or side-lying with it between your knees. This provides comfort and alignment as your belly grows.
Maintain Hygiene and Durability
Keep It Clean and Fresh
Studio bolsters are shared among many users. Yours doesn’t have to be.
- With zipper: Remove cover and wash in cold, gentle cycle. Air dry.
- Without zipper: Spot clean with vinegar-water (1:3 ratio). Air out weekly.
- Quilt method: Wash pillowcases regularly and air out the core.
Pro Tip: Sprinkle baking soda on the bolster, wait 15 minutes, then vacuum to deodorize.
Reinforce for Longevity
- Topstitch all seams to prevent bursting under body weight.
- Backstitch at stress points like handles and end caps.
- Rotate usage if you have multiple bolsters to prevent uneven wear.
Avoid dragging your bolster on rough floors since this frays fabric over time.
Frequently Asked Questions About Making a Yoga Bolster
What is the best filling for a homemade yoga bolster?
The best filling depends on your firmness preference. Fabric scraps mixed with polyester batting create a firm, packable core for the sewn method. Bath towels provide heavy, stable weight for grounding poses. Polyfill alone feels softer but may compress under body weight. For premium softness, kapok fiber works well as an eco-friendly alternative to synthetic fills.
How firm should a yoga bolster be?
A yoga bolster must be significantly firmer than a standard bed pillow. It should resist indentation when you press your hand firmly into it. If the bolster compresses fully under body weight during reclined poses, it lacks the density needed for proper spinal support. Aim for the firmness of a firm couch cushion.
Can I make a yoga bolster without sewing?
Yes, you can make a yoga bolster without any sewing using the quilt roll method. Simply fold 4 large quilts lengthwise, stack them with the thickest on bottom, roll tightly into a cylinder, and cover both ends with pillowcases. This method takes about 5 minutes and costs nothing if you own quilts already.
How long does it take to make a DIY yoga bolster?
Time varies by method. The 3-minute emergency bolster takes under 5 minutes. The quilt roll method takes about 5 to 10 minutes. The sewn scrap bolster requires 2 to 3 hours including cutting, sewing, and stuffing. The towel-core bolster takes 1 to 2 hours depending on your sewing speed and experience level.
What size should a yoga bolster be?
Standard yoga bolster dimensions range from 24 to 36 inches in length and 6 to 12 inches in diameter. The length should support your body from the base of your skull to your tailbone when reclining. Measure your torso from skull base to sacrum to find your ideal length for full spinal support.
How do I wash a homemade yoga bolster?
Washing depends on construction. Pillowcase-covered quilt rolls allow you to remove and wash the cases regularly while airing out the core. Sewn bolsters without zippers require spot cleaning with a vinegar-water solution. Adding a zipper during construction transforms any sewn bolster into a fully washable cover.
Key Takeaways for Making Your Own Yoga Bolster
You now have four reliable ways to make a yoga bolster at home, from a 3-minute hack to a custom heirloom piece. Each method proves that high-quality support doesn’t require a high price tag.
- Save money by avoiding $75+ retail markups on commercial bolsters.
- Control materials by using eco-friendly fabrics, kapok, or family quilts.
- Ensure hygiene by knowing exactly what touches your body during practice.
- Customize fit by matching firmness, weight, and size to your unique body.
Whether you’re deepening your restorative practice, supporting a prenatal journey, or just need a prop for evening relaxation, a homemade bolster empowers your yoga at home.
Next Step: Try the quilt roll method tonight. If you love it, build a zippered towel-core bolster this weekend for a permanent upgrade.
Your practice, your support, made by you.