How to Assemble a Metal Futon Frame
Putting together a metal futon frame often feels overwhelming when you face a box full of parts and cryptic diagrams. Many people struggle with misaligned holes or wobbly results because they miss critical orientation steps during the initial build.
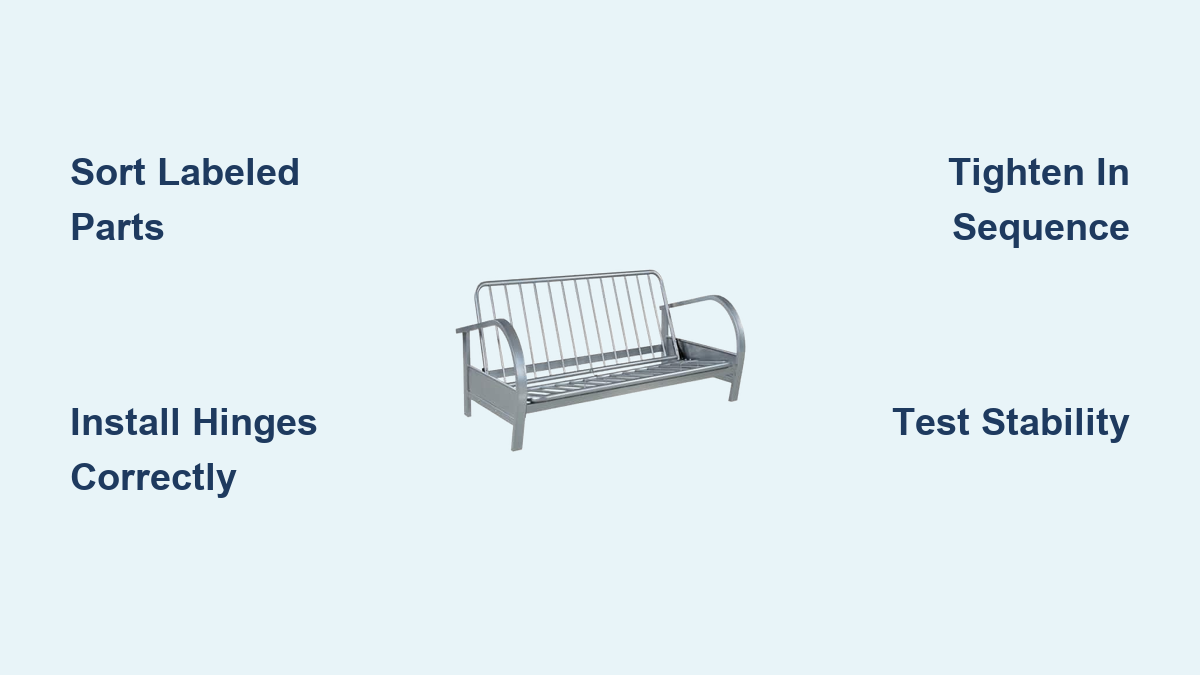
This guide explains exactly how to assemble a metal futon frame using proven methods for models like College Products and DHP Aiden. You will learn to identify labeled parts, install hinges without binding, and tighten bolts in the correct sequence for a sturdy finish.
Unpack and Identify All Labeled Parts
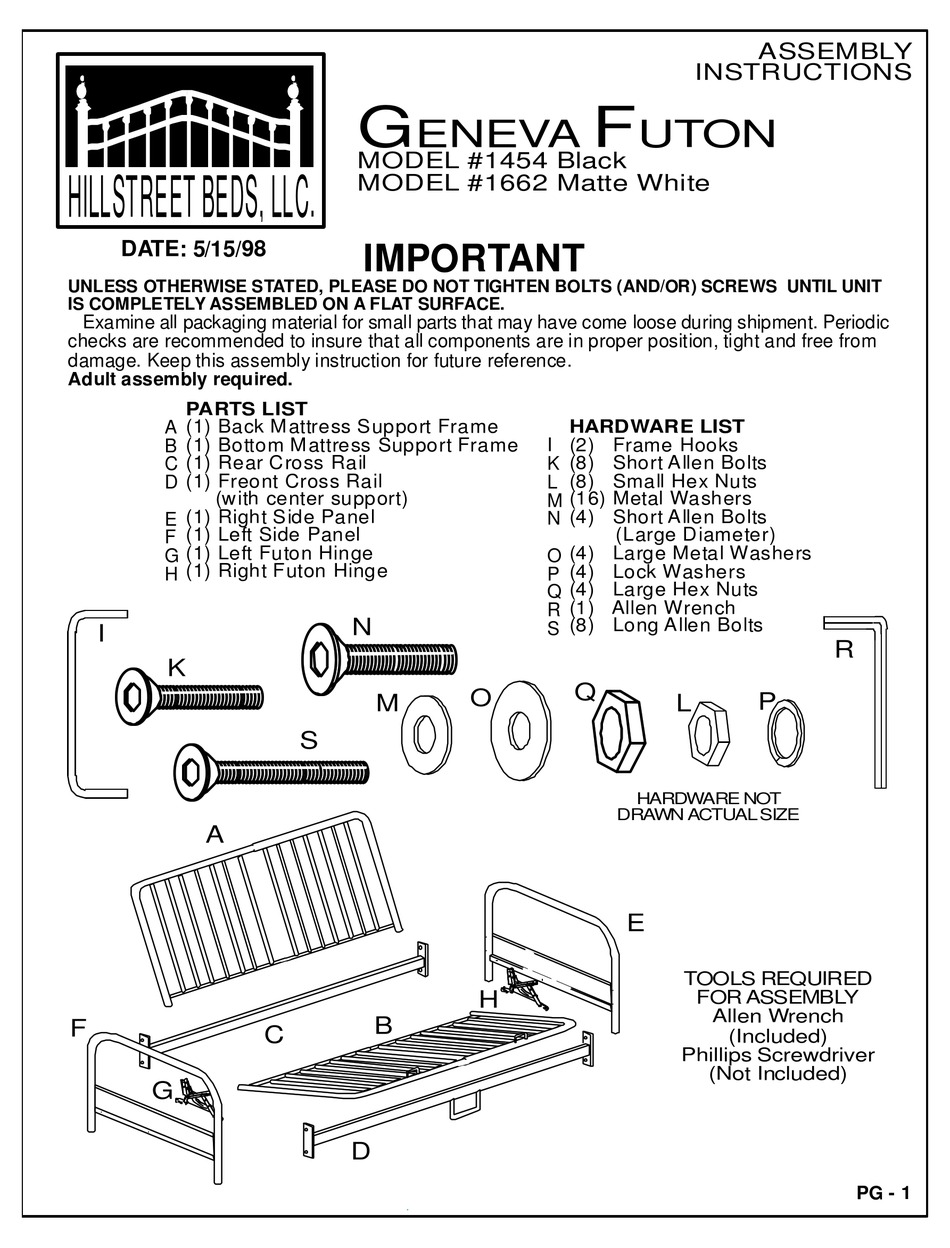
Laying out every component on a clean floor prevents lost hardware and ensures you have everything before starting. Most manufacturers label parts with letters or numbers to simplify the process if you organize them logically.
Sort Components by Function and Label
Identify the left and right side frames based on where you would sit on the finished piece. Separate the front mattress frame with handles from the back frame that lacks them.
* Locate the four crossbars and ensure any stoppers face upward.
* Find the transmission mechanisms marked L and R for the hinge system.
* Group base braces, ends, and decking slats separately.
Verify Hardware and Required Tools
Check your inventory against the manual list to avoid mid-assembly delays. You typically need an Allen wrench, though a power drill with a hex bit speeds up the work significantly.
* Sort bolts by length into short, medium, and long categories.
* Separate large and small washers along with matching nuts.
* Keep numbered screws like #1 through #7 in distinct piles.
* Set aside cable ties and adhesive pads if your model includes them.
Build the Main Frame Structure First
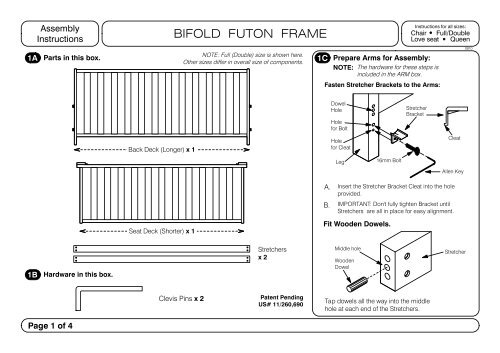
Constructing the skeleton of the frame before adding moving parts ensures proper alignment throughout the build. Starting with the side frames creates a stable foundation for the rest of the assembly.
Attach Transmission Mechanisms to Side Frames
Place the left side frame upright with holes facing up to begin the core connection. Insert a large bolt from the bottom up through the frame and into the transmission mechanism.
1. Add a large washer and nut on top of the mechanism.
2. Tighten only until finger-tight to allow for later adjustments.
3. Repeat this for the back mechanism on the same side.
4. Mirror the entire process on the right side frame.
Install Base Braces and Supports
Align the futon end with the base brace for models that use vertical supports. Insert long bolts from the outside through both pieces and secure them inside with a washer and nut.
* Hold the nut steady with a regular wrench while turning the bolt.
* Connect front and back support pieces using the specified screw type.
* Leave these connections slightly loose to maintain flexibility for final alignment.
Add Crossbars and Base Supports
Horizontal crossbars lock the width of your frame and provide essential support for the mattress deck. Installing them correctly prevents the structure from shifting during use.
Install Front and Back Crossbars
Align the front crossbar with the designated holes on the front section of the frame. Insert small screws or bolts by hand first to ensure threads catch properly without stripping.
* Place a small protective pad on top of each bar before final tightening.
* Repeat the installation for the back crossbar using the same method.
* Ensure all stoppers face upward to support the decking securely.
Secure Base Support and Side Panels
Slide the bottom frame piece into the base structure to add rigidity. Fasten it with the specified screws on both sides and one in the center for maximum stability.
* Attach side panels using the designated number of screws per side.
* Use specific screw types only on bottom bars as directed by your manual.
* Tighten all side panel screws securely with your assembly tool.
Assemble Hinges and Mattress Frame
The hinge mechanism allows your futon to transition smoothly between sitting and sleeping positions. Proper installation here prevents binding or instability when you convert the frame.
Connect Hinges with Correct Orientation
Follow the rule that the inside front of the hinge connects to the outside back of the opposing section. Seat the hinge fully onto the base brace and frame before securing it.
1. Secure the hinge with two long bolts, washers, and nuts.
2. Tighten completely to create a stable pivot point.
3. Test the movement gently to ensure it swings freely.
4. Check that no metal parts rub against each other during motion.
Attach Mattress Frame to Mechanisms
Align the handle of the front mattress frame with the mechanism to link the sleeping surface. Insert a medium bolt with a washer through the top and bottom of the connection point.
* Secure the underside with another washer and a small nut.
* Repeat the process for the back connection using one medium bolt.
* Verify the mechanism rests on the front crossbar before full tightening.
Secure the Back Frame
Slide the back frame into the rear mechanism to add strength to the platform. Use two medium bolts per side, each with two washers and a nut for added stability.
* Keep these bolts finger-tight until you confirm overall alignment.
* Ensure the frame sits evenly without tilting to one side.
* Double-check that all washers are in place to prevent metal fatigue.
Install Center Support and Decking
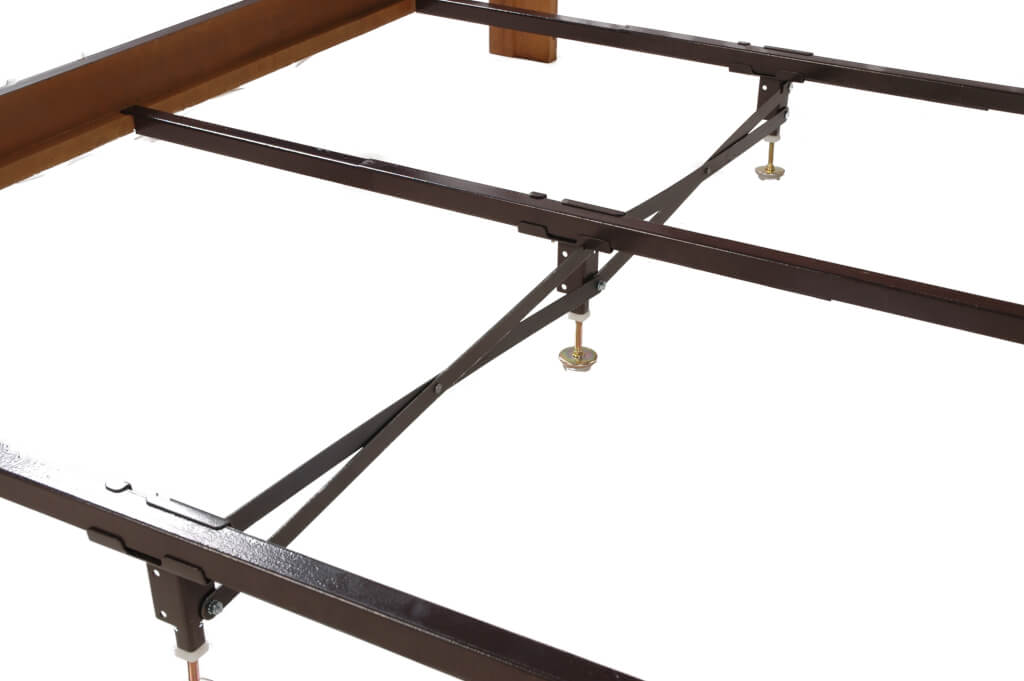
The center leg bears the majority of the weight when the futon is in bed mode. Installing it correctly ensures the frame supports two adults safely without sagging.
Position the Center Leg
Place the futon flat on the floor to prepare for center leg installation. Insert the leg into its slot, noting that it can often go on either side depending on your specific model.
* Slide it into place but do not bolt it yet to allow decking alignment.
* Ensure the leg is ready to stand vertically once secured.
* Verify the leg position does not obstruct the folding mechanism.
Assemble the Decking Sections
Slide the bottom deck sections between the front and back frames to form the mattress base. Open the mechanism slightly if needed to align the screw holes for the decking.
1. Secure the decking with two smaller screws at the front.
2. Repeat the process at the back to lock the slats in place.
3. Apply gentle pressure to avoid stripping threads in the metal.
4. Check that all slats are flush and evenly spaced.
Finalize Center Leg Installation
Align the center leg with the hole at the back of the frame to lock it in place. Insert a long bolt, add the nut, and tighten it securely to bear weight.
* Repeat the bolting process at the front of the leg.
* Confirm the leg stands vertically and touches the floor evenly.
* Test the stability by applying downward pressure on the center.
Install Top Frame for DHP Models
Attach the top frame piece using the correct screws for the top and bottom orientations. Place the designated parts on the seat and back frame sections respectively.
* Flip the frame so the inner spring side faces up for the back frame.
* Insert all screws before tightening to let the spring stretch gently.
* Avoid over-tightening to prevent warping the metal frame.
Stabilize and Test the Frame
Final stabilization ensures your futon operates smoothly without wobbles or strange noises. Testing the mechanism before final tightening allows for necessary adjustments.
Use Cable Ties for Alignment
Wrap a cable tie around both front and back frames if your model requires this step. Position the tie between the second and third inner bars to hold geometry.
* Pull the tie snug but do not tighten it completely yet.
* Repeat on the opposite side to balance the tension.
* Remove ties only after all bolts are fully secured.
Test Couch and Bed Positions
Convert the futon to the upright sitting position to check for stability. The frame should feel solid with no wobbling while the hinge moves freely.
1. Push down gently to lay the frame flat in bed mode.
2. Ensure the frame extends smoothly without resistance.
3. Confirm the center leg touches the floor and supports weight.
4. Check for any grinding noises during the transition.
Execute Final Tightening Sequence
Perform your final tightening only after the frame is in the bed position. Start with side screws to prevent shifting, then move to the center leg and crossbars.
* Tighten decking screws last to secure the mattress base.
* Use a two-hook wrench to squeeze bars together if needed.
* Work from the center outward for even stress distribution.
Apply Padding and Finish Setup
Adding protective pads and cushions completes the assembly while protecting your floors and enhancing comfort. These final touches also improve the aesthetic appeal of your new furniture.
Attach Under-Frame Pads
Lift each leg slightly to press adhesive pads firmly onto contact points. Hold each pad for ten seconds to ensure full adhesion and prevent floor scratching.
* Use all provided pads on front legs and side corners.
* Replace any damaged pads immediately to maintain protection.
* Ensure pads are centered on the bottom of each leg.
Install Side Cushions and Mattress
Attach corner pads and side cushions to protect users from sharp edges. Place the designated pads on middle and outer edges of the side panels.
* Center a full-size mattress on the completed frame.
* Choose a memory foam or foldable mattress for best comfort.
* Verify the mattress fits snugly within the frame boundaries.
Maintain and Troubleshoot Your Futon
Regular maintenance extends the life of your metal futon frame and keeps it operating smoothly. Addressing minor issues early prevents major problems down the road.
Routine Maintenance Tips
Retighten bolts every three to six months due to vibrations from daily use. Keep extra hardware from the manual packet for future replacements or repairs.
* Lubricate hinges sparingly with silicone spray if movement stalls.
* Avoid oil-based lubricants that attract dust and grime.
* Inspect padding regularly and replace if worn or peeling.
Common Assembly Mistakes to Avoid
Tightening bolts too early often causes misaligned holes and stress fractures. Using the wrong screw type on top bars can weaken the entire frame structure.
* Skip cable ties only if your specific model does not require them.
* Correct hinge orientation immediately if binding occurs.
* Realign and loosen bolts if you notice uneven gaps.
Frequently Asked Questions About Metal Futon Frames
How long does it take to assemble a metal futon frame?
Most people complete the assembly in about two hours when working alone. Using a power drill with a hex bit can cut this time in half significantly.
Do I need special tools to build this frame?
You typically only need the included Allen wrench and a regular wrench. A power drill with a hex bit is recommended but not strictly required for success.
Why does my futon frame wobble after assembly?
Wobbling usually happens if bolts were tightened before proper alignment. Loosen all bolts, align the frame perfectly, and tighten them in the correct sequence.
Can I use a different size mattress on this frame?
No, you must use the specific mattress size designed for your frame model. Using the wrong size can cause instability or damage the folding mechanism.
How often should I tighten the bolts on my futon?
Check and retighten all bolts every three to six months depending on usage frequency. Regular maintenance prevents loosening caused by daily vibrations.
Key Takeaways for Assembling Your Metal Futon Frame
Successfully learning how to assemble a metal futon frame relies on organizing parts, leaving bolts loose initially, and tightening only after testing. Following the specific orientation rules for hinges and crossbars ensures smooth operation between couch and bed modes.
Your new frame will provide years of reliable service if you maintain it properly and avoid common assembly pitfalls. Start by sorting your hardware today and follow these steps to build a sturdy, wobble-free futon.