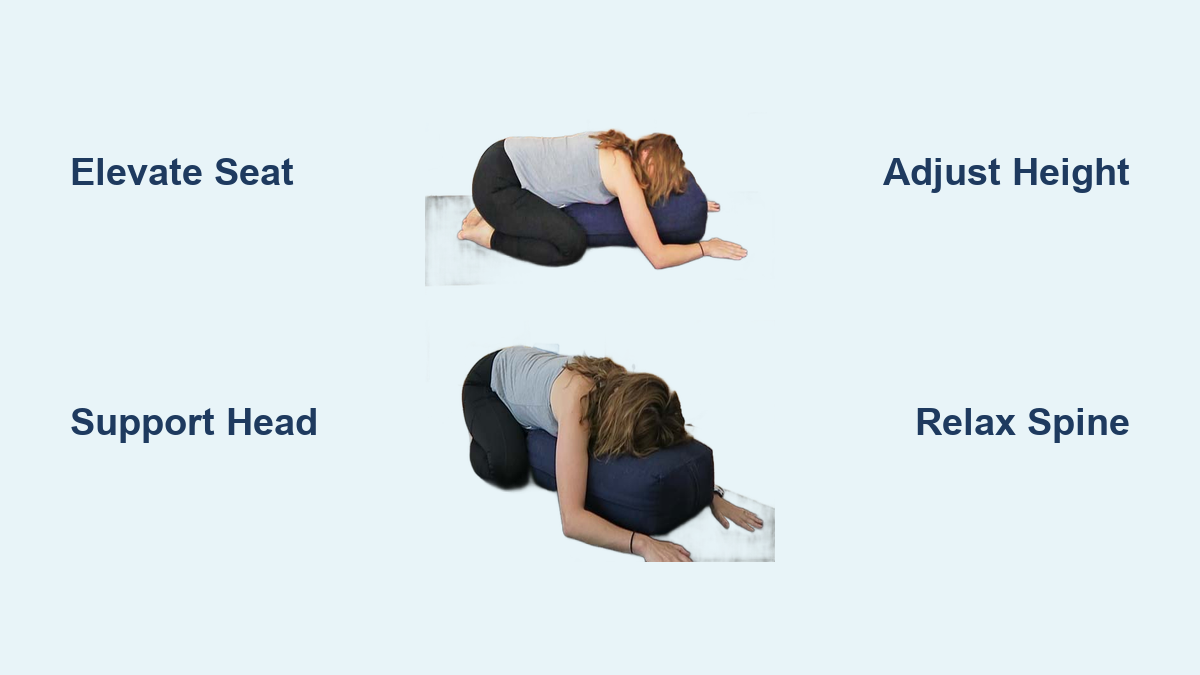
Child’s Pose with Bolster: Quick Steps
When stress tightens every muscle and your mind refuses to slow down, child’s pose with bolster offers a gentle refuge. This supported variation transforms a simple forward fold into a deeply restorative experience that works for every body, regardless of flexibility. By propping your torso with a bolster or blanket stack, you remove strain and invite your entire being to soften. The result is a nervous system reset, gentle hip opening, and spine decompression, all while you breathe into a sense of safety.
In just 3 to 5 minutes, this pose can shift your entire state. Whether you are managing anxiety, recovering from physical exertion, or navigating tight hips, a bolster-supported child’s pose meets you exactly where you are. Below you will find precise setup instructions, troubleshooting fixes, and breathing techniques to maximize every benefit.
Choosing the Right Props for Child’s Pose with Bolster

The right support makes the difference between discomfort and deep restoration. While bolsters offer convenience, blankets provide unmatched customization. Your goal is a firm, level platform that carries your weight without strain or collapse.
Bolster Types and Their Best Uses
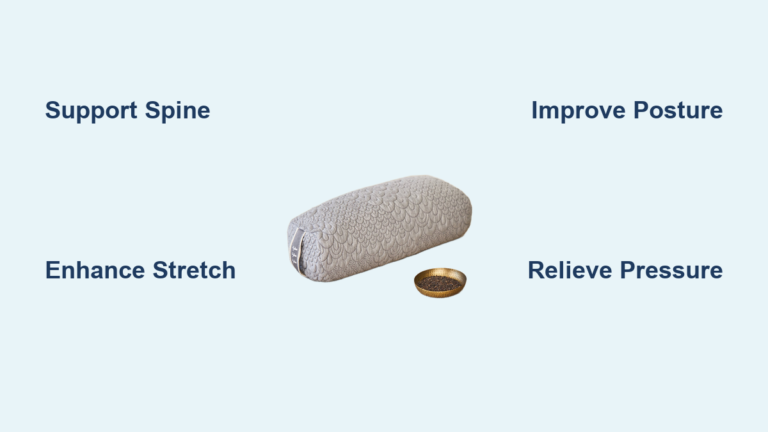
A round bolster fits the natural curve of your torso, cradling the chest and abdomen as you fold forward. For knee relief, slide an atlas bolster behind your knees to cushion the joints and reduce pressure on your shins. This dual-bolster setup works beautifully for anyone with achy joints or limited mobility.
If you prefer simplicity, a flat bolster placed under your chest delivers quick support. It is less contoured but still effective for elevating your upper body and easing lower back tension.
Blanket Stacking for Precision Support
For precise height control, use five folded blankets, each about 8 to 12 inches wide. Stack three as a base, then place the remaining two on top to form a firm mound in front of your pelvis. This layered approach allows micro-adjustments. Add or remove a blanket to align your head, neck, and spine in neutral.
Ensure the stack is even and stable. An uneven surface can twist your spine or collapse under your weight, disrupting relaxation. If you lack yoga blankets, firm pillows or thick towels work in a pinch. Just avoid soft bedding that compresses too much.
Step-by-Step Setup for Supported Child’s Pose
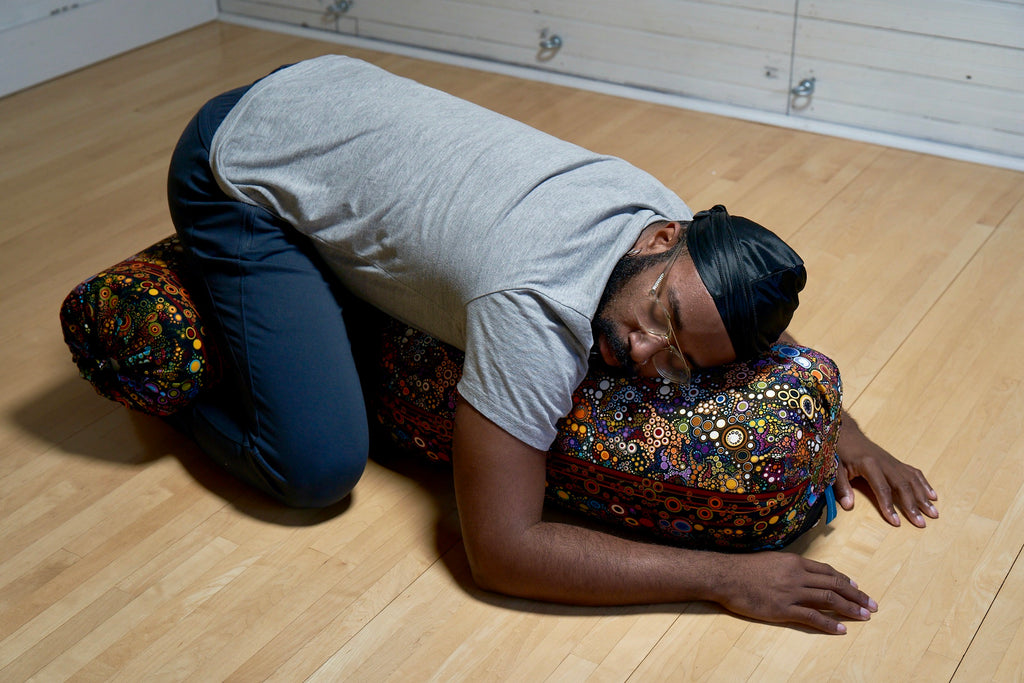
Getting into this pose is a mindful process. Each step prepares your body to release rather than force.
Initial Positioning and Seating
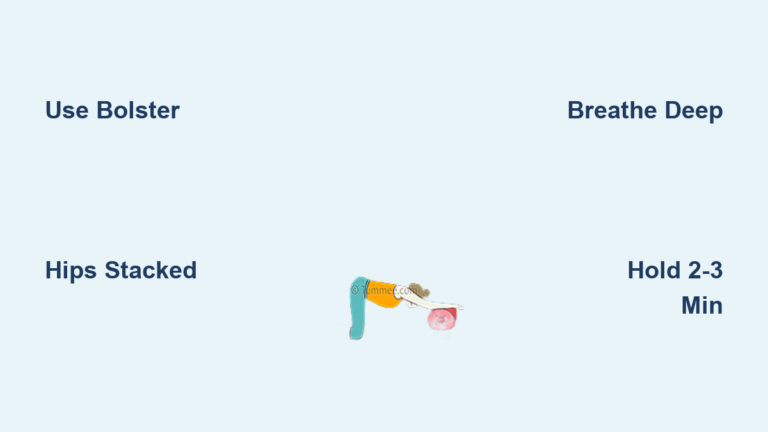
Sit on your heels or between your feet, facing the short end of your bolster or blanket stack. Your knees can be together or slightly apart, whichever feels better for your hips. Adjust the distance between your knees and feet until your shins and the tops of your feet rest comfortably on the mat.
If your hips feel tight or your knees ache, place a folded blanket under your seat to elevate your pelvis. This small lift creates space in the hip sockets and reduces joint compression.
Folding Forward with Intention
Inhale to lengthen your spine. As you exhale, hinge from your hips (not your waist) and lower your torso onto the support. Let your chest sink toward the bolster, allowing your abdomen to drape over it without compression.
Rest your arms alongside your body with palms up, or extend them forward for a deeper shoulder stretch. The key is relaxation. Your arms should feel heavy, not actively engaged.
Head and Neck Alignment
Turn your head to rest one cheek on the bolster or blanket. After a few minutes, gently switch sides to balance neck tension. Your ears should align with your shoulders, and your chin should be slightly tucked, not pressed down. If your head dangles or feels tilted, add a folded blanket or firm pillow under the far end of the stack to level it.
Never let your neck hang unsupported. This is a critical safety point to prevent cervical strain.
Refining the Pose for Deeper Release
Once you settle in, refine your position to deepen comfort. This is not about achieving a perfect shape. It is about allowing your body to soften completely.
Releasing Lower Back Tension
Focus on softening the muscles around your lower back. Imagine your tailbone gently moving toward your heels, lengthening the spine and releasing the sacrum. This subtle shift decompresses the lumbar region and encourages pelvic neutrality.
Expanding Across the Upper Back
Let your shoulder blades spread apart as your chest melts into the support. This creates space between the shoulder joints and prevents rounding. If your upper back feels collapsed, try the wedge technique: roll a thin towel and place it under your collarbones. This lifts your heart slightly, allowing your throat and chest to release evenly.
Adjusting for Spine Lengthening
After a few minutes, you may feel compressed. To re-lengthen:
1. Press lightly into the floor with your hands.
2. Slide your belly forward, then your heart, then your head.
3. Gently lower back down, letting your spine extend over the support.
This micro-movement resets your posture and enhances the sensation of release.
Troubleshooting Common Discomfort in Child’s Pose with Bolster

Even with props, discomfort can arise. Use these targeted fixes to tailor the pose to your body’s needs.
Hips or Knees Feel Strained
Too much pressure on your knees or hips signals a need for elevation. Place a folded blanket or cushion under your seat. Raising the pelvis reduces the angle at the knee joints and creates more space in the hip sockets, especially helpful for tight quads or sensitive knees.
If your knees flare outward uncomfortably, bring them closer together. Alternatively, place an atlas bolster behind the knees to support and cushion the joint line.
Head Feels Unsupported
If your chin juts forward or your forehead hangs lower than your cheek, your neck is compromised. Bridge the gap with a small folded blanket or firm pillow under your head. Aim for neutral alignment: ears over shoulders, chin slightly down, neck long.
Chest Feels Compressed
If your abdomen feels squished or breathing is restricted, slide the support slightly farther from your pelvis. This creates a gentler incline, reducing abdominal pressure while maintaining spinal support.
For tight chest or shoulders, use the collarbone wedge mentioned earlier. A rolled towel placed just beneath the base of your neck lifts the upper chest and allows the breath to flow into your back body.
Breathing Techniques to Deepen Restoration
The breath transforms this from a passive rest into an active recovery practice.
Adapting to Back Body Breathing
At first, your breath may feel shallow or choppy because the front of your body is fully supported and cannot expand. Do not force it. Instead, focus on your back ribs. With each inhale, imagine the breath filling the space between your shoulder blades and lower back. Let the exhalation soften your spine further into the bolster.
After 2 to 3 minutes, most practitioners notice a shift. Breathing becomes deeper, slower, and centered in the posterior torso.
Mental Focus and Duration
Stay in the pose for 3 to 5 minutes minimum, or longer if it feels nourishing. Close your eyes and let the outer world fade. Your only job is to surrender. Release the belly, soften the jaw, and draw awareness inward.
Halfway through, turn your head to the opposite side. This balances neck muscles and prevents stiffness.
Customizing Child’s Pose with Bolster for Your Body
There is no single correct way to do this pose. Adjust based on your daily needs and physical state.
For Tight Hips
Elevate your seat significantly. A taller stack under the pelvis reduces the demand on tight hip flexors and allows your thighs to relax toward the floor. You may also widen your knees to create more room for your torso.
For Knee Sensitivity
Use an atlas bolster behind your knees or roll a blanket under the joint line. This cushions the area and prevents your shin from pressing hard into the mat. If discomfort persists, try the hips-on-heels variation: keep your seat on your heels and only rest your upper body on the bolster.
For Neck or Shoulder Tension
Ensure your head is fully supported and your neck is neutral. Add a wedge under the collarbones to prevent the upper back from collapsing. You can also place a small rolled towel under your outer shoulders if they feel heavy or strained.
Integrating Supported Child’s Pose Into Your Practice
This restorative variation fits into any routine, whether your focus is recovery, stress relief, or gentle stretching.
Complementary Poses to Pair
- Virasana (Hero’s Pose): Prepares the knees and ankles for forward folding.
- Supta Virasana (Reclined Hero’s Pose): Deepens hip opening after supported child’s pose.
- Adho Mukha Svanasana (Downward Dog): Stretches out the legs and back after a long hold.
Using It as a Daily Reset
Between challenging poses or at the end of a stressful day, take 5 minutes in this pose. It resets the nervous system, calms the mind, and gently decompresses the spine. Even a short hold delivers measurable benefits.
Comparing Setup Options for Child’s Pose with Bolster

Different setups serve different needs. Use this comparison to pick your ideal configuration.
Blanket Stack: Maximum Customization
Best for those with specific pain points or alignment concerns. With five blankets, you can fine-tune height, firmness, and support level.
- Pros: Highly adjustable, firm support
- Cons: Takes longer to set up
Dual Bolster: Fast and Effective
Use a round bolster under the torso and an atlas bolster behind the knees. This combo delivers excellent joint support and is perfect for general relaxation or limited mobility.
- Pros: Quick setup, strong joint protection
- Cons: Less height control than blankets
Single Bolster: Simple and Quick
A flat bolster under the chest offers basic support for fast stress relief. Great for office breaks or short practices.
- Pros: Fastest setup
- Cons: Limited adjustability
Frequently Asked Questions About Child’s Pose with Bolster
How long should I hold child’s pose with a bolster?
Hold the pose for a minimum of 3 to 5 minutes to allow your nervous system to shift into a parasympathetic state. Longer holds (up to 10 minutes) deepen the restorative benefits, especially when using firm prop support.
Can I do child’s pose with a bolster if I have knee pain?
Yes. Place an atlas bolster behind your knees to cushion the joint line, and elevate your seat with folded blankets to reduce the angle of knee flexion. This setup removes strain while still delivering the pose’s calming benefits.
What if I do not have a yoga bolster?
You can substitute with a firm pillow, a stack of folded blankets, or even a thick towel roll. The key is creating firm, even support that does not collapse under your torso’s weight.
Is child’s pose with bolster safe during pregnancy?
Supported child’s pose is generally safe during pregnancy when props are used correctly. Elevate your seat with blankets to keep your knees below your hips, and keep your knees wide to accommodate your belly. Always consult your healthcare provider before starting any new practice.
How do I know if my setup is correct?
The primary indicator is the sensation of a “sigh of relief” the moment you settle in. If you feel tension, the need to hold yourself up, or strain in any joint, adjust your prop height or position immediately until comfort arrives.
Can beginners practice child’s pose with bolster?
Absolutely. This variation is specifically designed to make the pose accessible to beginners and those with limited mobility. The props do the supporting work so your body can simply relax.
Key Takeaways for Practicing Child’s Pose with Bolster
Child’s pose with bolster is more than a stretch. It is an invitation to rest deeply. The right prop setup transforms a basic forward fold into a powerful restorative tool that calms the nervous system, opens tight hips, and decompresses the spine. Choose your props based on your body’s needs: blankets for precision, bolsters for speed, or a combination for full support.
Remember that comfort is your compass. Adjust the height, position, and firmness of your props until you feel that unmistakable “sigh of relief.” Breathe into your back ribs, soften every muscle, and stay for at least 3 to 5 minutes.
Your next step is simple. Gather your props, set up your space, and give yourself permission to rest. Your body and mind will thank you.